Julia Child is the end all be all. I received her both volumes of her cookbook Mastering The Art of French Cooking for Christmas one year and they are both something I would grab if my house was on fire. This recipe is all homemade, from the tart shell to the apple filling. This will 100% impress your friends and family when you present this. Be ready to set some time aside, but it is totally worth it.
Ingredients
Pastry Shell:
- 2 Cups Sifted All-Purpose Flour
- 1/2 TSP Salt
- 2 Pinches of Sugar [her words not mine]
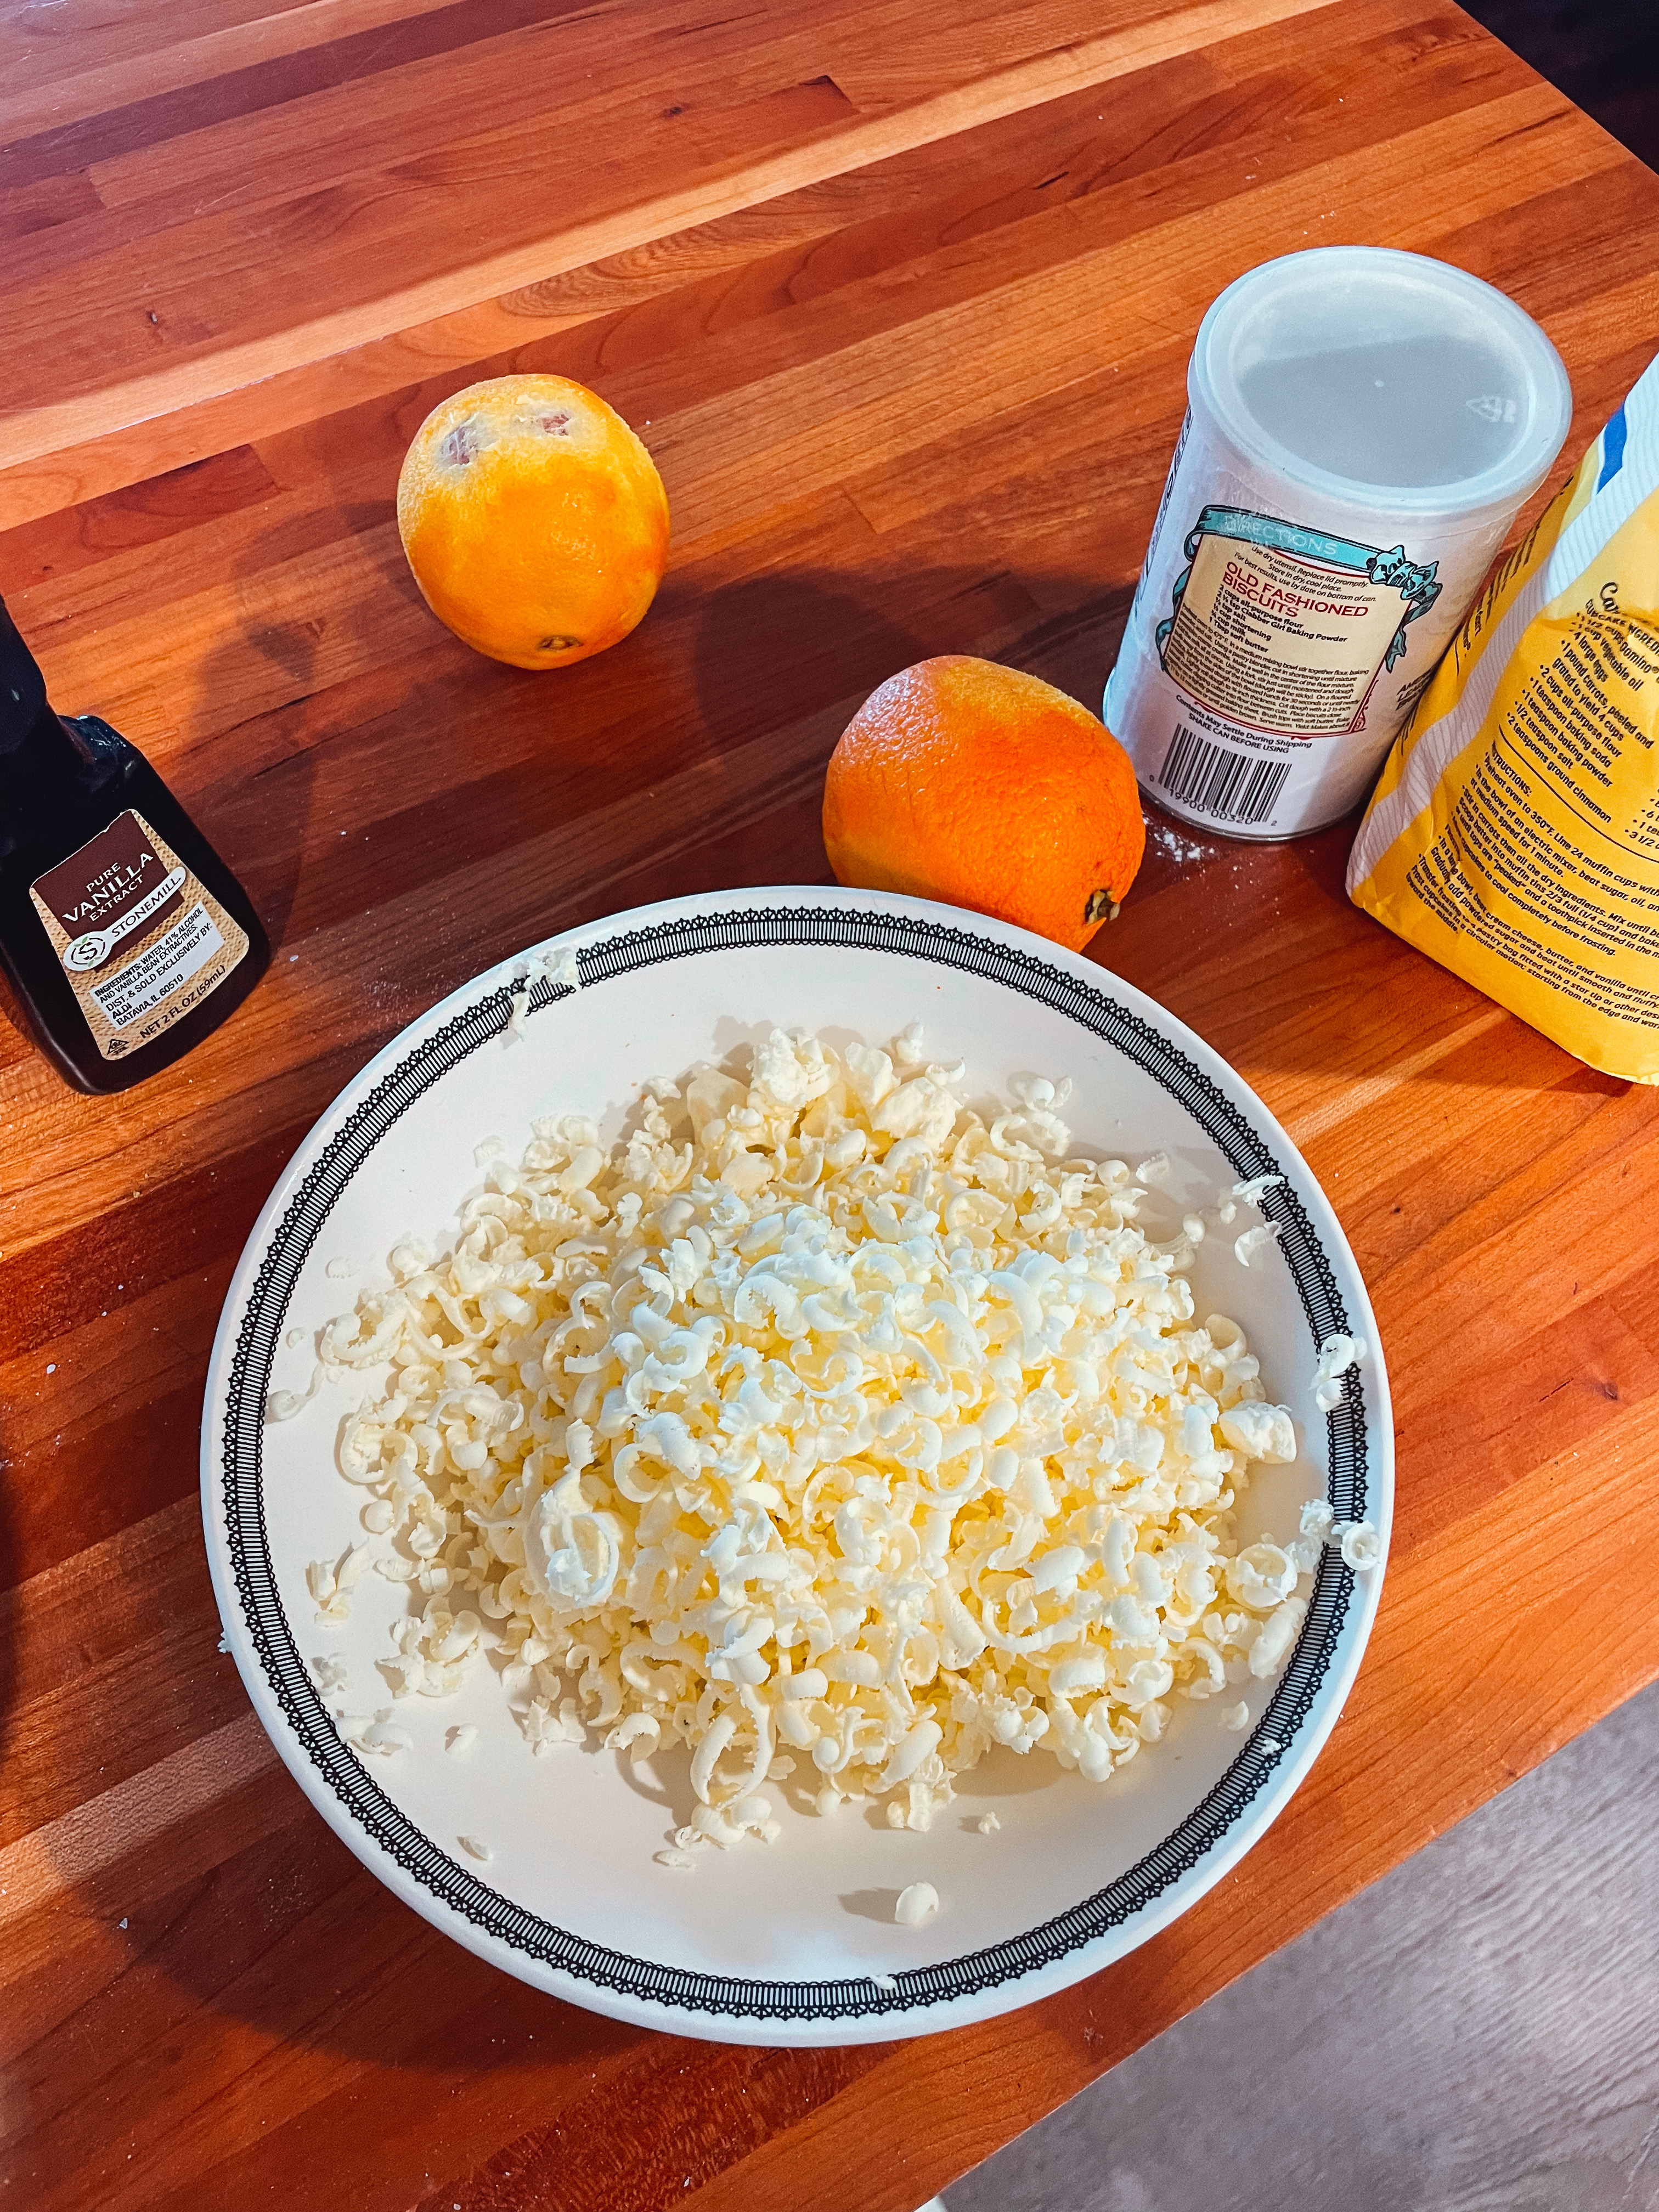
- 1/4 lb Chilled Butter cut into 1/2 in cubes [again this is where a kitchen scale really comes in handy]
- 3 TBSP Chilled Vegetable Shortening
- 5 TBSP Cold Water
Apple Tart
- 4 lbs Crisp Cooking apples, I used half granny smith and half honeycrisp hybrid
- 1 TSP Lemon
- 2 TBSP Sugar + 2/3 Cup
- 1/3 Cup Apricot Preserves, forced through a sieve
- 1/4 Cup Calvados, Rum, or Cognac [can substitute for a TBSP of Vanilla extract]
- 3 TBSP Butter
- 1/2 TSP Cinnamon & grated rind of 1 lemon/orange
Let’s Get Baking
I love Julia Child, but jeez her recipes can be unnecessarily complicated so I am going to do my best to make this simple.
We are going to start with the pastry shell. You are going to add together the flour + salt + sugar + butter + vegetable shortening into a large bowl. Using the tips of your fingers, rub together the fat until it has broken into small pieces. Don’t worry about them getting incredibly small they will blend more later.
Slowly add the water and blend the mixture with the other hand. The goal is to gather the dough into a large mass. Sprinkle up to another TBSP more of water over any parts that have not added to the main ball of dough. Press the dough into a firmly shaped ball, it should hold together but not be sticky.
Lightly flour a cutting board and with the heel of one hand, rapidly press the dough down onto the board. I did this a couple times to fully incorporate the butter. Scrape together all the dough and knead it slightly into a smooth ball. Cover with wax paper and place into the fridge for an hour, or freeze up to 3 days.
When it’s time to bake the shell, preheat the oven to 375F. Carefully roll out the shell into a 10inch circle. Gently place the shell into a tart pan and press down until the pastry fills the tin. Cook for 5-6 minutes. Then remove the shell, prick the bottom of the shell with a fork and bake for about 8-10 minutes more. The shell will remove slightly from the mold and will brown.
Now onto the apple tart. You are going to quarter, core, and peel all of the apples. Cut the apples into about 1/8 inch slices, enough for about 3 cups. I recommend using a mandolin. Once you have 3 cups, add in the lemon juice and 2 TBSP of sugar, mix together and reserve for the top.
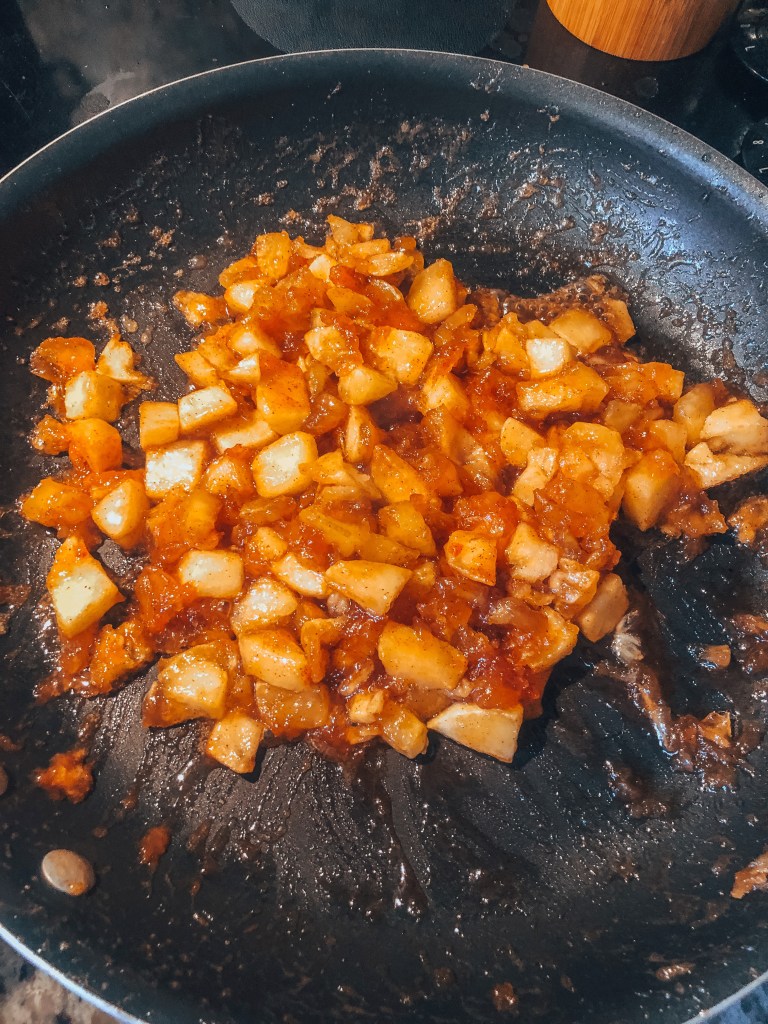
The rest of the apples will be cut into rough slice, about 8 cups. Add the apples into a pan and cook covered on low heat for about 20 minutes. Stir here and there until tender. Beat the remaining ingredients into the pan, including the remaining 2/3 cups of sugar. Increase the heat until it bowls and is thick enough to hold a mass on the spoon.
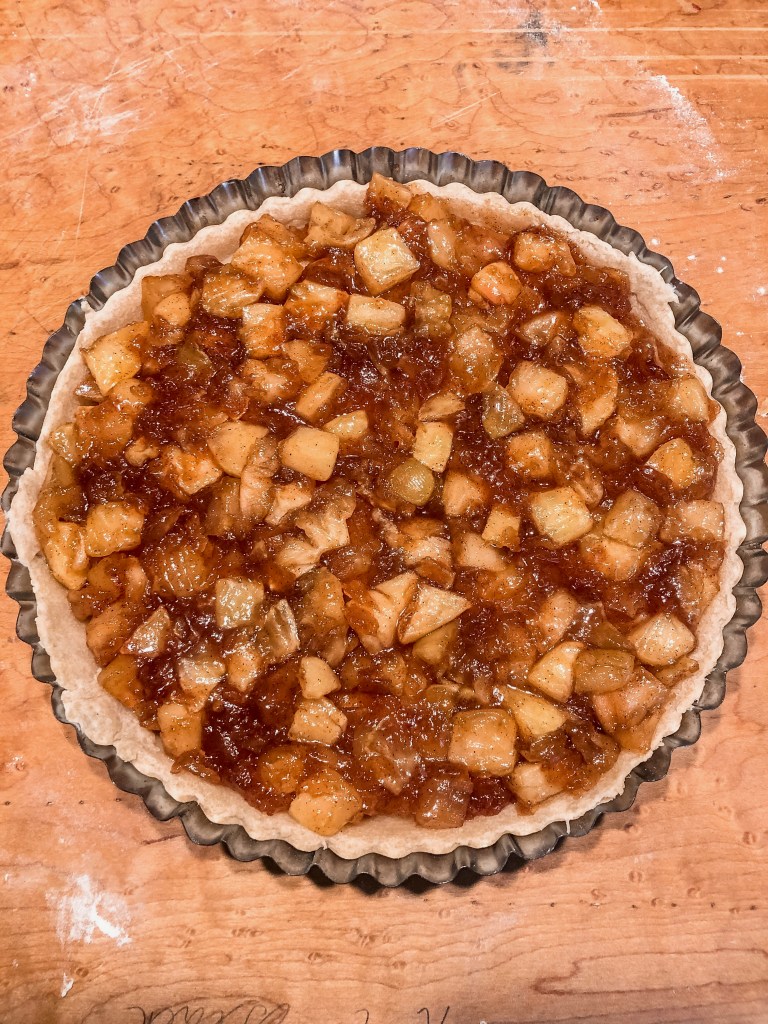
Preheat the oven to 375. & spread the apple sauce on the precooked pastry shell.
Cover the applesauce with the left over apples in concentric circles. Top off with some of the apricot glaze and bake for 30 minutes.
Remove and place on a cooling rack, service warm or cold.
I say warm with vanilla ice cream is always the way to go.
Always Hungry,
Hannah