Anthony Bourdain’s New Mexico-Style Beef Chili

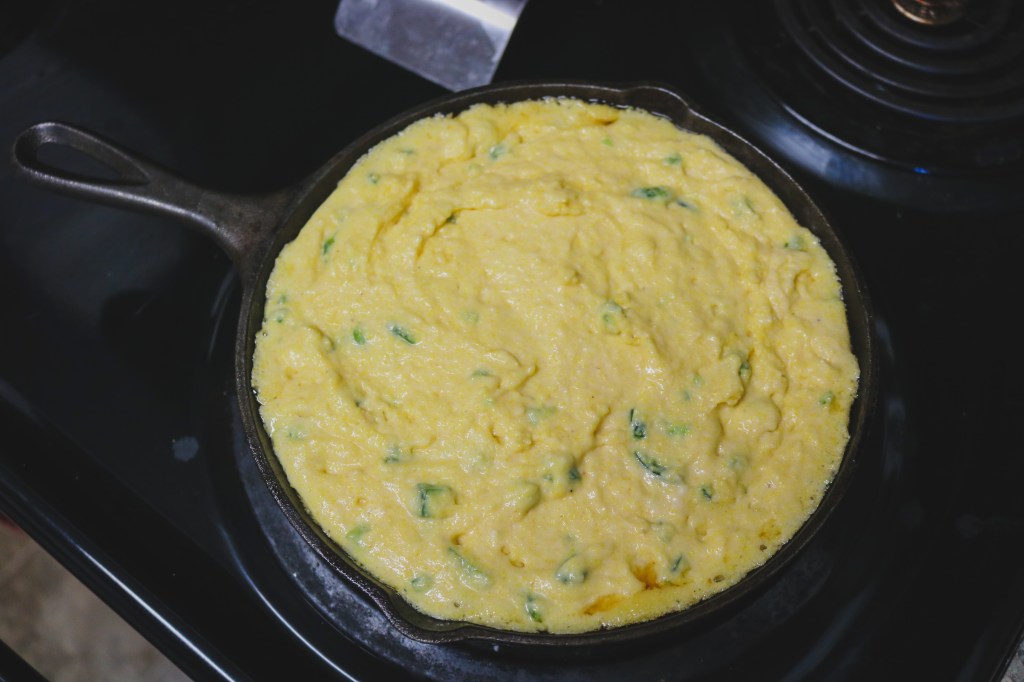
I know I’ve been talking a lot about soup szn but don’t forget, it’s also CHILI SZN. I love chili, especially all the extra toppings that go along with it. If you are eating your chili plain without any extra cheese, tortillas, and sour cream then you need to reevaluate your life. This recipe from Anthony Bourdain is New Mexico style, ft. no rice, no beans, and a whole bunch of peppers. I couldn’t find Hatch chili’s myself at the store but check out your canned isle, or go with a substitute like Anaheim peppers. This recipe makes your house smell like fall and peppers, what more could you want. Pair with delicious sides like my jalapeño skillet corn bread.

Ingredients

  • 4 Poblano Peppers
  • 1 lbs Hatch Chilis, fresh, frozen, or canned [ or sub in Anaheim pepper]
  • 1/2 Cup All Purpose Flour
  • 2 lbs Beef Chuck, cut into 1-2 in pieces
  • 2-3 TBSP Canola Oil
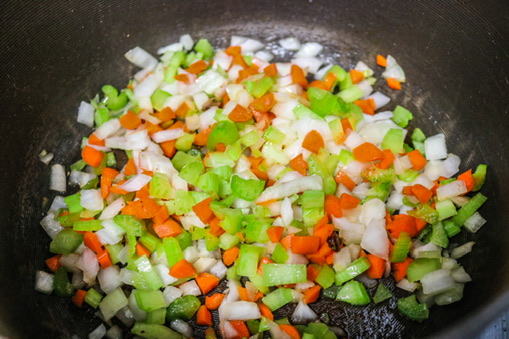
  • 1 Large Yellow Onion, peeled and coarsely chopped
  • 1 1/2 TSP Cumin
  • 1 1/2 TSP Coriander
  • 1 1/2 Dried Oregano [I used 1 TSP Fresh Oregano]
  • 2 TBSP Tomato Paste or Harissa
  • 1 Cup of Beer
  • 3 Cups Chicken Stock
  • Salt + Pepper
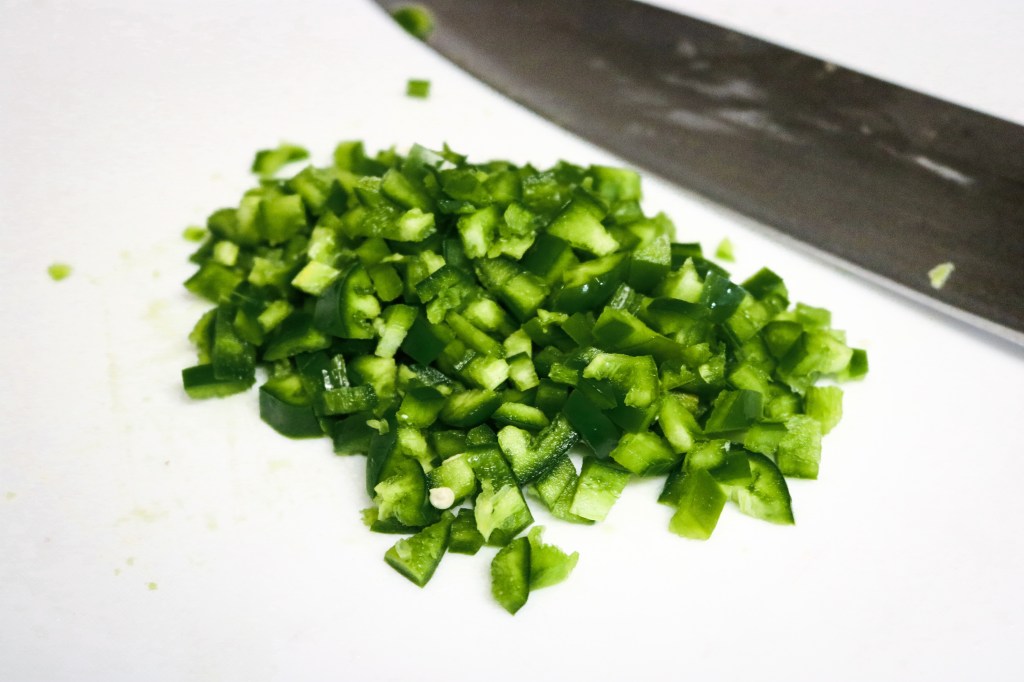
  • Toppings of your choosing: jalapeños, cilantro, sour cream, cheese, tortilla chips

Let’s Get Cooking

Put your oven’s broiler on LOW. Broiler’s low key scare me so I like to keep hawk eyes on them. Place your peppers, poblano’s and hatch (if they are fresh, if canned skip this), on a baking sheet. Place the peppers in the broiler and let the pepper’s skin blacken, turn them as needed. This takes about 15 minutes or so and be sure to keep an eye on them, they can go fast. Remove from oven when done and let cool.

Once cool, remove stem and some seeds along with the blackened skin. Chop the peppers coarsely and set aside.

Place the flour in a large bowl and add in about TBSP each of salt + pepper. Coat the beef in the flour.

In a dutch oven, heat the oil, add in the beef in small batches when the oil gets hot. Let the beef get brown on all sides but do not cook all the way through. Place cooked beef on a plate and finish with the remaining beef.

Once the meat is all cooked, add in the onion + garlic into the hot pan with salt + pepper. Add in a little extra oil if needed. Scrape the bottom of the pan with a wooden spoon while mixing the garlic and onion to get the browned bits on the bottom. After the onion has softened, add the cumin + coriander + oregano and cook for about 2 more minutes.

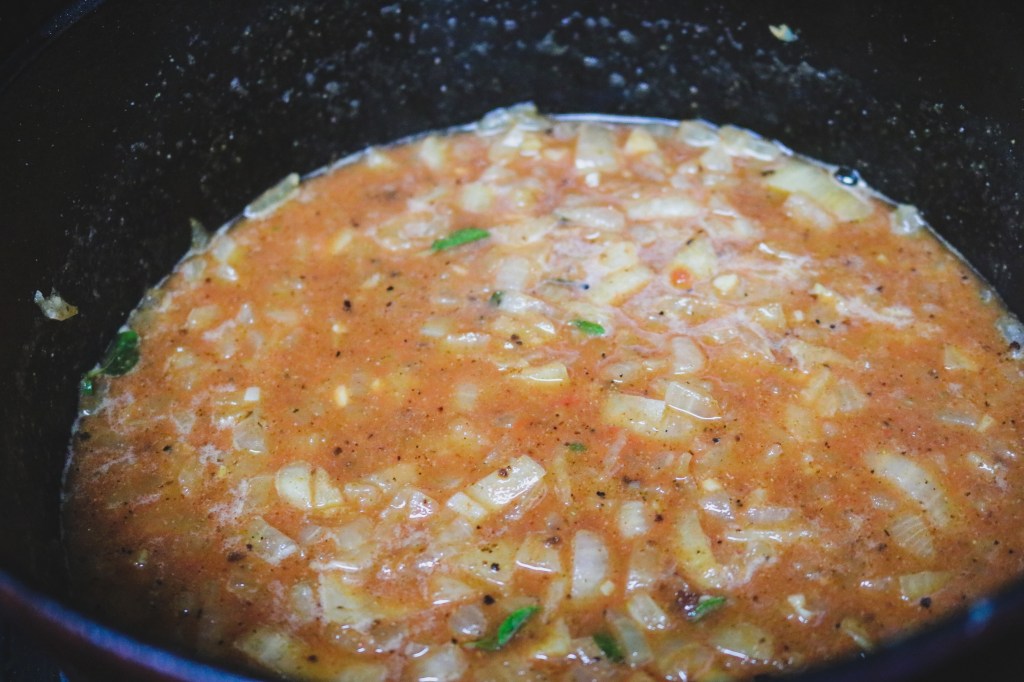
Stir in the tomato paste and then the beer. Bring this up to a boil and allow the liquid to reduce, you will know it’s done when you don’t smell the beer anymore. Add in the stick and the cooked beef into the pot. Add in the chopped peppers and bring up to a boil. Once boiling, reduce the heat to simmer, cover, and cook for 90 minutes.

Serve however you like once finished, Anthony recommends LOTS of cold beer.

Made with Love,

Hannah

Jalapeño Skillet Corn Bread

Corn bread is the perfect side dish, especially in the fall, and with chili. It’s crumbly and sweet which pairs so beautifully with spicy main dishes. I like a skillet cornbread because the crispy edges are my fav. I took a spin off of this Food Network Skillet cornbread and made it my own ft. bacon fat and jalapeños (obvi makes it 10 times better). Make using your grandma’s cast iron skillet, or one that you thrifted, like me.

Ingredients

  • 2-3 Slices of Bacon
  • 2 Jalapeños, finely diced
  • 1 1/4 Cups Coarsely Ground Cornmeal
  • 3/4 Cup All Purpose Flour
  • 1/4 Cup Granulated sugar
  • 1 TSP Kosher Salt
  • 2 TSP Baking Powder
  • 1/2 TSP Baking Soda
  • 1 1/3 Cup Buttermilk
  • 2 Eggs, lightly beaten
  • 6 TBSP Unsalted butter, melted.
  • 1 TBSP Honey

Let’s Get Cooking

Preheat the oven to 375F

Grab your cast iron and begin cooking your bacon on MED heat. Cook the bacon until done and remove and set aside. [We only need the bacon fat so if you want to eat it, give it to the dogs, or even through it in the cornbread if you so wish, do what you want].

Keep the bacon fat in the cast iron and place it in the hot oven.

In a large bowl mix together the cornmeal + flour + sugar + salt + baking powder + baking soda. Add in the butter milk + eggs + melted butter. Add in the jalapeño’s and mix well.

Carefully grab the hot cast iron and pour the batter into the skillet. Place back in the oven and cook for about 25-30 minutes.

After removing from the oven, drizzle the honey over and brush to coat the top of the cornbread. Once cool, cut and enjoy.

Made with Love,

Hannah

Pappardelle in Saffron Cream

My mom gifted me with a container of saffron and I am trying to use it in the most responsible way. Saffron is so valuable and so freaking expensive so this is only the second recipe I have used it in the about 5 months of having it. I bought saffron noodles from Ohio City Pasta, which if you’re in the Akron/Cleveland area please check them out, and figured they would be perfect to pair with a saffron cream sauce. This recipe is so decadent and delicious, I am so proud of how this turned out and omg I want to eat it all the time now.

Ingredients

  • 1 TBSP Unsalted Butter
  • 1/2 Small Shallot, minced
  • Pinch of Saffron threads
  • 2/3 Cup Heavy Cream
  • 1/4 TSP Fresh Lemon Juice
  • 1/4 TSP Vanilla Extract
  • 4 oz Saffron Pasta/or Pappardelle
  • 2 TBSP Grated Parmesan Cheese
  • 2 TBSP Roughly Chopped Chives
  • 1/2 TSP Grated Lemon Zest
  • Salt + Pepper

Let’s Get Cooking

Salt water & bring to a boil, cook the pasta per directions, slightly under al dente so it can finish cooking in the sauce. Remove 1/4 Cup of the pasta water to save.

Melt butter in a large skillet over MED heat. Add in the shallot & saffron and cook until the shallot is softened. Add in the cream + 1/4 TSP salt + pepper to taste. Increase the heat to MED-HIGH and let the sauce thicken and simmer. Stir in the lemon juice + vanilla.

Transfer the cooked pasta to the sauce + the 1/4 Cup pasta water. Stir in the parmesan + chives.

Transfer into a bowl & top with lemon zest and a few more chives.

Savor this meal, please.

Made with Love,

Hannah

Julia Child’s Apple Tart

Julia Child is the end all be all. I received her both volumes of her cookbook Mastering The Art of French Cooking for Christmas one year and they are both something I would grab if my house was on fire. This recipe is all homemade, from the tart shell to the apple filling. This will 100% impress your friends and family when you present this. Be ready to set some time aside, but it is totally worth it.

Ingredients

Pastry Shell:

  • 2 Cups Sifted All-Purpose Flour
  • 1/2 TSP Salt
  • 2 Pinches of Sugar [her words not mine]
  • 1/4 lb Chilled Butter cut into 1/2 in cubes [again this is where a kitchen scale really comes in handy]
  • 3 TBSP Chilled Vegetable Shortening
  • 5 TBSP Cold Water

Apple Tart

  • 4 lbs Crisp Cooking apples, I used half granny smith and half honeycrisp hybrid
  • 1 TSP Lemon
  • 2 TBSP Sugar + 2/3 Cup
  • 1/3 Cup Apricot Preserves, forced through a sieve
  • 1/4 Cup Calvados, Rum, or Cognac [can substitute for a TBSP of Vanilla extract]
  • 3 TBSP Butter
  • 1/2 TSP Cinnamon & grated rind of 1 lemon/orange

Let’s Get Baking

I love Julia Child, but jeez her recipes can be unnecessarily complicated so I am going to do my best to make this simple.

We are going to start with the pastry shell. You are going to add together the flour + salt + sugar + butter + vegetable shortening into a large bowl. Using the tips of your fingers, rub together the fat until it has broken into small pieces. Don’t worry about them getting incredibly small they will blend more later.

Slowly add the water and blend the mixture with the other hand. The goal is to gather the dough into a large mass. Sprinkle up to another TBSP more of water over any parts that have not added to the main ball of dough. Press the dough into a firmly shaped ball, it should hold together but not be sticky.

Lightly flour a cutting board and with the heel of one hand, rapidly press the dough down onto the board. I did this a couple times to fully incorporate the butter. Scrape together all the dough and knead it slightly into a smooth ball. Cover with wax paper and place into the fridge for an hour, or freeze up to 3 days.

When it’s time to bake the shell, preheat the oven to 375F. Carefully roll out the shell into a 10inch circle. Gently place the shell into a tart pan and press down until the pastry fills the tin. Cook for 5-6 minutes. Then remove the shell, prick the bottom of the shell with a fork and bake for about 8-10 minutes more. The shell will remove slightly from the mold and will brown.

Now onto the apple tart. You are going to quarter, core, and peel all of the apples. Cut the apples into about 1/8 inch slices, enough for about 3 cups. I recommend using a mandolin. Once you have 3 cups, add in the lemon juice and 2 TBSP of sugar, mix together and reserve for the top.

The rest of the apples will be cut into rough slice, about 8 cups. Add the apples into a pan and cook covered on low heat for about 20 minutes. Stir here and there until tender. Beat the remaining ingredients into the pan, including the remaining 2/3 cups of sugar. Increase the heat until it bowls and is thick enough to hold a mass on the spoon.

Preheat the oven to 375. & spread the apple sauce on the precooked pastry shell.

Cover the applesauce with the left over apples in concentric circles. Top off with some of the apricot glaze and bake for 30 minutes.

Remove and place on a cooling rack, service warm or cold.

I say warm with vanilla ice cream is always the way to go.

Always Hungry,

Hannah

‘Crack’ Roasted Butternut Squash

This is my dad’s recipe, [hey dad!] he made it the other night for dinner and I could not stop eating it. I am not that big of a squash person, but I think this recipe might have converted me. Squash is so in now, (right?) so grab your butternut squash and let’s get roastin. Remember, this is a home cook recipe so we don’t get all exact with the measurements.

Ingredients

  • 1 Butternut Squash, skin peeled, sliced and diced into bite-sized pieces
  • Cinnamon
  • Allspice
  • Ginger
  • Honey
  • Olive Oil
  • Salt + Pepper

Let’s get Roastin’

Preheat your oven to 375F.

Take your diced squash and place it in a zip-lock bag. Or if you prefer, place it on a pan lined with aluminum foil.

Drizzle over, or pour into the bag, some olive oil, enough to coat the squash.

Then sprinkle about a TBSP of both cinnamon + allspice + ginger.

If you’re using the bag method, or just on the lined pan, mix everything together well until it is all coated. Then finish off with salt + pepper.

Place in the oven for about 40 min or until soft to the bite.

Drizzle with honey fresh out of the oven.

Now you have the perfect roasted butternut squash that you just cannot stop eating!

Always Hungry,

Hannah

Homemade Gnocchi

Pasta is a fall favorite, I mean we all start to crave carbs when the sun starts to go down sooner. My roommate and bestfriend decided that she wanted to make gnocchi so we went for it. Love Bakes Good Cakes provided us with a great guide on how to be pro’s. Be your own pasta granny and make homemade gnocchi with your best pals like I did!

Ingredients

  • 2 Medium Potatoes, peeled and quartered
  • 2 Cups All Purpose Flour
  • 1 Eggs, Slightly Beaten
  • Pinch Salt

Let’s Get Cooking

After peeling and quartering the potatoes and place them in a pot of boiling water. Cook the potatoes for about 15 min, until they are able to slide off the fork. Drain the potatoes from the water and mash them.

Remove a cup of the mashed potatoes and place into a medium bowl. Add in the flour + egg + salt and mix until the dough forms a ball. Divide the ball into 4 equal parts and on a floured surface, roll into long snakes. Cut the snakes into 1/2 inch pieces.

To add the grooves, place a fork upside-down and roll the gnocchi off the tines.

In a large pot of salted boiling water, place the gnocchi in. Let cook for about 5 minutes and until they float to the top. Drain the gnocchi and serve with your favorite pasta sauce!

This recipe proves that though a food might seem scary but in reality it is very scary. Take on that challenge for foods or recipes that seem intimidating. Add loads of cheese and you’ll go to bed with a full belly and a big smile.

Always Hungry,

Hannah

Wedding Soup

When the weather gets colder we start to reach for meals that warm our souls. Soup tends to be one of those meals we love in the fall. A wedding soup recipe was requested by a friend and it turned out so well I thought I would share with everyone else. I used The Cozy Cook’s recipe, she explains that you can make this recipe by using the stovetop, pressure cooker, or slow cooker. I used the stove top because I was going to be around all evening and it did not take long at all!

Ingredients

Meatballs

  • 1/2 lb Ground Beef, 80% lean
  • 1/2 lb Ground Pork (I used the meatball mix at the grocery store to save some $$$)
  • 1 Egg, beaten
  • 1/2 Cup Italian Breadcrumbs
  • 1/4 Cup Parmesan Cheese
  • 3 Garlic Cloves, finely diced
  • 1/3 Cup Parsley
  • Salt + Pepper

Soup

  • 1 TBSP Olive Oil
  • 1 1/4 Cups Carrots, diced
  • 1 1/4 Cup Yellow Onion, diced
  • 3/4 Cup Celery
  • 1 TBSP Garlic, minced
  • 8 Cups Chicken Broth
  • 2 TBSP Italian Seasoning, I used a mix of oregano, parsley, and basil
  • Salt + Pepper
  • 3/4 Cup Dry Acini De Pepe Pasta

Let’s Get Cooking

Combine all the meatball ingredients, be sure to mix well but don’t over mix!

Roll the meat into 1-inch balls, I used a TBSP to measure out each ball.

Heat the olive oil into a large soup pot over med-high heat and brown the meatballs in small batches. Let the meatballs cook for 2-3 min each, they will continue to cook in the soup.

Once all the meatballs are browned, add in the mirepoix (carrots + celery + onion) and saute until softened. Then add in the garlic and saute for another minute.

Add in chicken broth + Italian seasoning + salt + pepper. Bring the soup up to a boil.

Once at a boil, add in the meatballs and the pasta. Simmer the soup for 10 min and make sure that the meatballs are cooked through.

Stir in the spinach & serve!

Top the soup off however you like, with cheese, parsley or whatever you want! I served mine in a homemade sourdough bread bowl but that’s extra!

Always Hungry,

Hannah