Amish Apple Fritter Bread

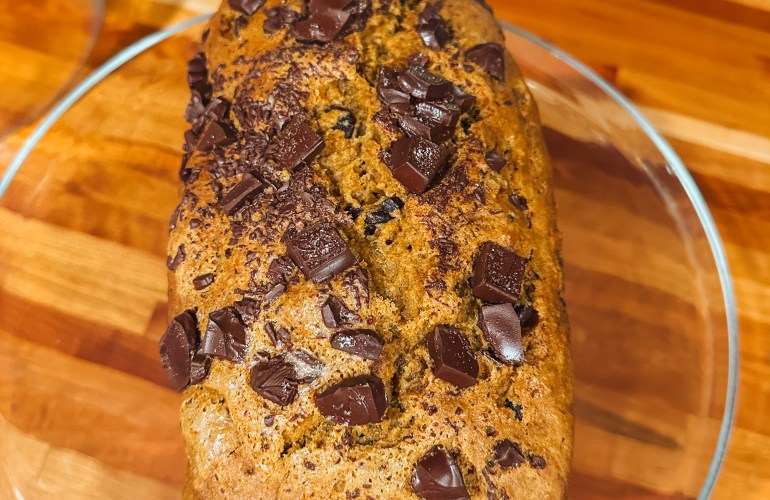
Apple bread deserves more recognition. This apple bread tastes like a warm apple donut. I cut the apples into bigger chunks because I like the bite to them, but feel free to cut them into smaller pieces. I used fresh grated ginger; I feel like it gives more of a punch than the ground ginger. I need everyone to make this bread; it is the perfect fall treat for these gray, cold days ahead of us.

Ingredients

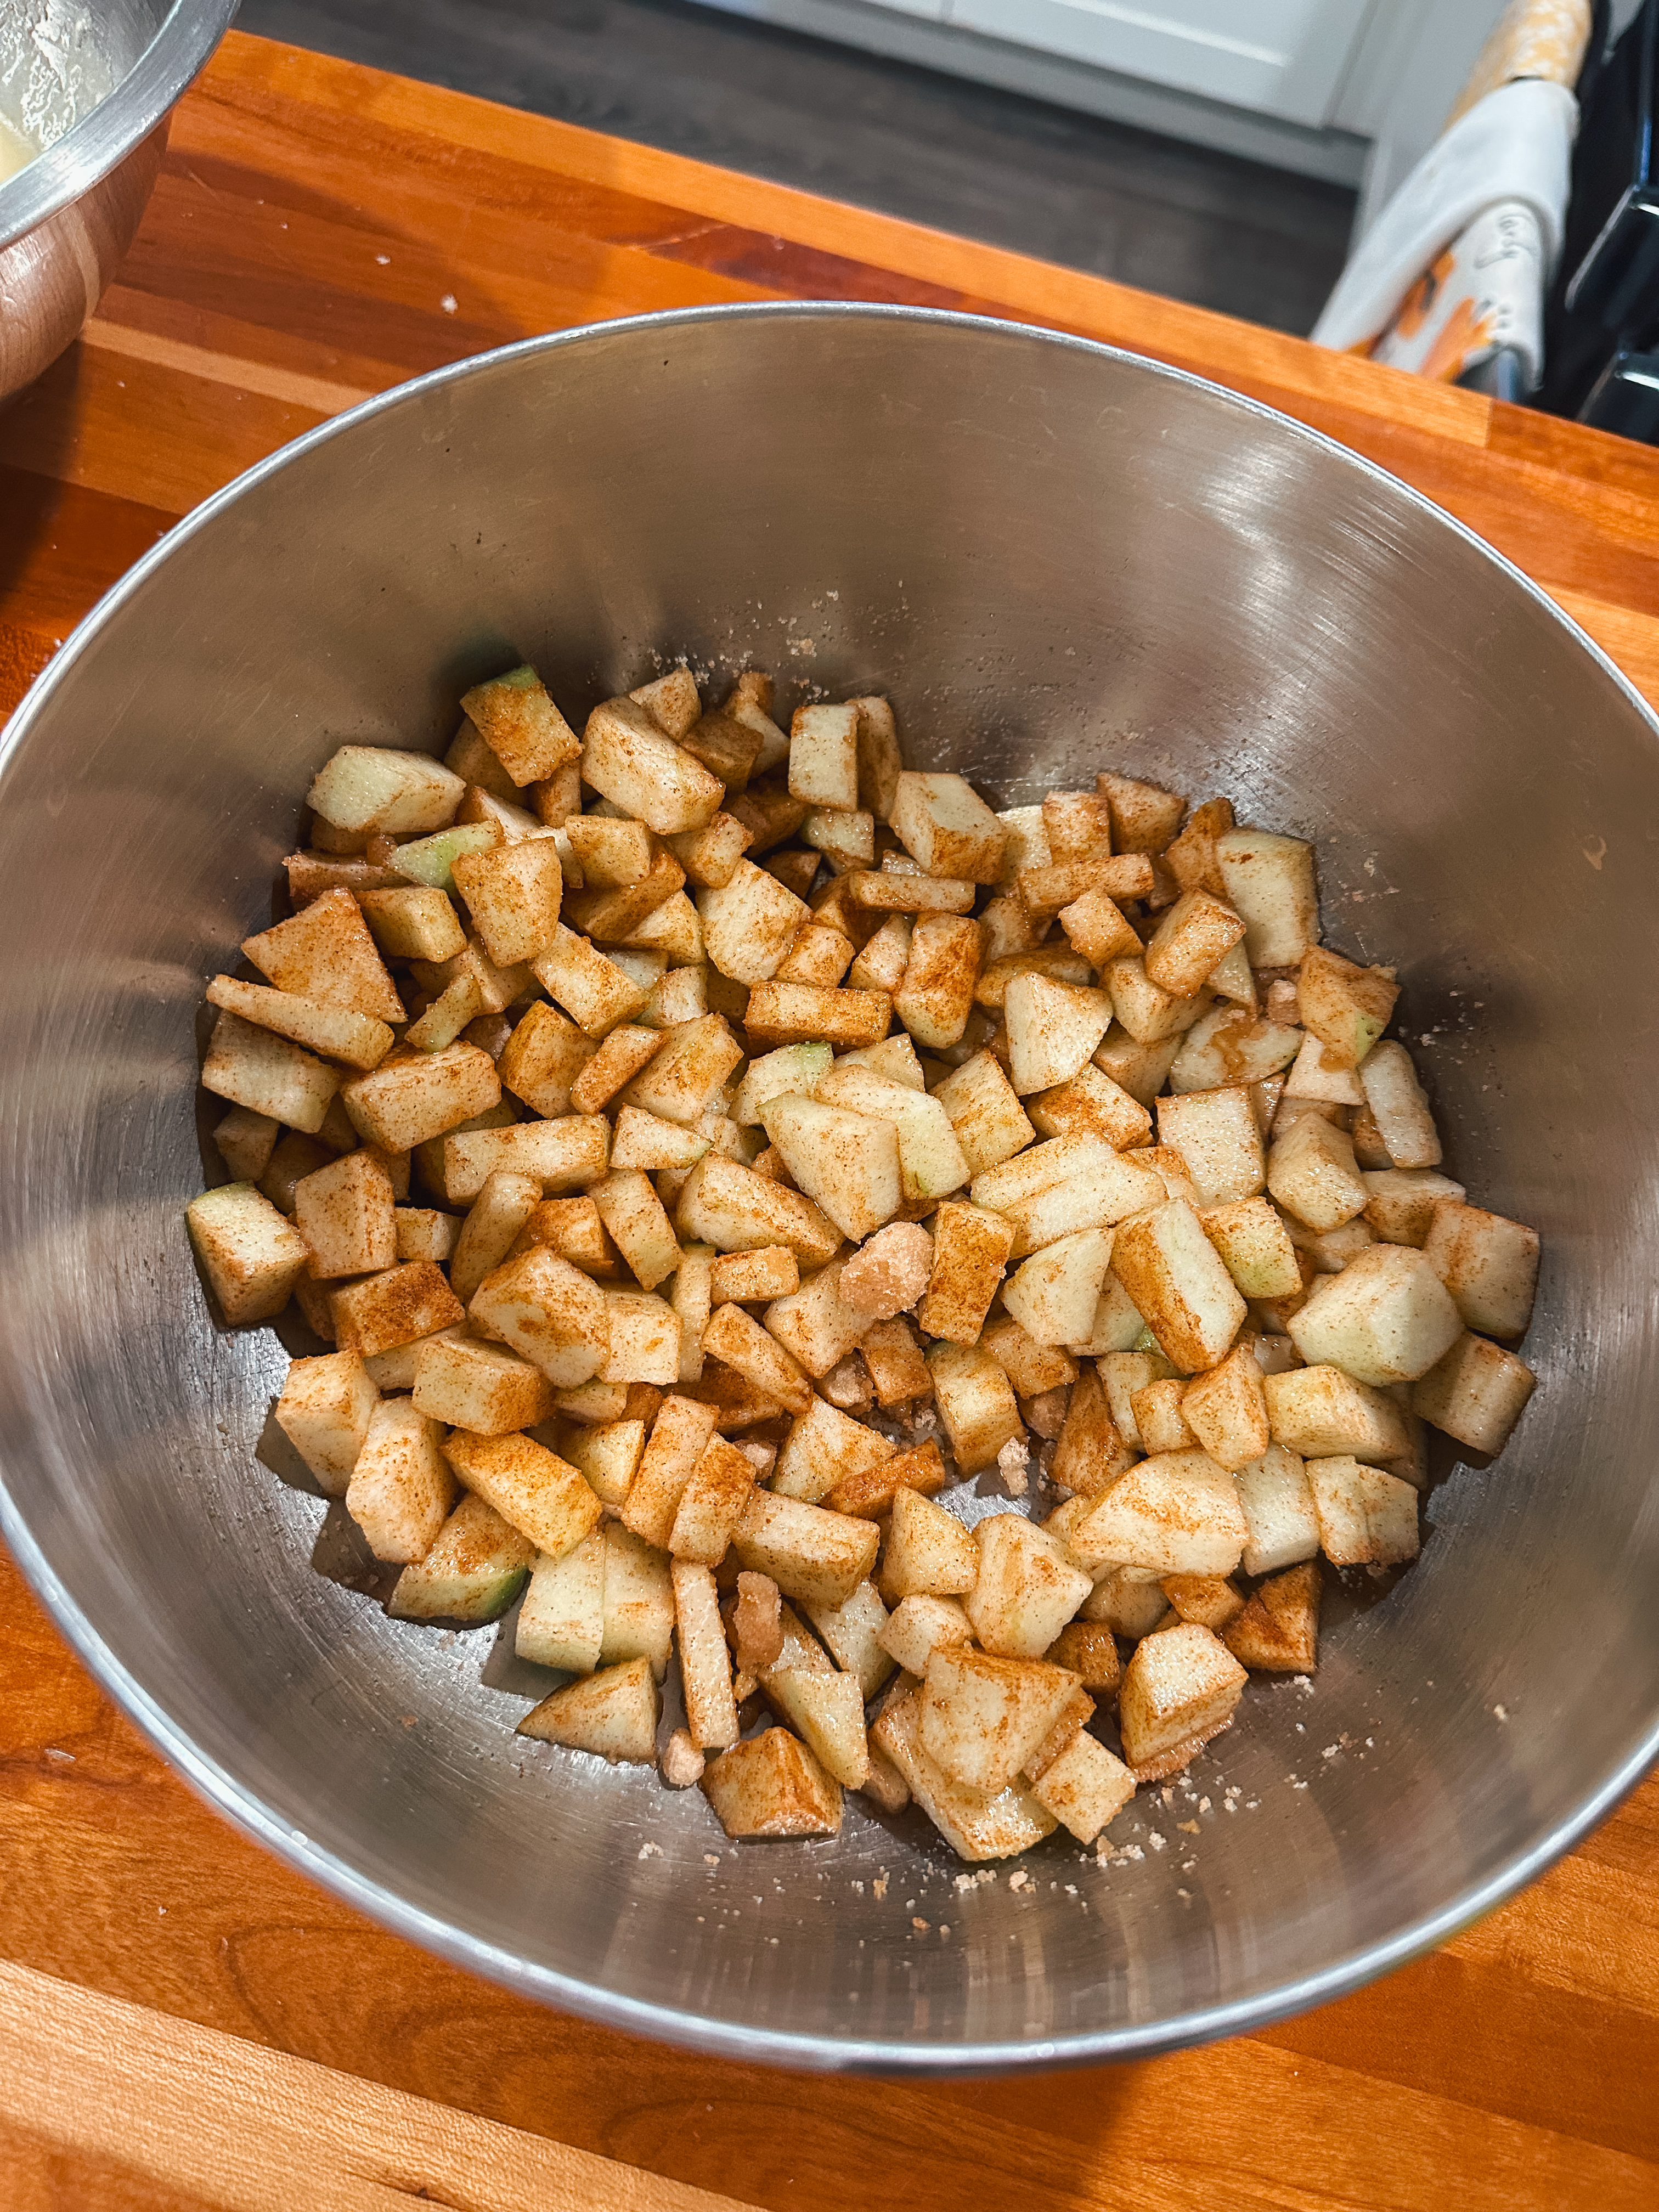
  • 2 medium Granny Smith apples, peeled, cored, and chopped
  • ½ cup light brown sugar
  • 3 teaspoon ground cinnamon
  • 1 teaspoon ground ginger (I grated real ginger, but feel free to use pre-ground)
  • 1 large egg, room temperature
  • ⅓ cup white granulated sugar
  • ¼ cup vegetable oil
  • ¼ cup full-fat sour cream, room temperature
  • 2 teaspoon vanilla extract
  • 1 cup all-purpose flour
  • 1 teaspoon baking soda
  • ½ teaspoon kosher salt

Glaze

  • 1 cup powdered sugar, sifted
  • 1 teaspoon vanilla extract
  • 3 tablespoons milk

Let’s Get Baking

Preheat your oven to 350F. Prepare your loaf pan with nonstick spray.

In a medium mixing bowl, mix the chopped apples + brown sugar+ cinnamon + ginger together and set aside.

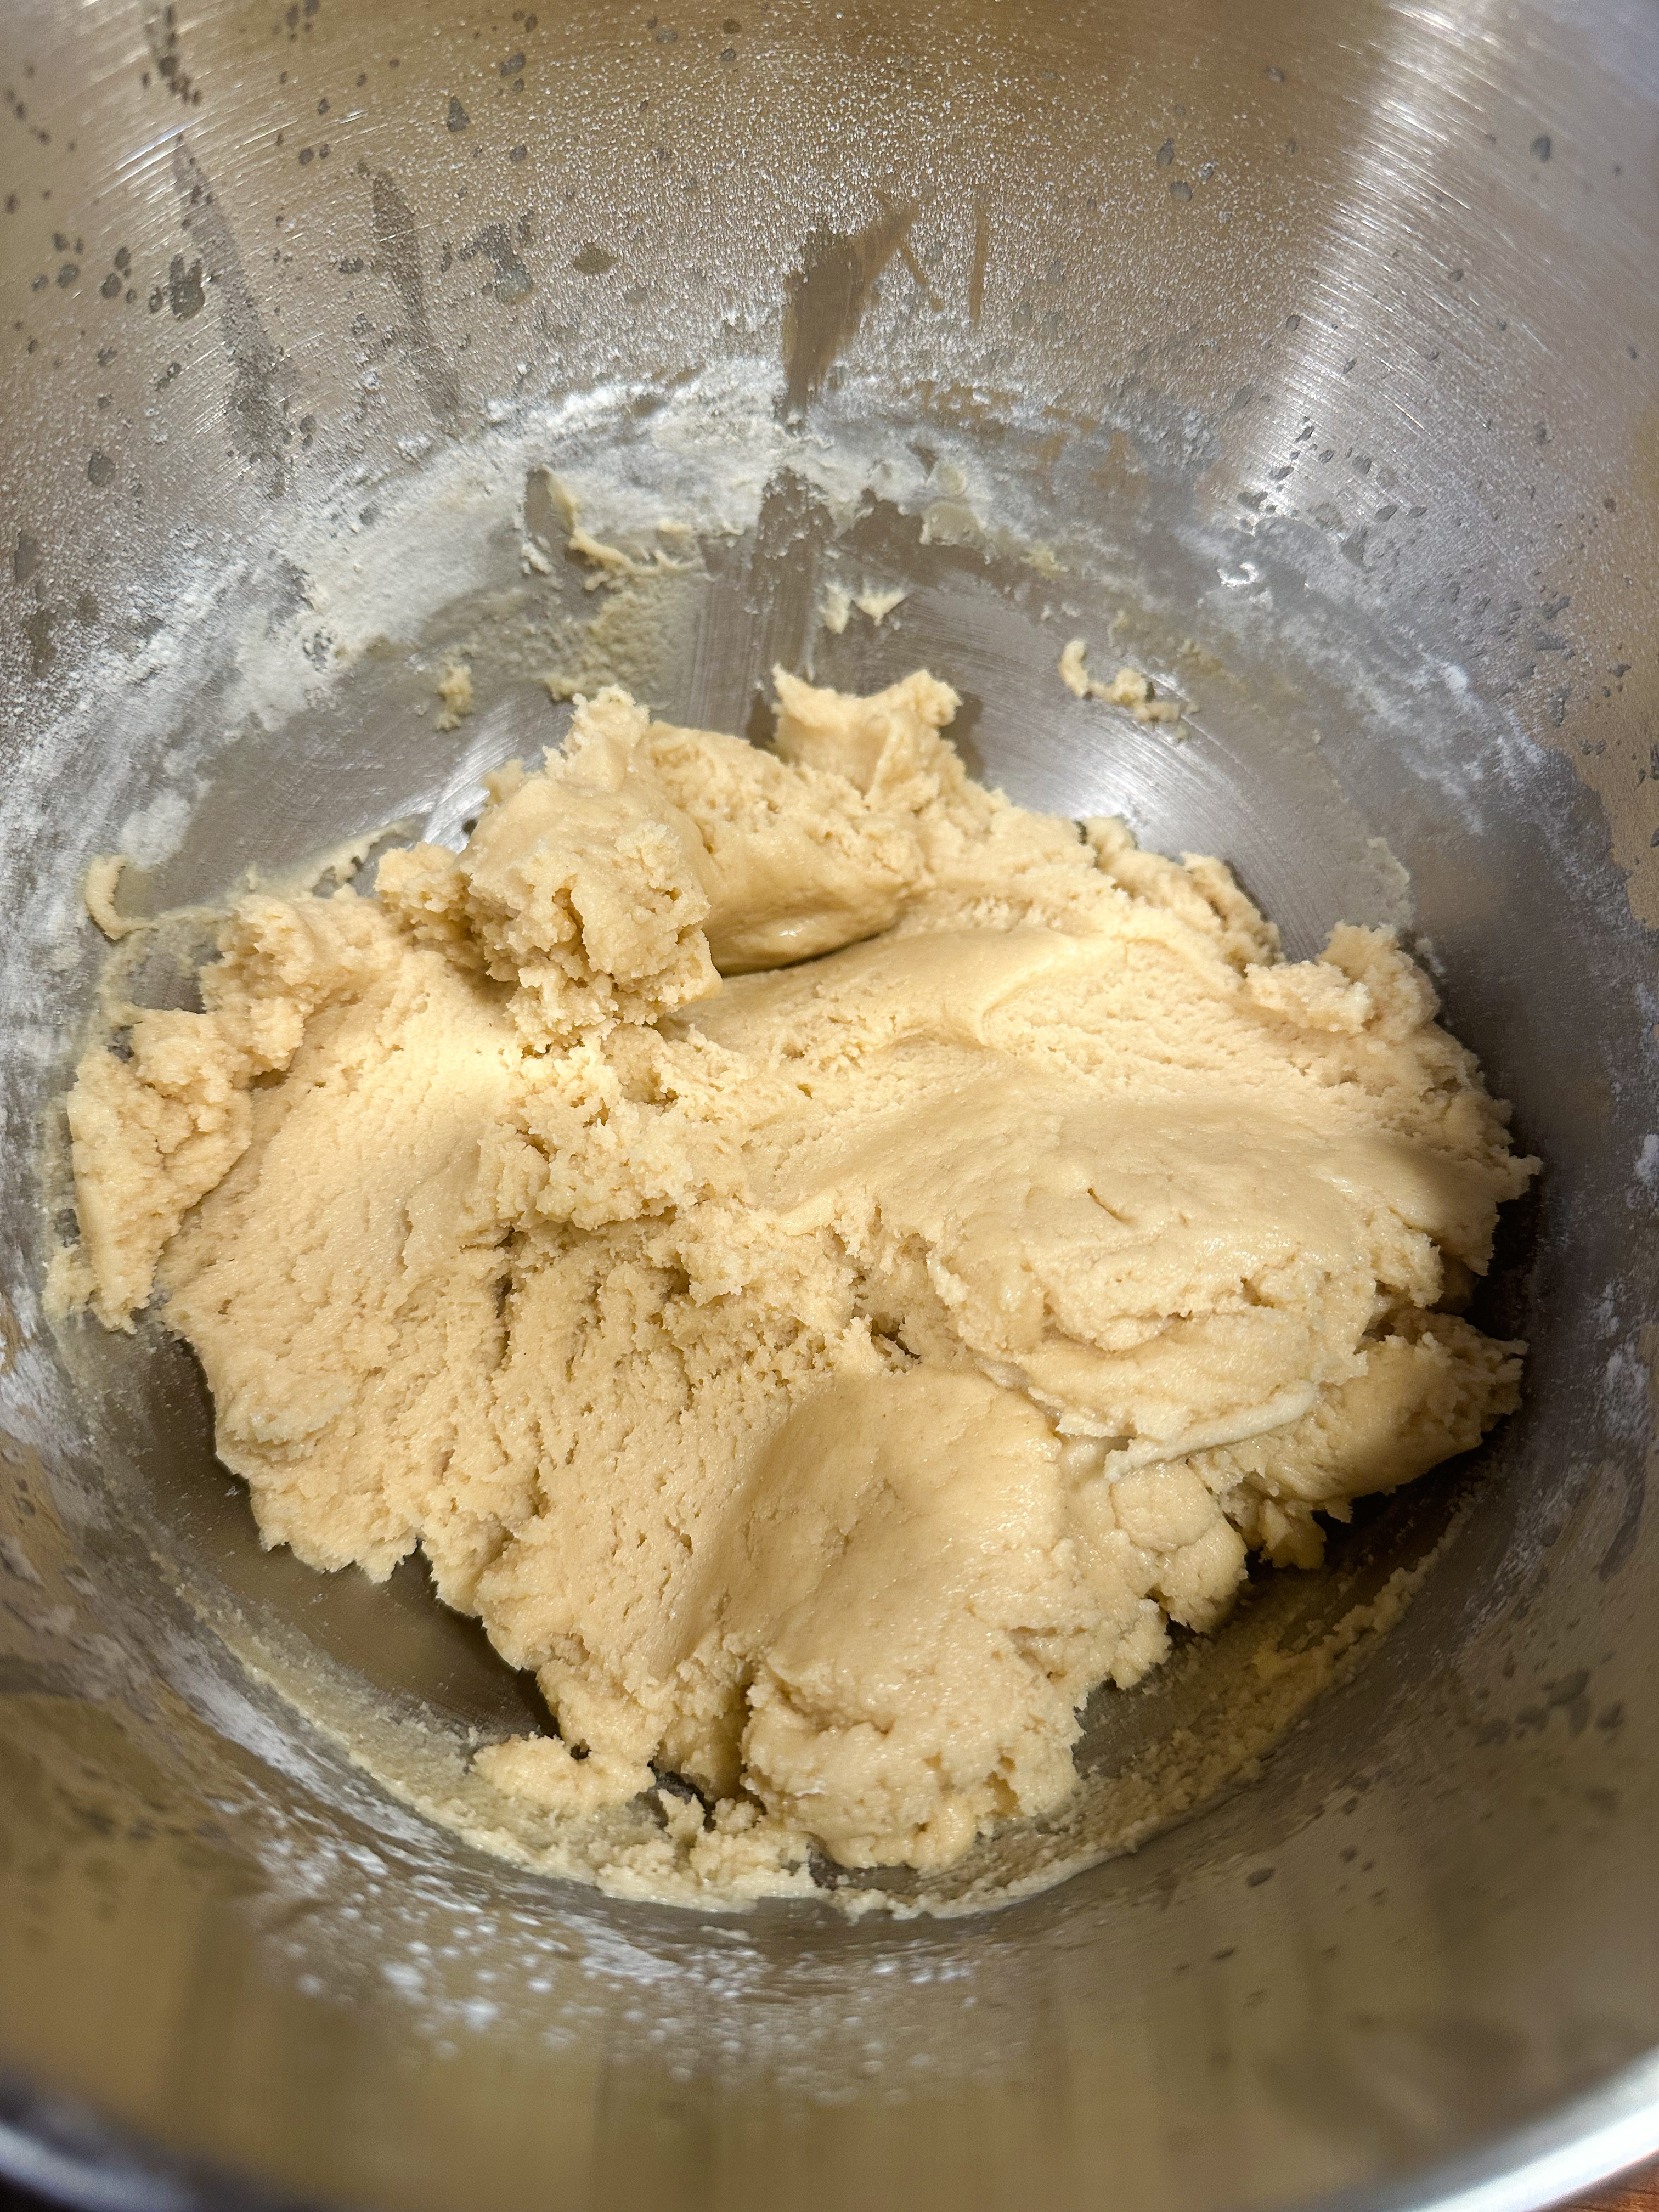
In a large mixing bowl, whisk together the egg + granulated sugar + vegetable oil + sour cream + vanilla extract until well combined.

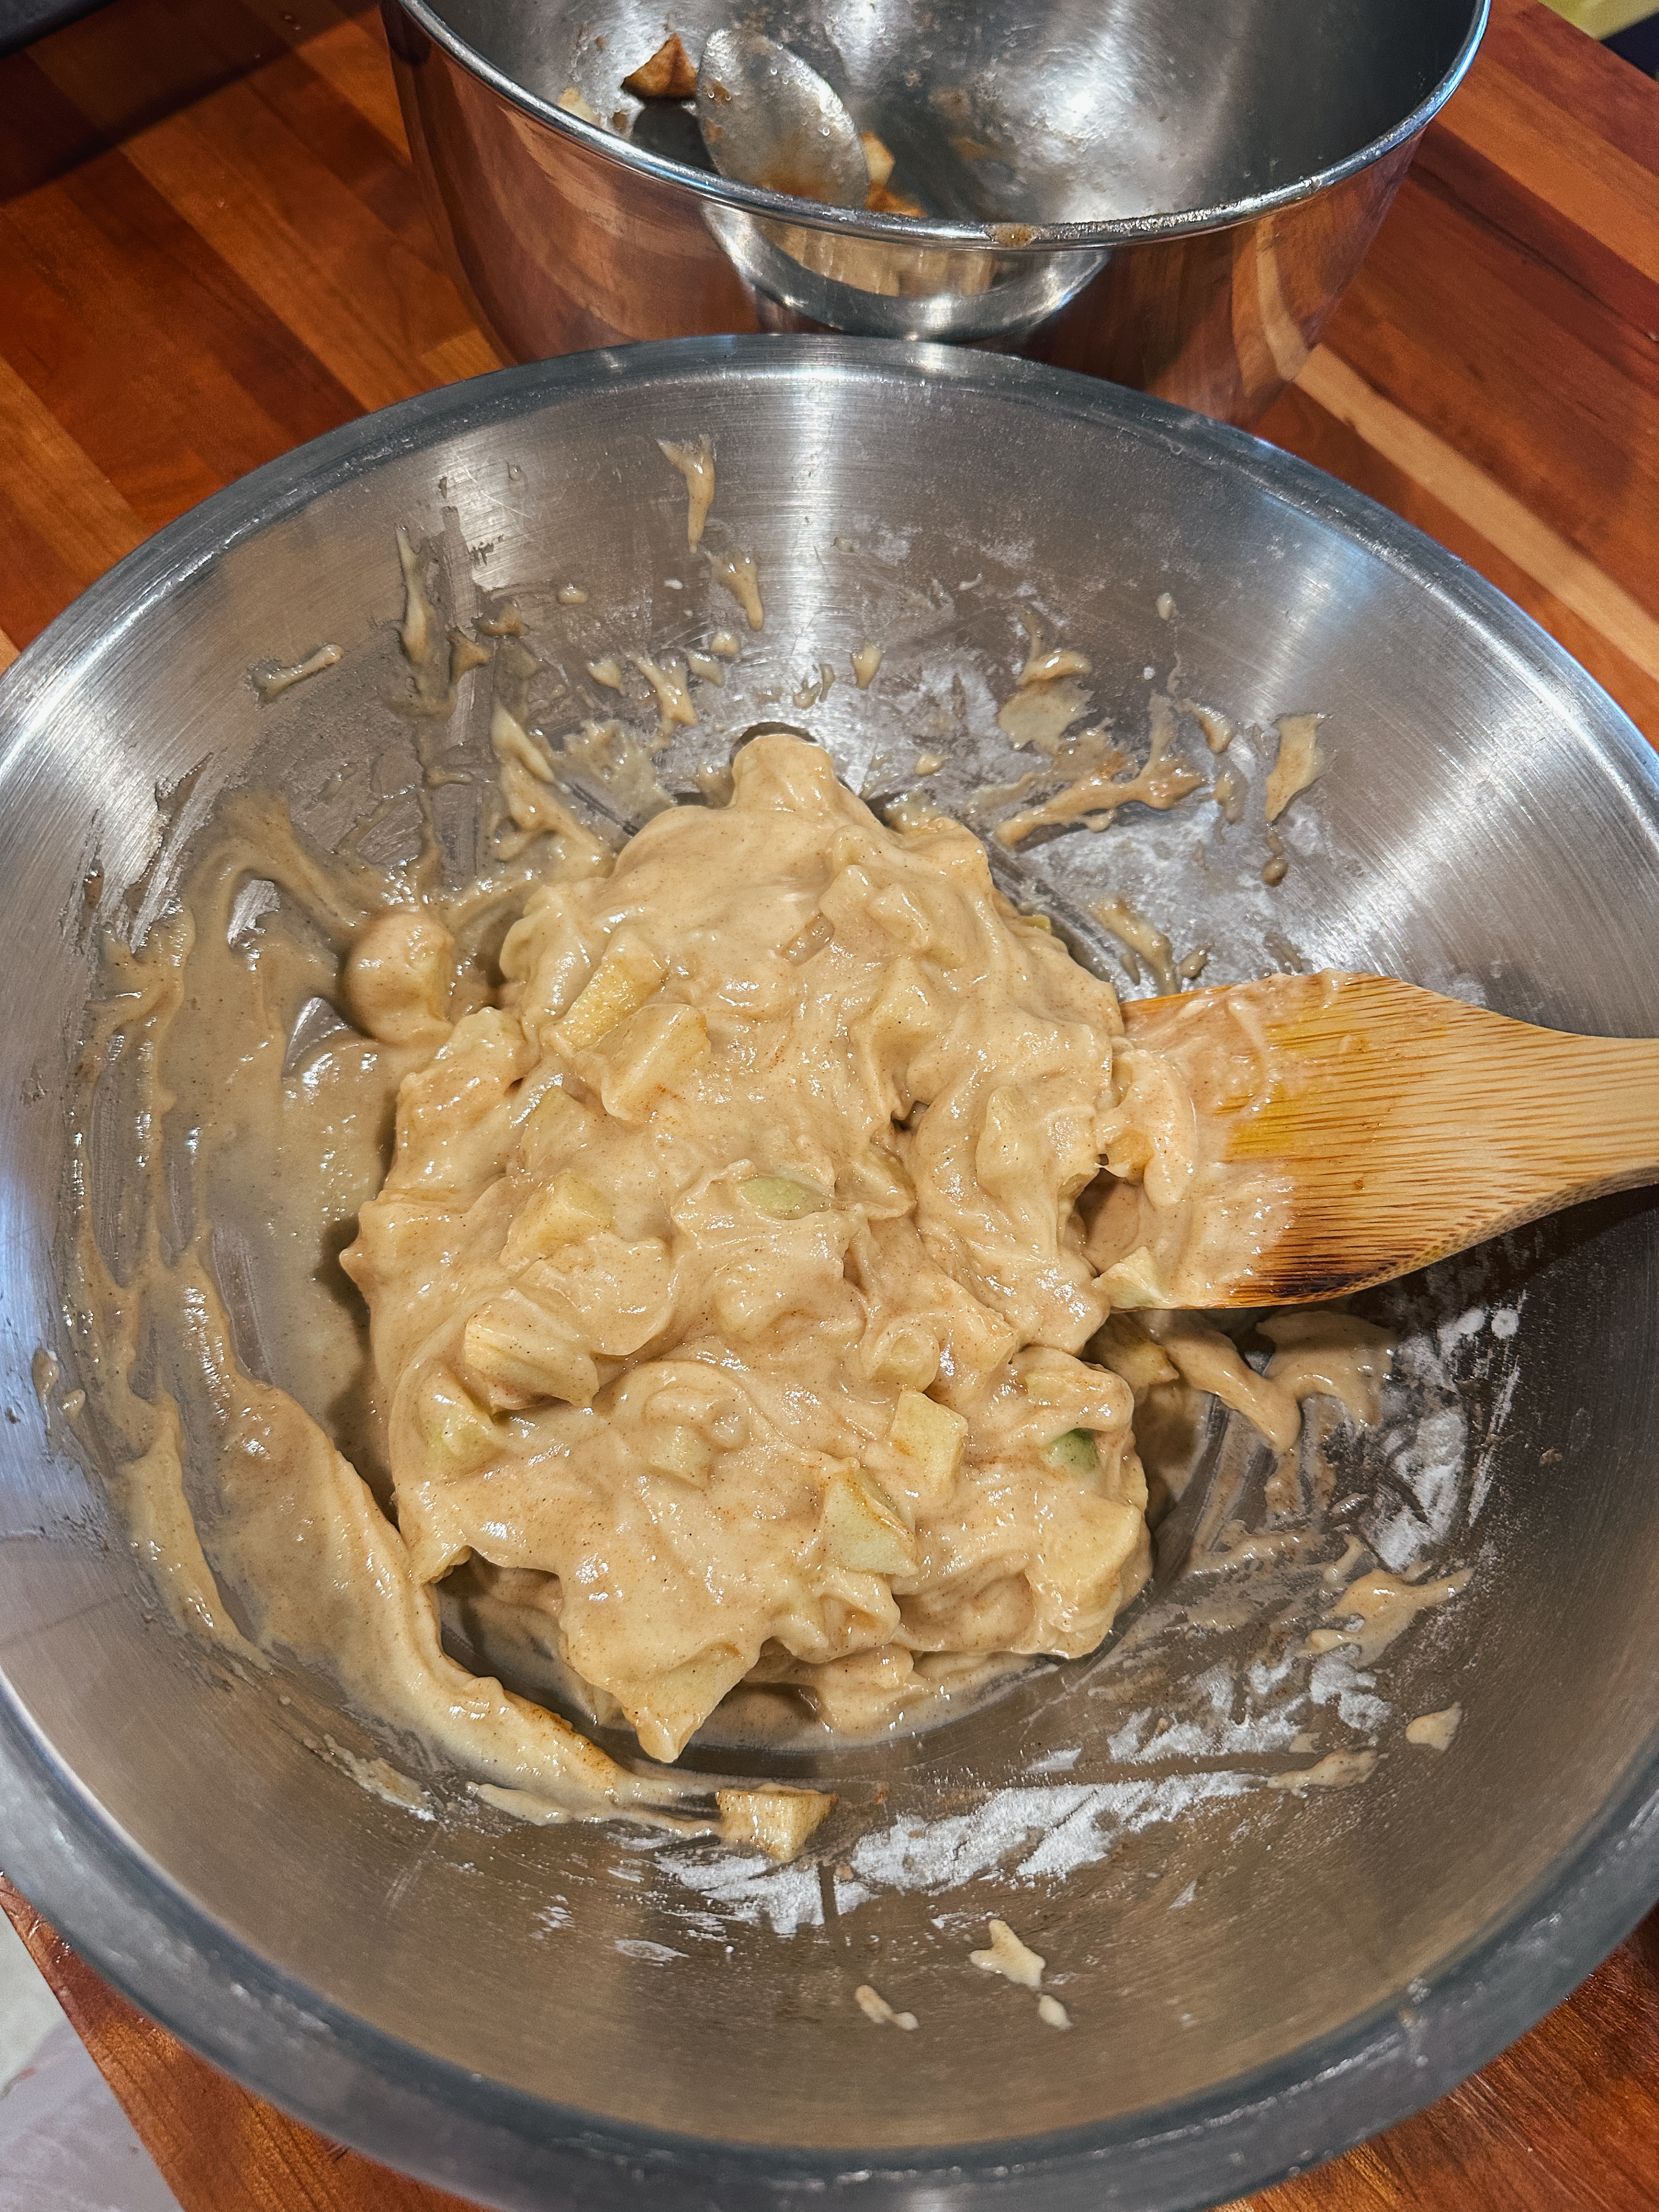
In a separate bowl, whisk together flour + baking soda + kosher salt, then add it to the bowl of wet ingredients. Mix in the dry ingredients until almost completely mixed in.

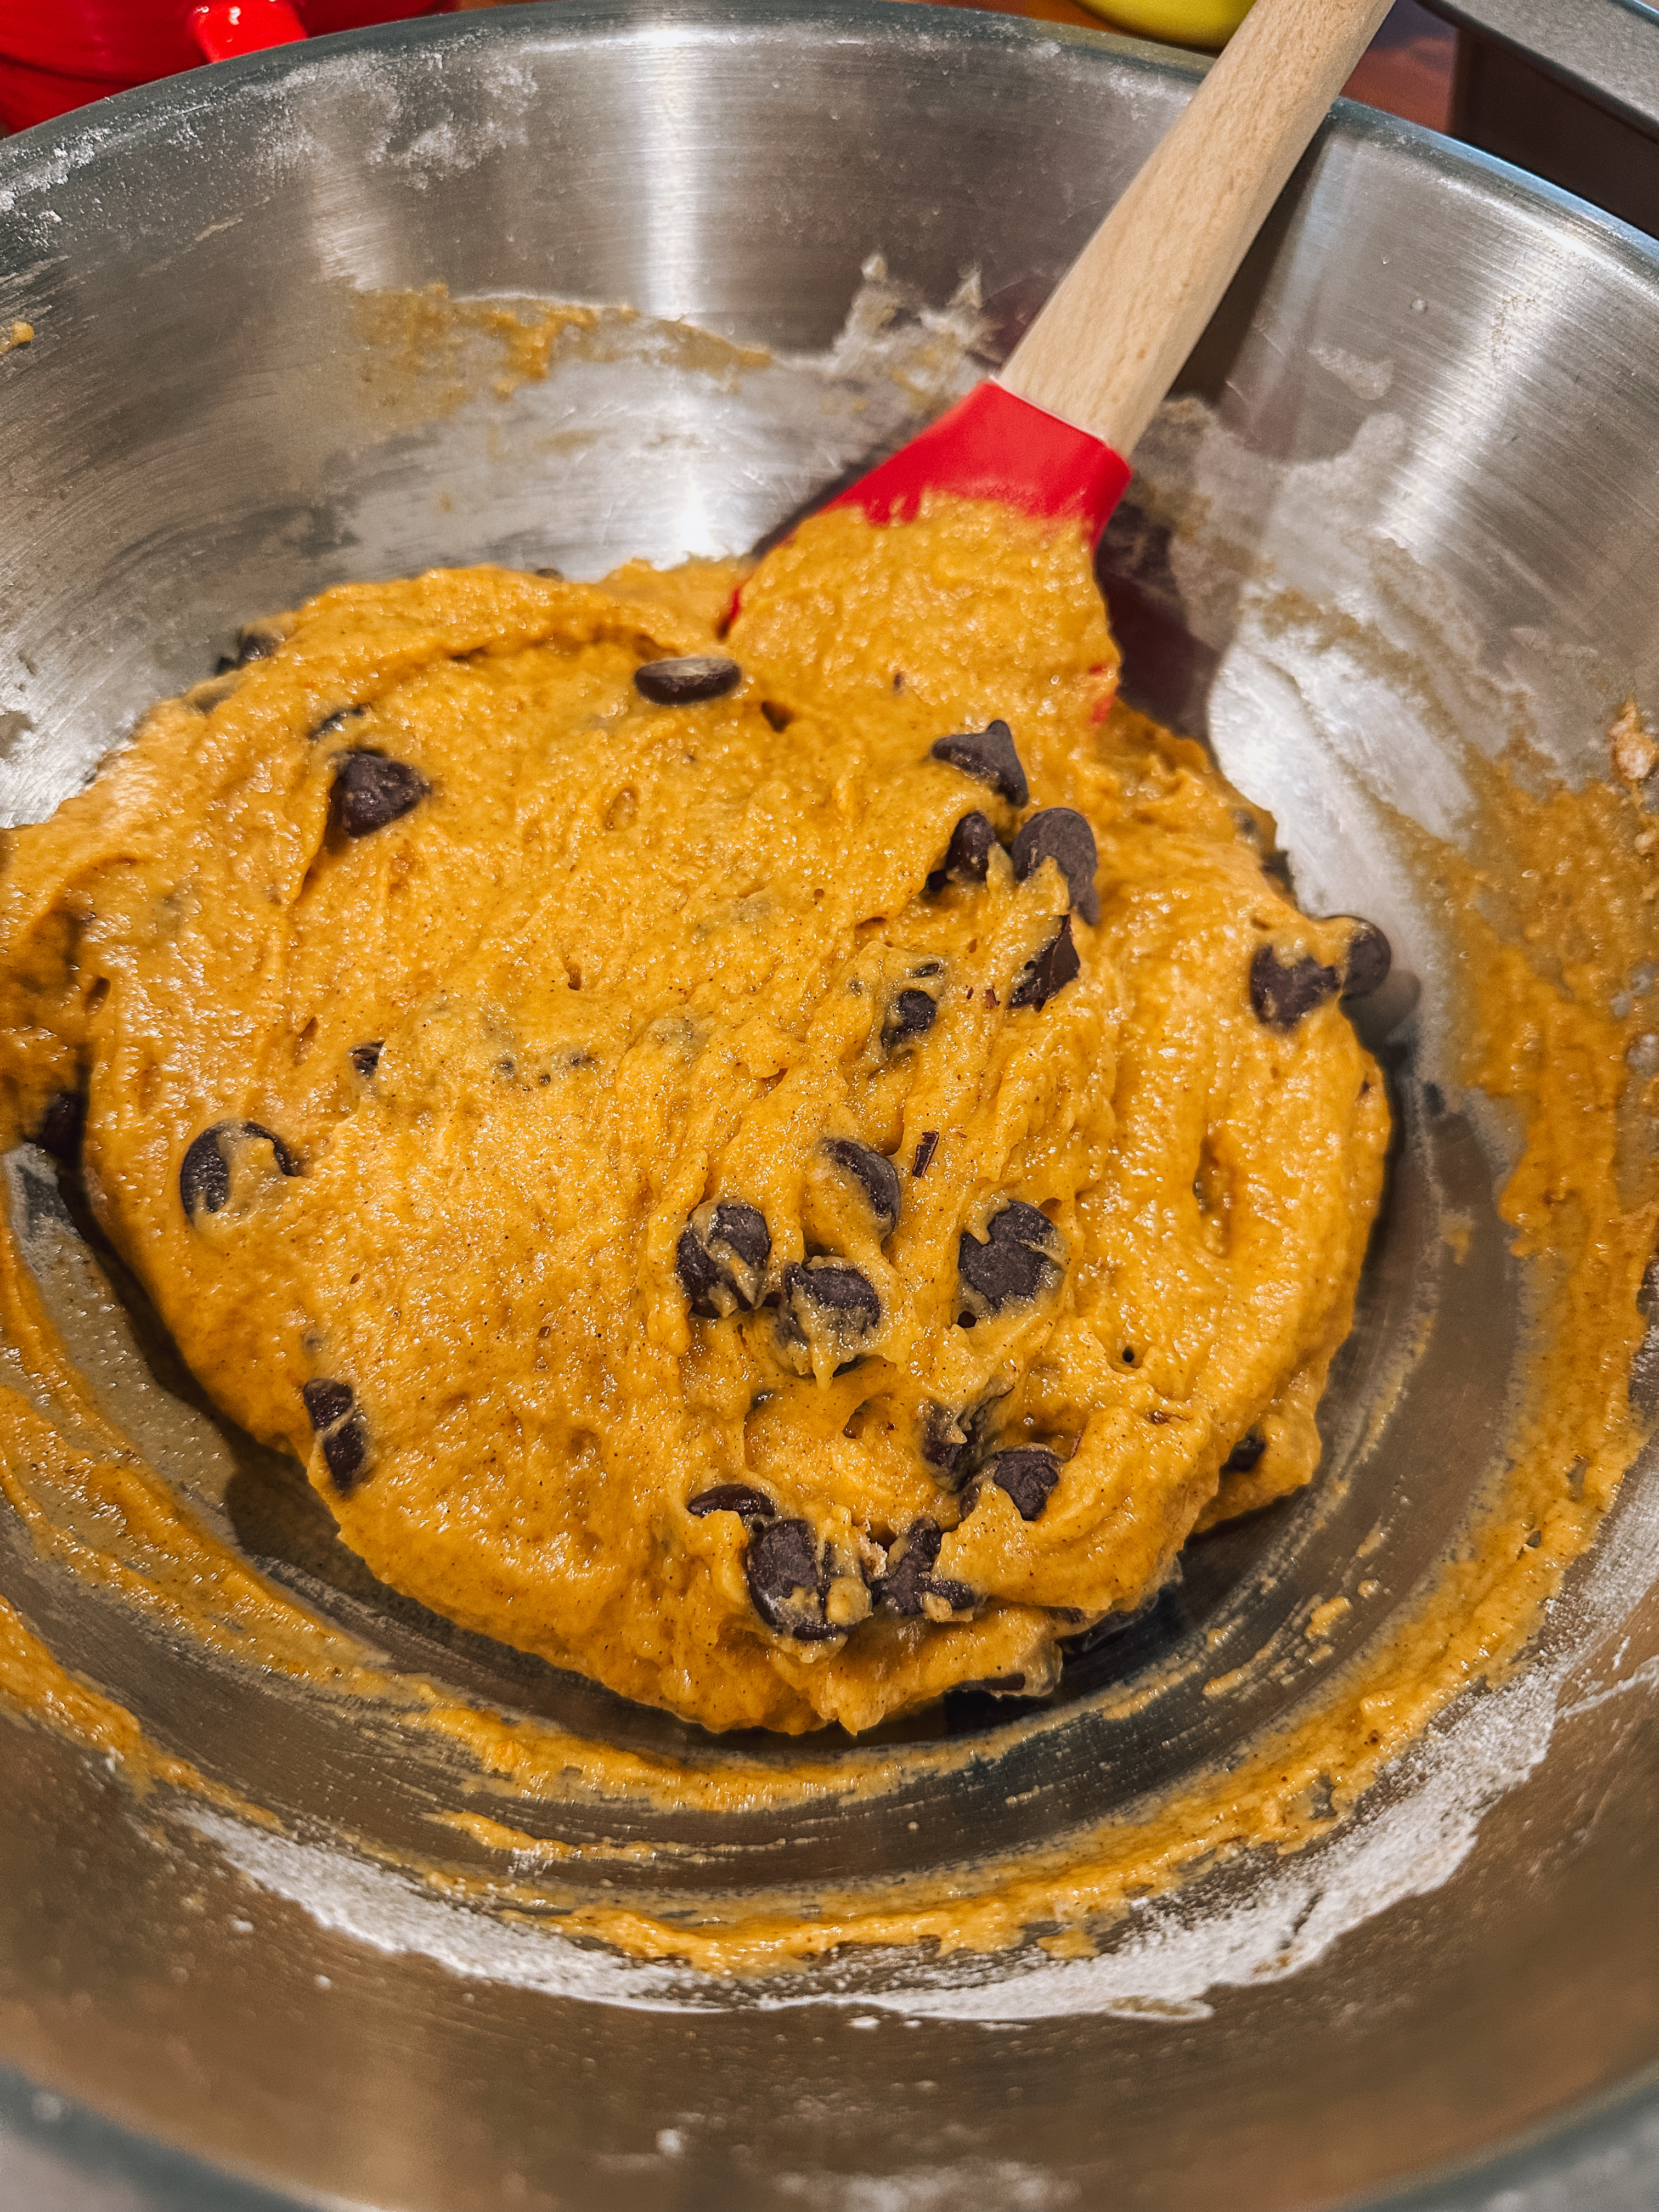
Fold in ¾ of the amount of the apple-cinnamon mixture into the batter, then pour it into the prepared loaf pan.

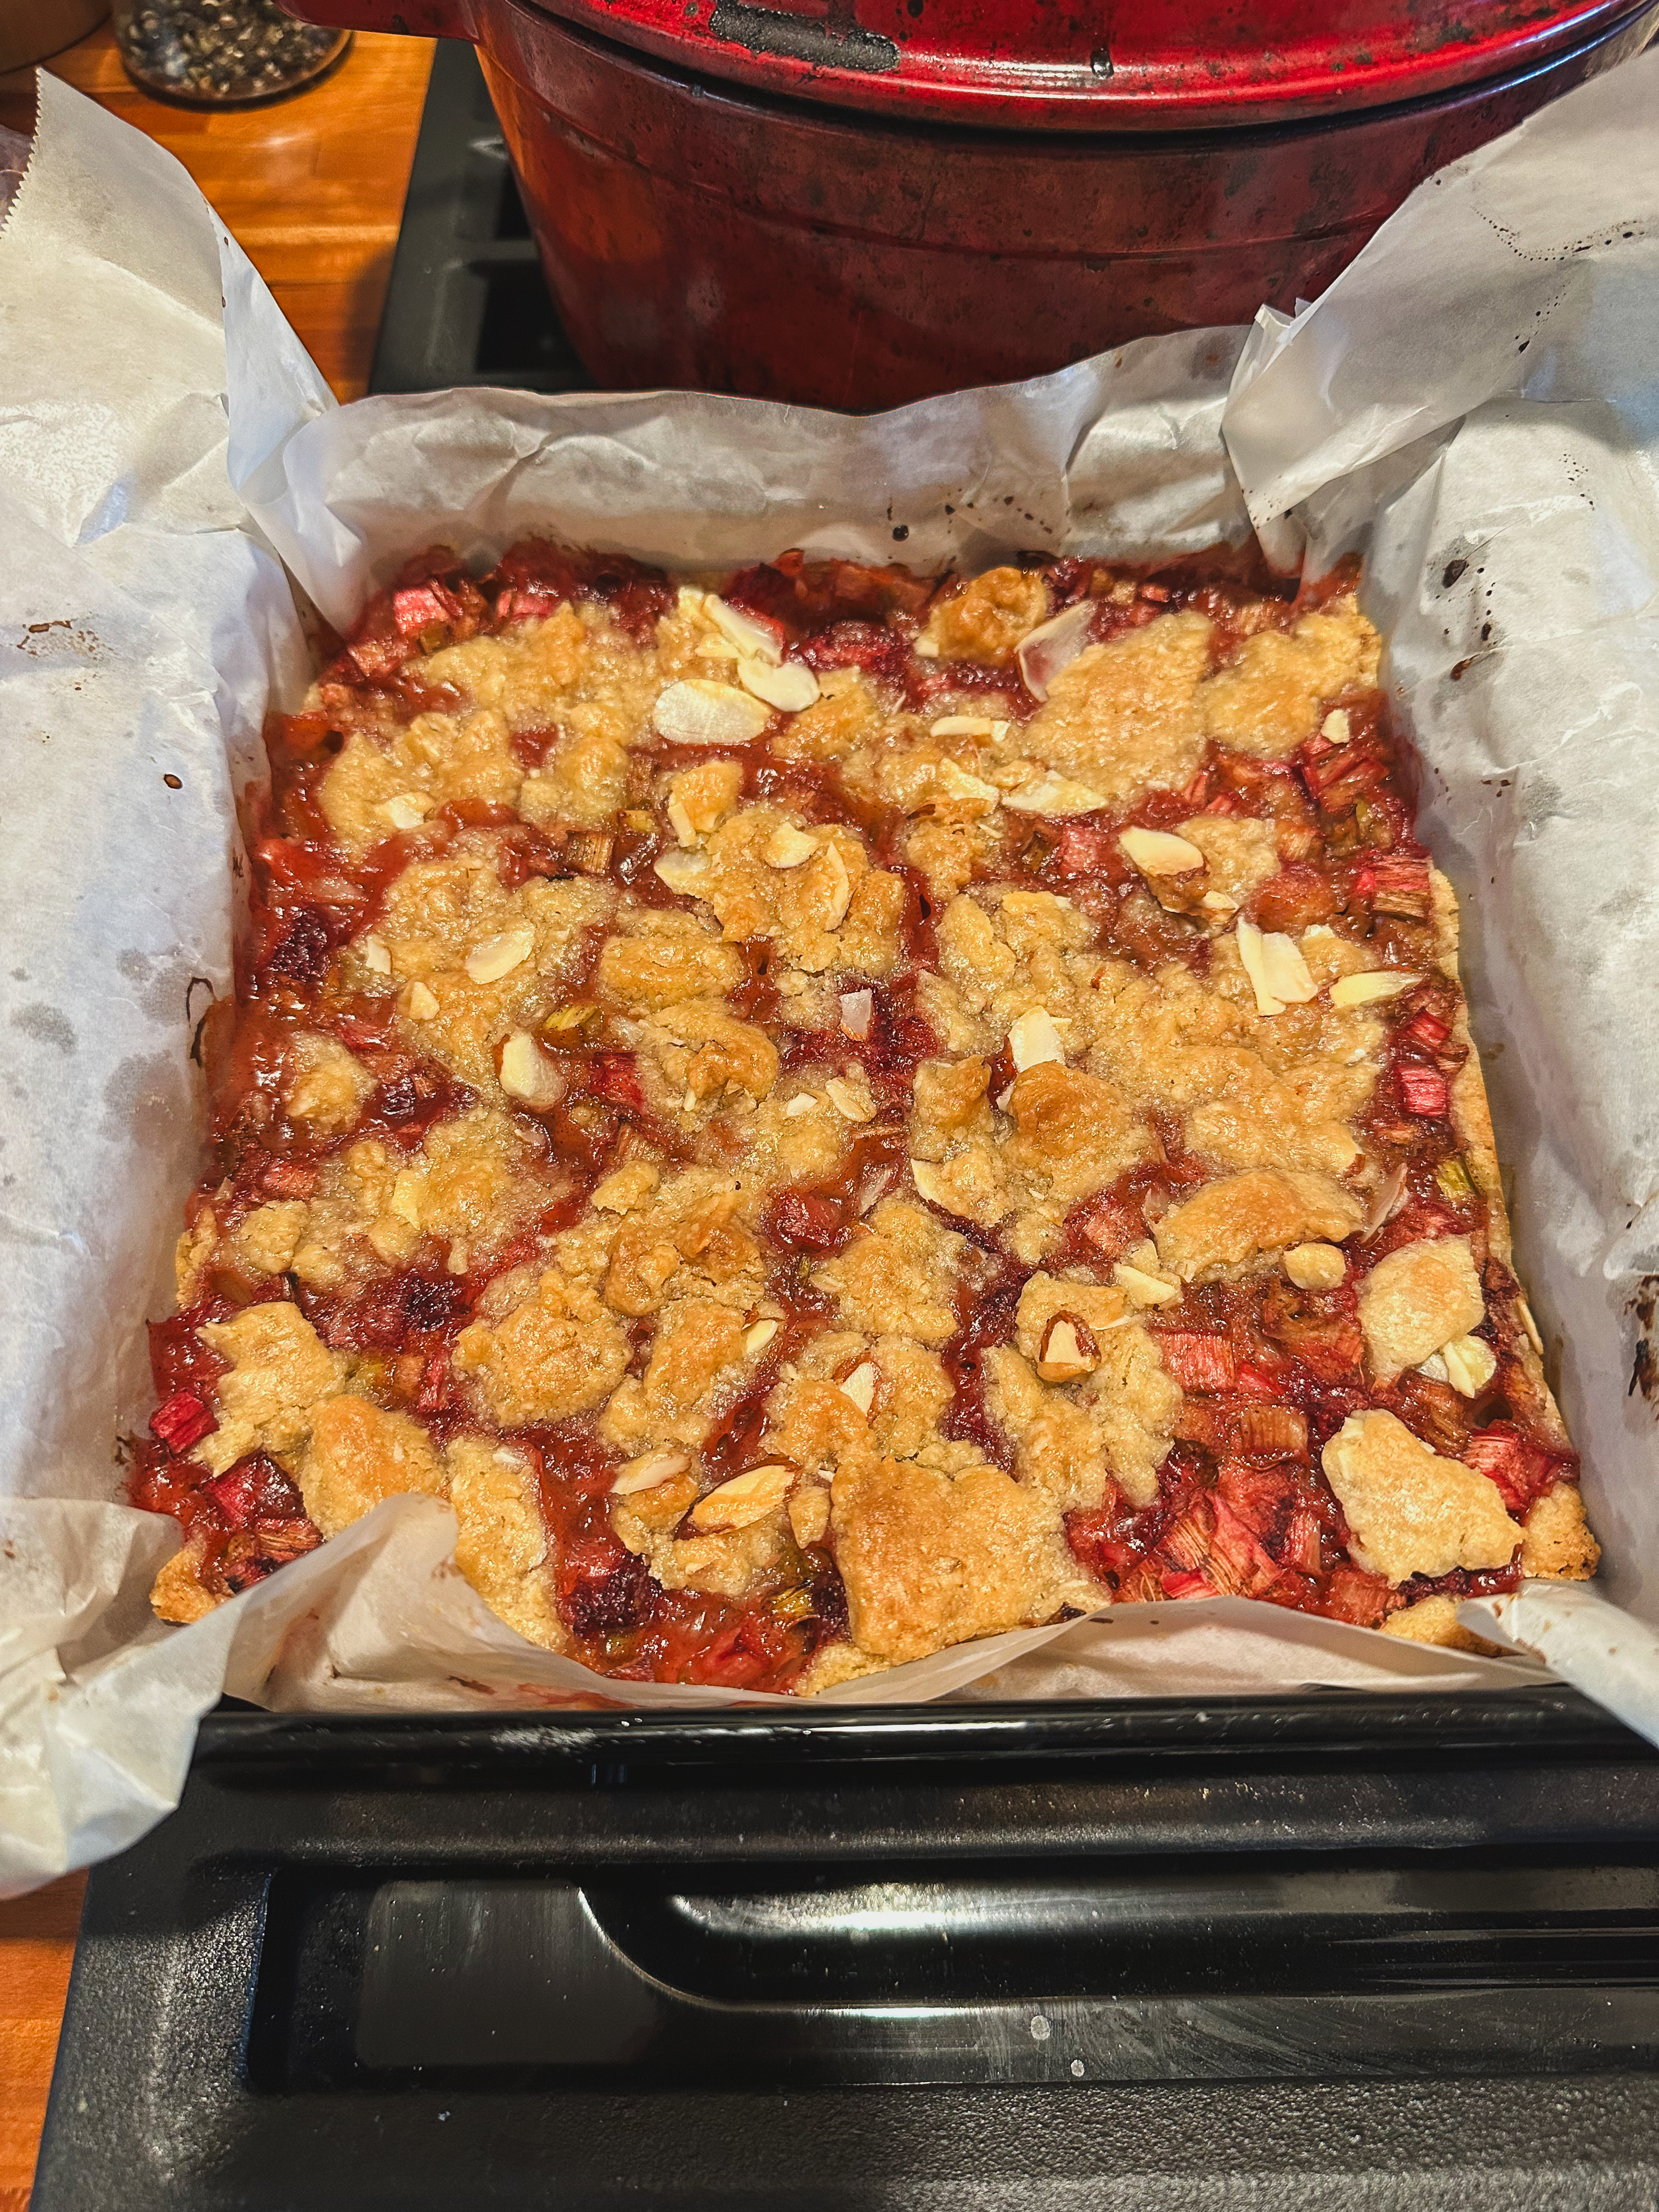
Top the apple fritter bread with the remaining apple chunks and bake for 50-55 minutes.

While the bread is cooking, in a small mixing bowl, whisk together the powdered sugar + vanilla extract + milk until it comes to a smooth consistency.

Let the cake cool in the pan for at least 30 minutes before serving. Pour the glaze over the fritter bread generously right before serving.

Made with Love,

Hannah

Sourdough Discard Pumpkin Chocolate Chunk Bread

October is one of my favorite months. The leaves are changing, the weather is cooling off, and it is time to lean into all things cozy. Cozy for me includes slower moments, spices, candlelit rooms, and being wrapped up in a blanket. I think that this sourdough pumpkin bread from This Jess Cooks adds to the experience of fall. It has the perfect balance of spices, pumpkin flavor, chocolate, and my favorite, a little tang from the sourdough discard. This all comes together quickly and is ideal for sharing!

Ingredients:

  • 1 cup + 2 Tablespoons All Purpose Flour
  • 2 teaspoons ground cinnamon
  • 1/2 teaspoon ground nutmeg
  • 1/2 teaspoon ground ginger
  • 1/4 teaspoon ground cloves
  • 1 teaspoon baking soda
  • 1 teaspoon kosher salt
  • 1/2 cup granulated sugar
  • 1/2 cup light or dark brown sugar
  • 1 cup pumpkin purée
  • 200 grams (about ¾ cup) sourdough discard unfed, at room temperature
  • 1/3 cup vegetable oil
  • 1 egg
  • 3/4 cup dark chocolate chunks or chips
  • 1-2 teaspoons turbinado sugar for topping (I did not have & used regular sugar instead)

Let’s Get Baking

Preheat oven to 350°F. Grease a 9×5-inch loaf pan and line it with parchment paper.

In a medium bowl, whisk together flour + cinnamon + nutmeg + cloves + ginger + baking soda + salt. Set the bowl aside.

In another large bowl, whisk together the granulated sugar + brown sugar + pumpkin purée + sourdough discard + vegetable oil + egg.

Slowly add the dry ingredients to the wet ingredients and stir until combined.

Fold in the chocolate chunks, keeping at least 2 Tablespoons of chocolate chunks for the topping. Pour the batter into the prepared pan and spread evenly. Sprinkle the top with turbinado sugar and the leftover chocolate chunks.

Bake for 60 minutes or until a toothpick inserted in the center comes out clean.

Remove from the oven and let cool for 10 minutes in the pan. Then remove the loaf from the pan and transfer it to a cooling rack to cool completely.

Once cool, slice & enjoy!

Made with Love,

Hannah

Rhubarb & Strawberry Crumble Bars

Rhubarb does not get the hype that she deserves. I am still new to the rhubarb world, and I am kicking myself for waiting so long. I made Claire Saffitz’s rhubarb loaf a few years ago, and I am so excited to bake with it again. With Memorial Day coming up, I needed a dessert to share with my family, and I figured you could never go wrong with a dessert bar. I found these rhubarb crumble bars from Molly’s Home Guide, which I changed a bit by adding lemon zest and almond slices! If you like tart over sweet, then these are the desserts for you!

Ingredients

  • 1¼ to 1½ cups rhubarb, cut into small pieces
  • 1¼ to 1½ cups strawberries, hulled and diced
  • 1 tablespoon lemon juice
  • Zest of 1 Lemon
  • 1 teaspoon vanilla extract
  • 2 tablespoons brown sugar
  • 2 teaspoons cornstarch
  • ½ teaspoon ground cinnamon
  • Pinch of salt
  • 12 tablespoons softened unsalted butter
  • ⅓ cup packed brown sugar
  • ¼ cup granulated sugar
  • 1⅔ cups plain flour
  • ¼ cup rolled oats
  • ½ teaspoon salt
  • ¼ cup chopped nuts (optional) – I used almonds

Let’s Get Baking

Preheat the oven to 375F

Line a 8×8 square pan with parchment paper and set aside.

In a large bowl, combine the diced rhubarb + strawberries + cornstarch + lemon zest + lemon juice + cinnamon + vanilla extract + salt + brown sugar. Mix well and set aside.

Using a mixer, cream together the butter + brown sugar + white sugar until the mixture is light and fluffy. Slowly add in the flour + oats + salt, mixing until incorporated.

Take 2/3 of the dough and place it into the prepared pan. Using your hands, press the dough evenly into the bottom of the pan to create the crust.

Using a slotted spoon, transfer the fruit mixture into the pressed dough crust. Spread the fruit evenly over the crust.

Mix together the remaining dough mixture with almonds (or nuts of your choice if using). Spring the crumble over the fruit layer, gently pressing it into the fruit mixture.

Bake the bars for 35-40 minutes. The crumble on top should be golden brown. Remove from the oven and allow to cool before cutting.

Enjoy warm or keep in an airtight container in the fridge for about 5 days.

Made with Love,

Hannah

Almond Croissant Cookies

It’s the holidays. For me the holidays are different this year, with the loss of Cooper we are embracing new traditions and being flexible with old ones. What I love about the holidays is how much food plays an important role in gathering people together. I was testing out some new cookies that I would like to bake for the holidays as cooking/baking continues to be a relaxation during this grief. I found these almond croissant cookies and OMG are they delicious! They are chewy and have this wonderful delicious almond flavor that goes perfectly with my morning coffee. They are definitely cooper-approved!

Ingredients

  • 250g Butter, melted
  • 150g Light Brown Sugar
  • 170g Sugar
  • 1 Cup All Purpose Flour
  • 1 1/2 TSP Baking Powder
  • 1/4 TSP Salt
  • 100g Almond Flour
  • 1 1/2 Cups All Purpose Flour
  • 1 Egg + 1 Egg Yolk
  • 1 TBSP Vanilla Paste [I used liquid vanilla and it worked perfectly]
  • 100g flaked almonds
  • Powdered Sugar to decorate

Let’s Get Baking

Melt your butter and allow it to cool slightly

In a mixing bowl combine 150g of light brown sugar + 170g sugar + melted butter and mix until well combined. Add in the egg + egg yolk + vanilla paste and combine.

Make your self-rising flour: In a small bowl combine 1 cup of all-purpose flour + 1 1/2 TSP Baking Powder + 1/4 TSP Salt

Gradually add in the self-rising flour + 100g almond flour + 1 1/2 Cups All purpose flour to the butter mixture until a dough forms.

Prepare a baking sheet with parchment paper and pour the almond flakes into a separate bowl.

Portion the dough out to your preferred cookie size, roll the ball in the almond flakes and place it on the prepared baking sheet.

Freeze the dough balls for about 30 minutes.

Preheat the oven to 350F and bake the cookies for about 15-25 minutes [depending on how big you made them], or until the edges are slightly golden.

Remove from the pan and allow to cool on a wire rack. Once cooled dust with powdered sugar.

Made with Love,
Hannah

24 Hour Turkey Brine

If you’re not brining your turkey for Thanksgiving what are you even doing?

Brining allows for the turkey to be more tender and flavorful as the salt breaks down some of the turkey’s protein. Though the process at surface level seems complicated, it’s really not, just ensure that you have given yourself enough time.

You can be as creative and complicated or as simple as you’d like with your brine. I like incorporating citrus fruits like oranges and lemons, garlic, rosemary, and bay leaves.

Ingredients

  • 7 Quarts (28 Cups) Water
  • 1 1/2 Cups Kosher Salt
  • 2 TBSP Black Pepper Corn
  • 2 TBSP Dried Rosemary [or use Fresh]
  • 2 TBSP Dried Thyme [or use Fresh]
  • 2 Oranges, sliced
  • 3 Lemons, Sliced
  • 1 Head of Garlic, the top removed
  • 6 Bay Leaves

Let’s Get Brining

First things first, make sure you have a thawed turkey and a container large enough to hold it. I use a roasting pan and flip the turkey 12 hours into the brine.

Line the bottom of your roasting pan with your lemons + oranges + garlic cloves. I also like to stuff a few orange slices and garlic cloves into the turkey while it brines.

In a saucepan, combine 4 cups of water + 1.5 Cups Kosher Salt + 2 TBSP Black Pepper Corns + 2 TBSP Dried Rosemary + 2 TBSP Dried Thyme + 6 bay leaves. Bring to a simmer, stirring until the salt dissolves, about 3-5 minutes. Immediately remove from heat and place the saucepan into an ice bath to allow to cool.

Take the salt mixture that was just created + remaining 24 cups of water and submerge the turkey into whatever vessel you are using to brine. Use a weight if needed to keep the turkey submerged.

Keep refrigerated for 24 hours. Remove from the brine and pat dry 1 hour before you intend to roast it. Be sure to remove any citrus or garlic you stuffed into the turkey as well.

I would love to know if you brine your turkey and what else you add to yours!

Made with Love,

Hannah

Anthony Bourdain’s Candied Sweet Potatoes

Thanksgiving, the Chef’s Holiday, is on it’s way.

My mom’s side has been doing an early Thanksgiving for 3 years now and honestly, it has been so nice! Way less pressure and no lines at the grocery store! What I love about Thanksgiving is all the sides, though the turkey is the main the side dishes are really the stars of the show! These sweet potatoes from Anthony Bourdain deserve their own recognition as one of the best. They feature apple cider and bourbon giving you a perfect taste of fall! A perfect addition to your Thanksgiving Day menu!

Ingredients

  • 3 LBS Sweet Potatoes, cut into quarters
  • 6 TBSP Unsalted Butter
  • 1 Cup Dark Brown Sugar, Packed
  • 1/3 Cup Apple Cider
  • 1/4 Cup Bourbon
  • Pinch of Salt

Let’s Get Cooking

Preheat the oven to 375F

Place the sweet potatoes in a medium pot and cover with cold water. Bring to a boil, reduce heat to HIGH simmer, and cook for 15-20 minutes. At this point the sweet potatoes should be cooked through but offer some resistance to a fork. Drain and once they are cool enough to handle, peel the potoates and cut them into 1-inch chunks.

Use 1 TBSP of Butter to grease a roasting pan thats large enough to hold the sweet potatoes in a single layer, place the sweet potatoes in it.

In a small saucepan, melt the remaining 5 TBSP of Butter + 1 Cup Dark Brown Sugar, then whisk in 1/3 Cup Apple Cider + 1/4 Cup Bourbon + Pinch of Salt. Let bubble on the stove top for 1 minute, then remove and drizzle over the sweet potatoes, tossing gently to coat. Roast in the oven, stirring with a wooden spoon every 10 minute for about 40 minutes, until the sweet potoates are tender.

Serve with the rest of your delicious thanksgiving meal!

Made with Love,

Hannah

Crab Cakes

Being in mostly land-locked Ohio, I don’t always get access to seafood, which I love very dearly. I was craving crab cakes the other day and rather than trust a restaurant, I figured I’d make them myself, thanks to a recipe from Instagram by GetFitwithNeil. Check out your local fish monger to get some fresh lump crab!

Ingredients

  • 1 LB Jumbo Lump Crab Meat,
  • 2 Large Eggs
  • 2 1/2 TBSP Mayo
  • 1 1/2 TSP Dijon Mustard, I’ve used whole grain as well and it’s good
  • 1 TSP Worcestershire Sauce
  • 1 TSP Old Bay Seasoning
  • 1/4 TSP Salt
  • 2 TBSP Fresh Parsley, I do 1 TBSP Dry
  • 1/2 Cup Panko
  • 1/4 Cup Celery, finely chopped

Aioli:

  • 1/2 CUP Mayo
  • 1/4 CUP Sour cream
  • 1 TSP Lemon Juice
  • 2 TSP Hot Sauce
  • 1/4 TSP Paprika
  • 1 TSP Dijon/Whole Grain Mustard
  • Salt to taste

Let’s Get Cooking

Mix together the eggs + mayo + mustard + Worcestershire + old bay + salt + parsley + celery in a large bowl.

Add in the crab meat, gently breaking some of it up and the panko. Gently mix until it all comes loosely together.

Prepare a baking sheet with parchment paper. Shape the crab cakes and place on the baking sheet.

Place in the fridge for at least an hour so they came come together.

Heat a non-stick pan and lightly coat the bottom with oil, when the pan is hot add in the crab cakes and cook for about 3-5 min each side, until the bottoms are golden brown.

To make the aioli: mix all the ingredients in a small bowl together, salt to taste.

Serve warm with aioli.

Enjoy!

Made with Love,

Hannah

The Perfect Bagel & Lox

This combination is a classic. It’s hard to mess up. Now I am sure you don’t need a post from me explaining how to pair these ingredients together, but I am going to give you my version anyway!

Ingredients

  • Bagels
  • Tomato
  • Red Onion
  • Cream Cheese
  • Capers
  • Smoked Salmon

Let’s Get Cooking

Start out by cutting the tomato into slices and the red onion rings.

While you are cutting, toast up the bagel.

Spread the cream cheese onto the bagel and evenly distribute the capers on top.

Follow with, salmon + red onion + tomato to top it off.

Everyone layers the ingredients differently, but I feel this way gives you the best bite (even though I am sure it really does not matter lol)!

Enjoy this meal for breakfast, lunch, or dinner; and I mean who doesn’t feel fancy eating smoked salmon and capers?!

Made with Love,

Hannah