I have been baking these gingerbread cookies with my family for Christmas forever. It was so fun to make all the different cutouts and decorate them! These gingerbread cookies have the perfect level of spice that pairs well with cocoa or coffee. They will be sure to make your house smell like Christmas time.
Ingredients
1 Cup Brown Sugar
1 Cup Light Molasses
1 Cup Shortening or butter, melted
1 Egg, beaten
1 TSP Ginger
1 TSP Cinnamon
1/2 Cup Hot Water
1 TBSP Baking Soda
5 Cups Flour
pinch of salt
Let’s Get Baking
Mix together with a stand or electric mixer (1 cup) brown sugar + (1 Cup) molasses + (1 Cup) melted shortening + beaten egg + (1 tsp) Ginger + (1 tsp) Cinnamon + salt (1/2 cup) hot water and (1 TBSP) baking soda. Mix well.
Add in the flour one cup at a time to make a soft dough. Chill for one to two hours.
Roll out the dough to about 1-2 inch thickness on a floured cutting board and cut with cookie cutters.
Preheat the oven to 350F
Place cutouts on a prepared baking pan and sprinkle on grandulated sugar before baking.
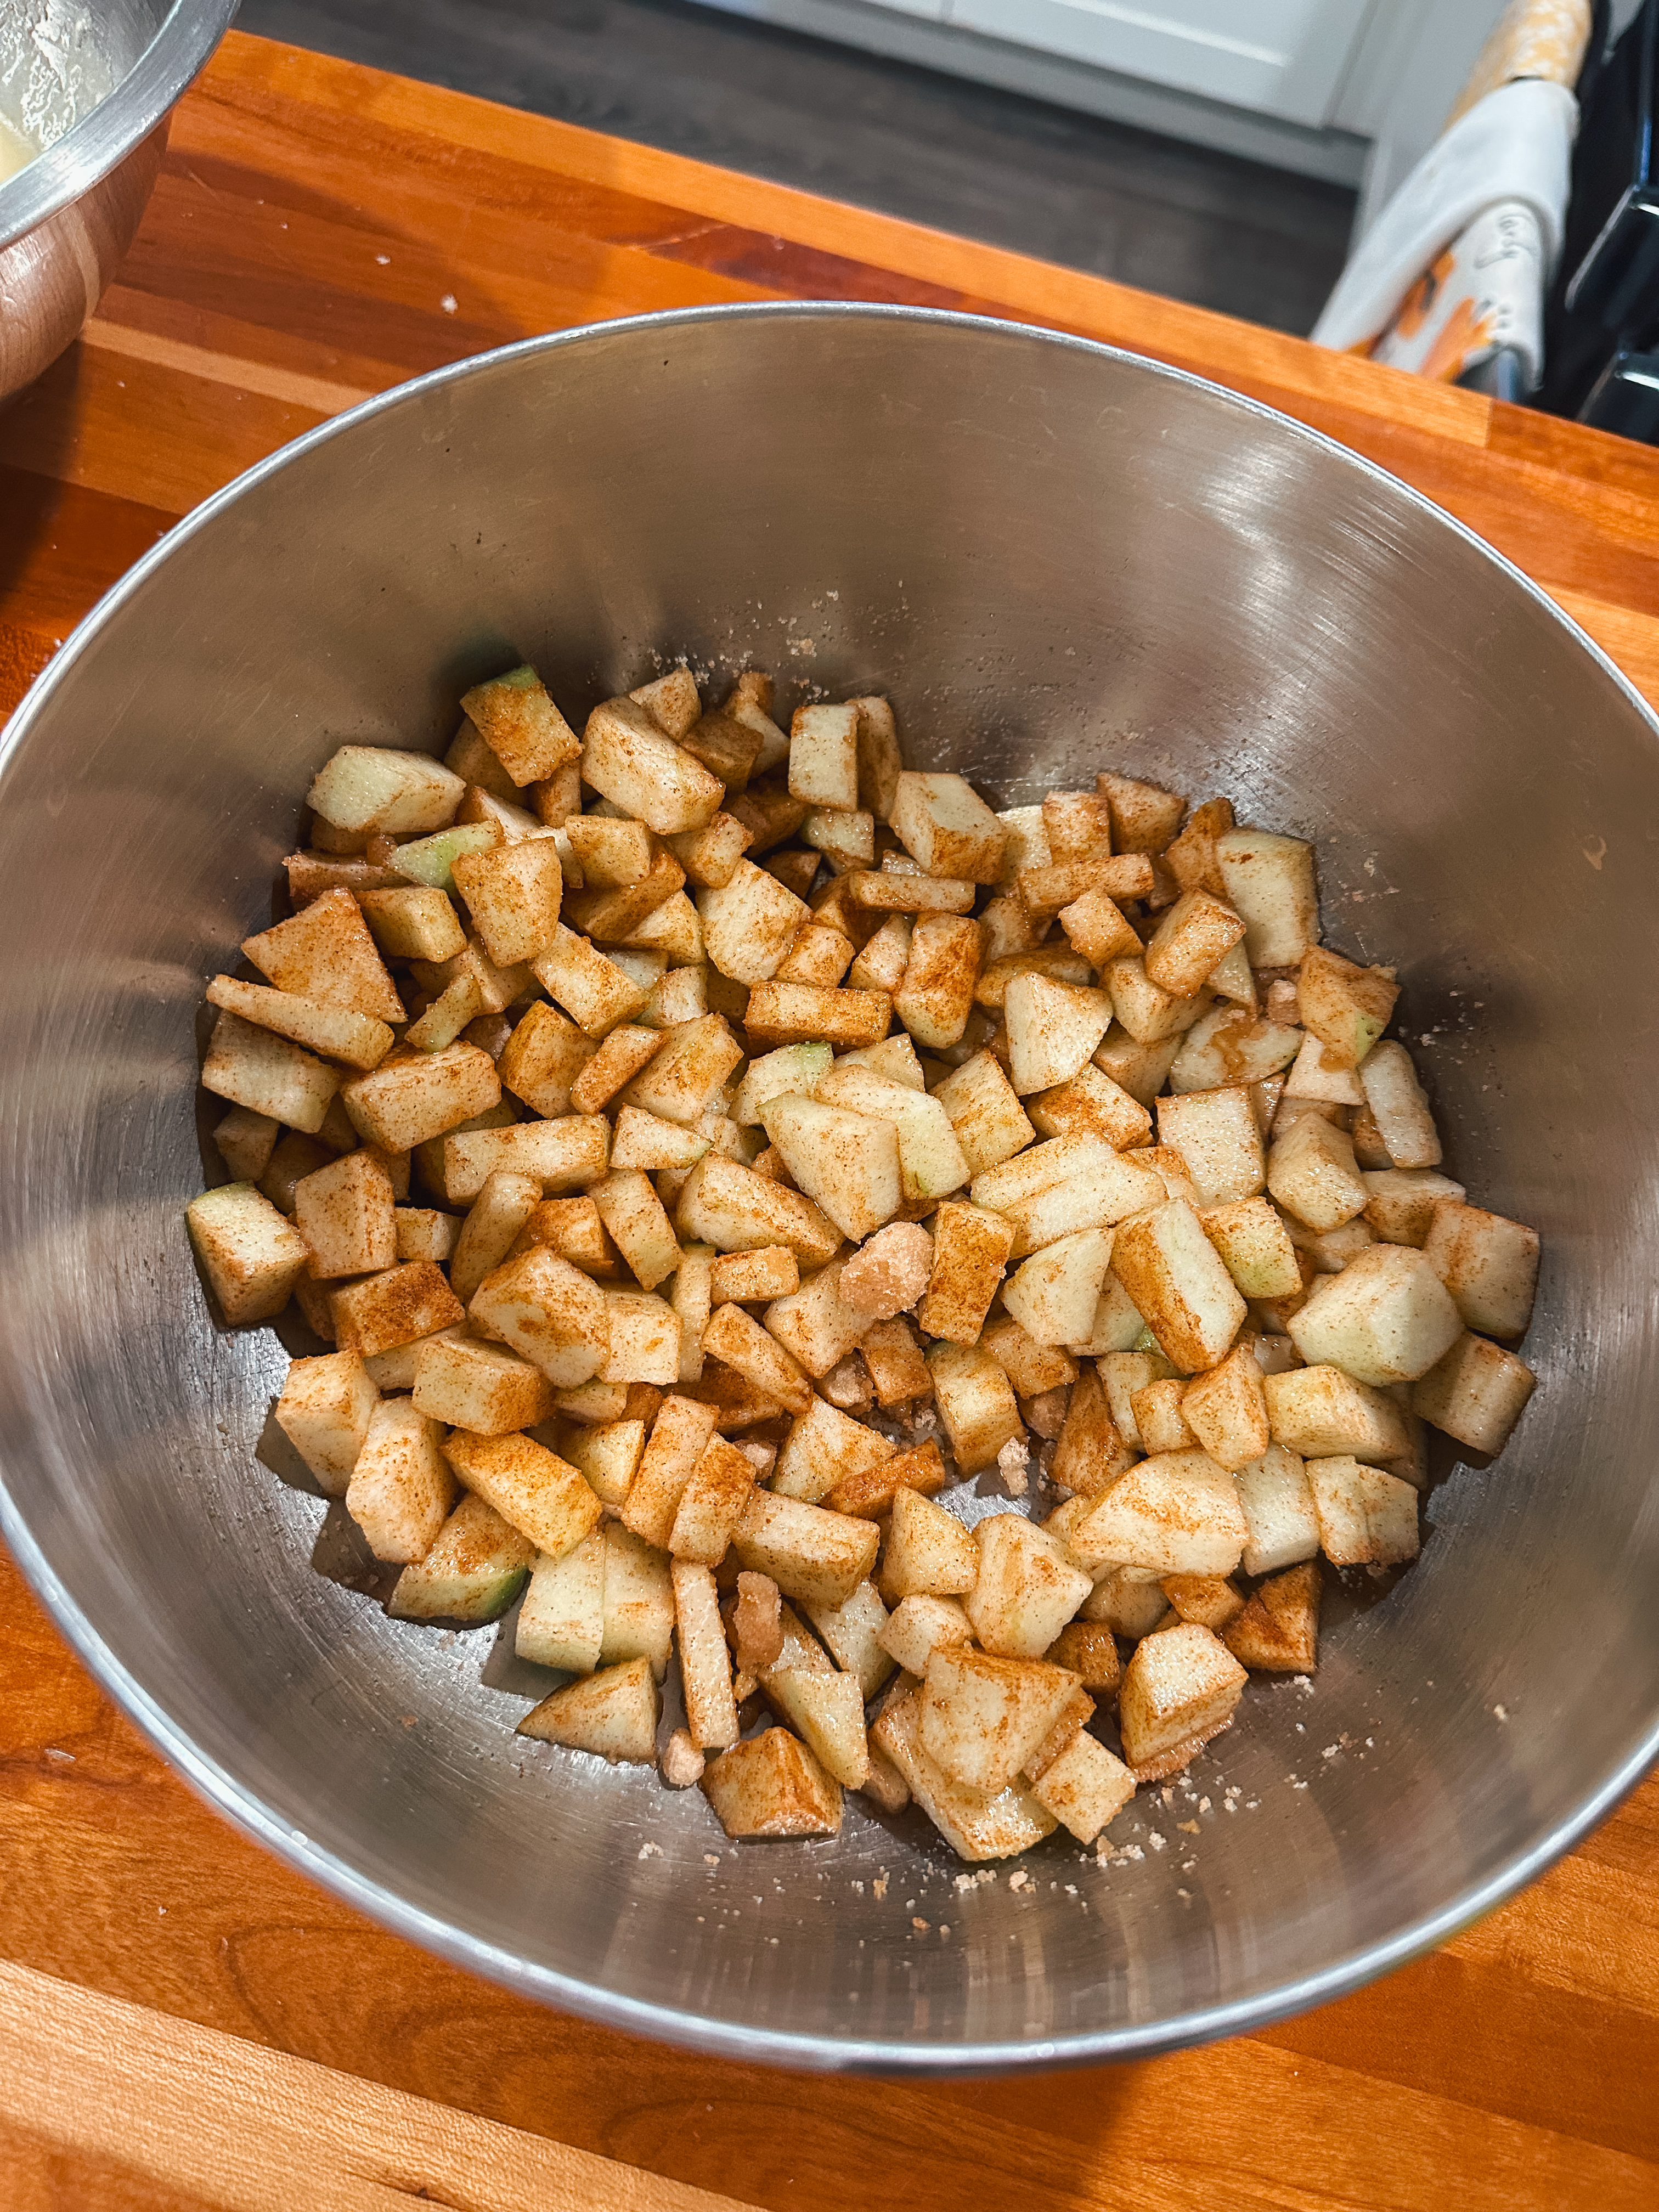
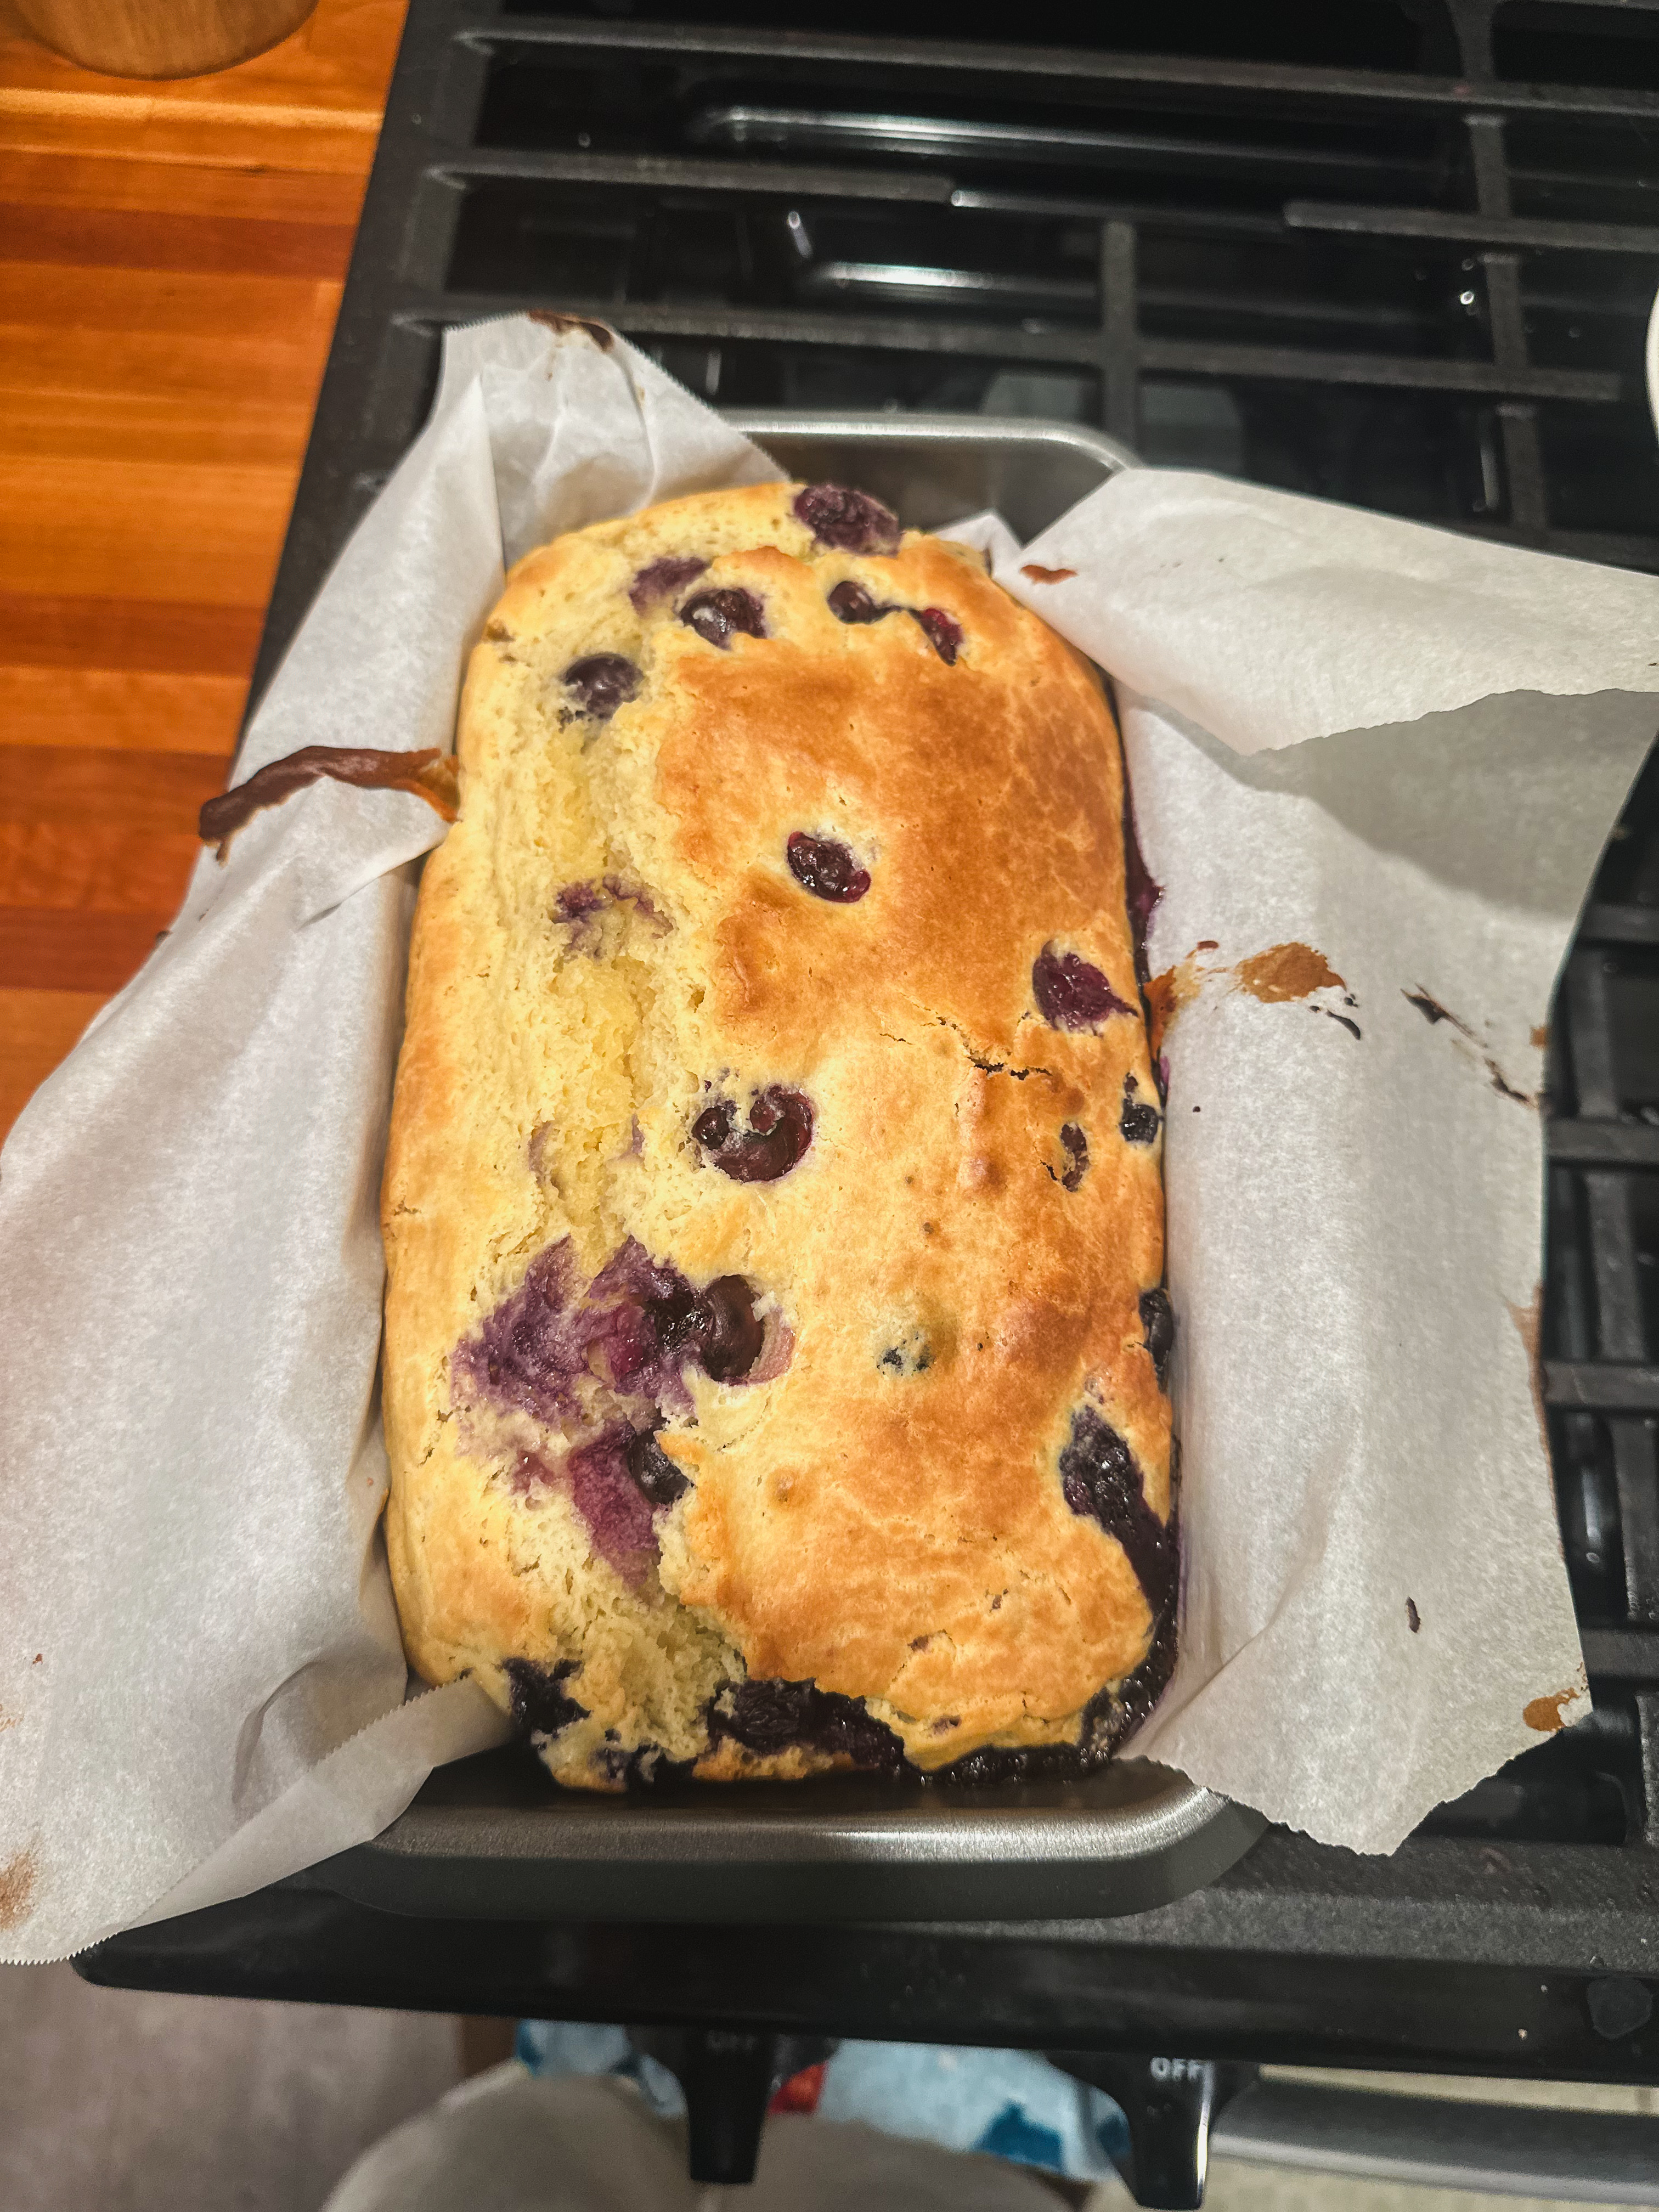
Apple bread deserves more recognition. This apple bread tastes like a warm apple donut. I cut the apples into bigger chunks because I like the bite to them, but feel free to cut them into smaller pieces. I used fresh grated ginger; I feel like it gives more of a punch than the ground ginger. I need everyone to make this bread; it is the perfect fall treat for these gray, cold days ahead of us.
Ingredients
2 medium Granny Smith apples, peeled, cored, and chopped
½ cup light brown sugar
3 teaspoon ground cinnamon
1 teaspoon ground ginger (I grated real ginger, but feel free to use pre-ground)
1 large egg, room temperature
⅓ cup white granulated sugar
¼ cup vegetable oil
¼ cup full-fat sour cream, room temperature
2 teaspoon vanilla extract
1 cup all-purpose flour
1 teaspoon baking soda
½ teaspoon kosher salt
Glaze
1 cup powdered sugar, sifted
1 teaspoon vanilla extract
3 tablespoons milk
Let’s Get Baking
Preheat your oven to 350F. Prepare your loaf pan with nonstick spray.
In a medium mixing bowl, mix the chopped apples + brown sugar+ cinnamon + ginger together and set aside.
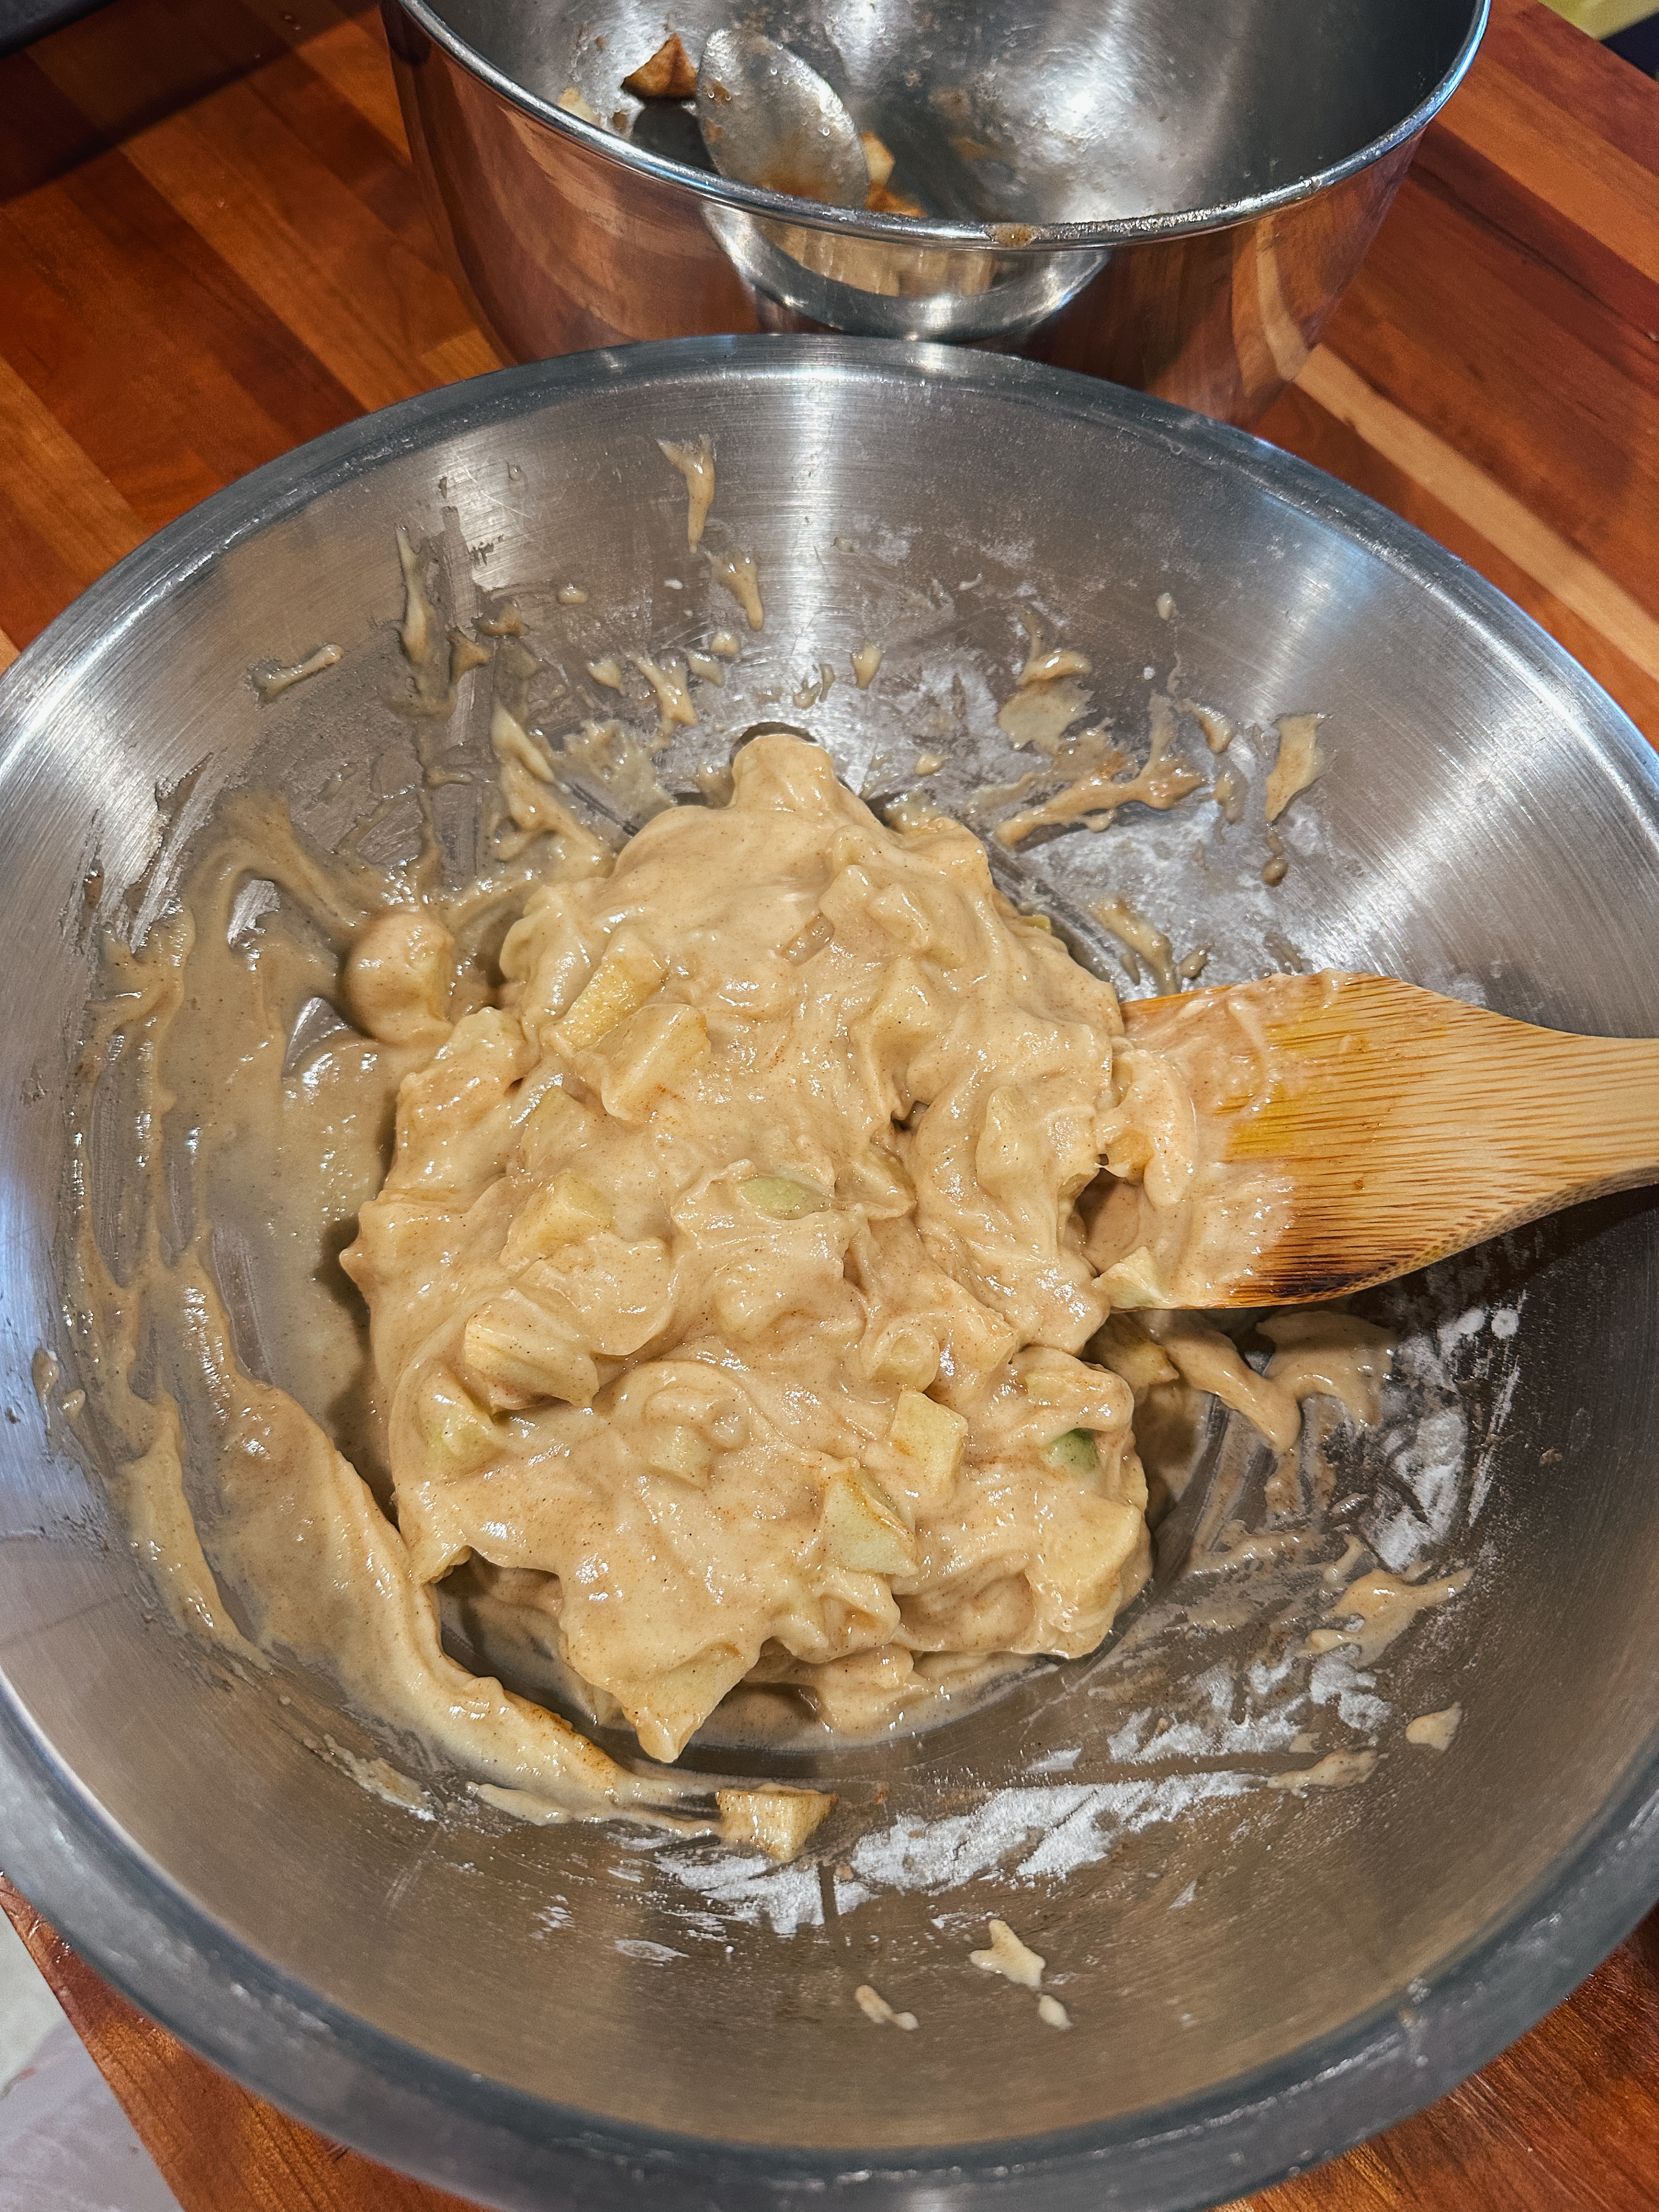
In a large mixing bowl, whisk together the egg + granulated sugar + vegetable oil + sour cream + vanilla extract until well combined.
In a separate bowl, whisk together flour + baking soda + kosher salt, then add it to the bowl of wet ingredients. Mix in the dry ingredients until almost completely mixed in.
Fold in ¾ of the amount of the apple-cinnamon mixture into the batter, then pour it into the prepared loaf pan.
Top the apple fritter bread with the remaining apple chunks and bake for 50-55 minutes.
While the bread is cooking, in a small mixing bowl, whisk together the powdered sugar + vanilla extract + milk until it comes to a smooth consistency.
Let the cake cool in the pan for at least 30 minutes before serving. Pour the glaze over the fritter bread generously right before serving.
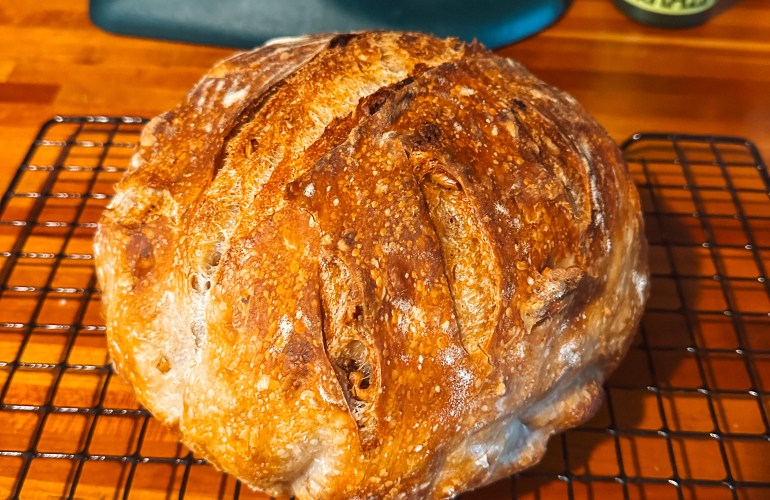
I love how customizable sourdough can be! I have been trying out different variations, and this combo may be one of my fall favorites. The walnuts add this wonderful crunch while the blue cheese highlights the tanginess of the sourdough. It makes a wonderful bread for grilled cheese, to dip into soup, and to eat toasted with some butter!
Ingredients
300g Water
175g Active Sourdough Starter
450g Bread Flour
10g Sat
1 Cup of Walnuts, roughly chopped
1 Package of Your fav Blue Cheese, crumbled
Let’s Get Baking
In a large bowl, combine 300g water + 150g active sourdough starter and whisk until fully incorporated.
Then add in 450g of bread flour + 10g of salt. Mix well until there are no dry spots on the dough. The dough should be sticky. Cover with a damp towel and let sit on the counter for an hour.
After the initial hour, uncover the dough and add in most of the chopped walnuts + blue cheese. Be sure to save some of the fillings for the shaping process! Now we begin stretch and folds. Wet your hands and place them underneath the dough, pull the edges of the dough up and fold them on themselves. Repeat on all sides of the dough. Once folded, cover the dough with the towel and repeat the stretches every hour until the loaf has doubled in size – the timing will vary. The dough will feel light, airy, and it will be less sticky when it is ready.
Time to shape! Turn out your dough on a lightly floured surface. Pull out the edges of the dough to create a rectangle. Add in the remaining walnuts + blue cheese. Fold one side halfway into the rectangle and fold the other side over that. Roll the dough away from you, creating a log. Place your hands on the sides of the dough and begin pulling towards yourself to get rid of the seams and create a tighter ball. Prepare a bowl by placing a towel in the bowl and sprinkling flour on the towel. Place the dough ball upside down [or seam side up] into the prepared bowl. Cover with the towel and let it proof for one hour on the counter before moving it into the fridge overnight.
Preheat the oven to 500°F and put your Dutch oven in the oven while it preheats. Place your dough on a piece of parchment paper and score the bread to release the steam. Carefully remove your Dutch oven once the oven has preheated and place your dough inside. Cover with the lid and bake at 500F for 20 minutes. After the initial 20 minutes, reduce the heat to 475°F and bake for another 25 minutes.
Allow to fully cool before cutting into the dough – this is the hardest part! Then enjoy!
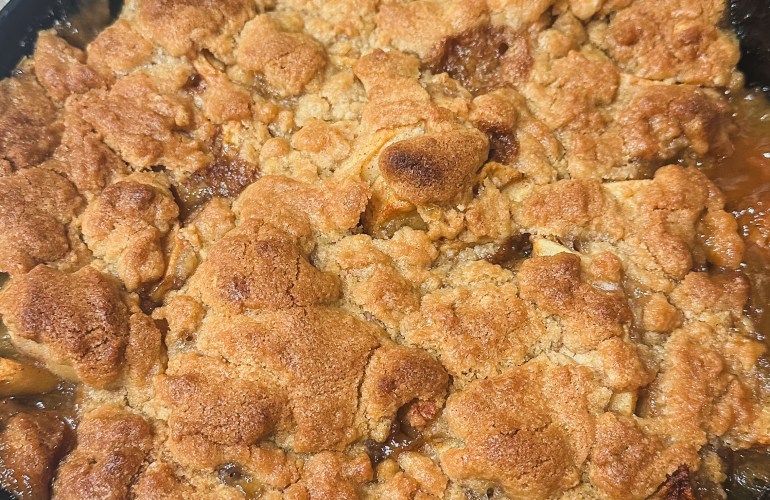
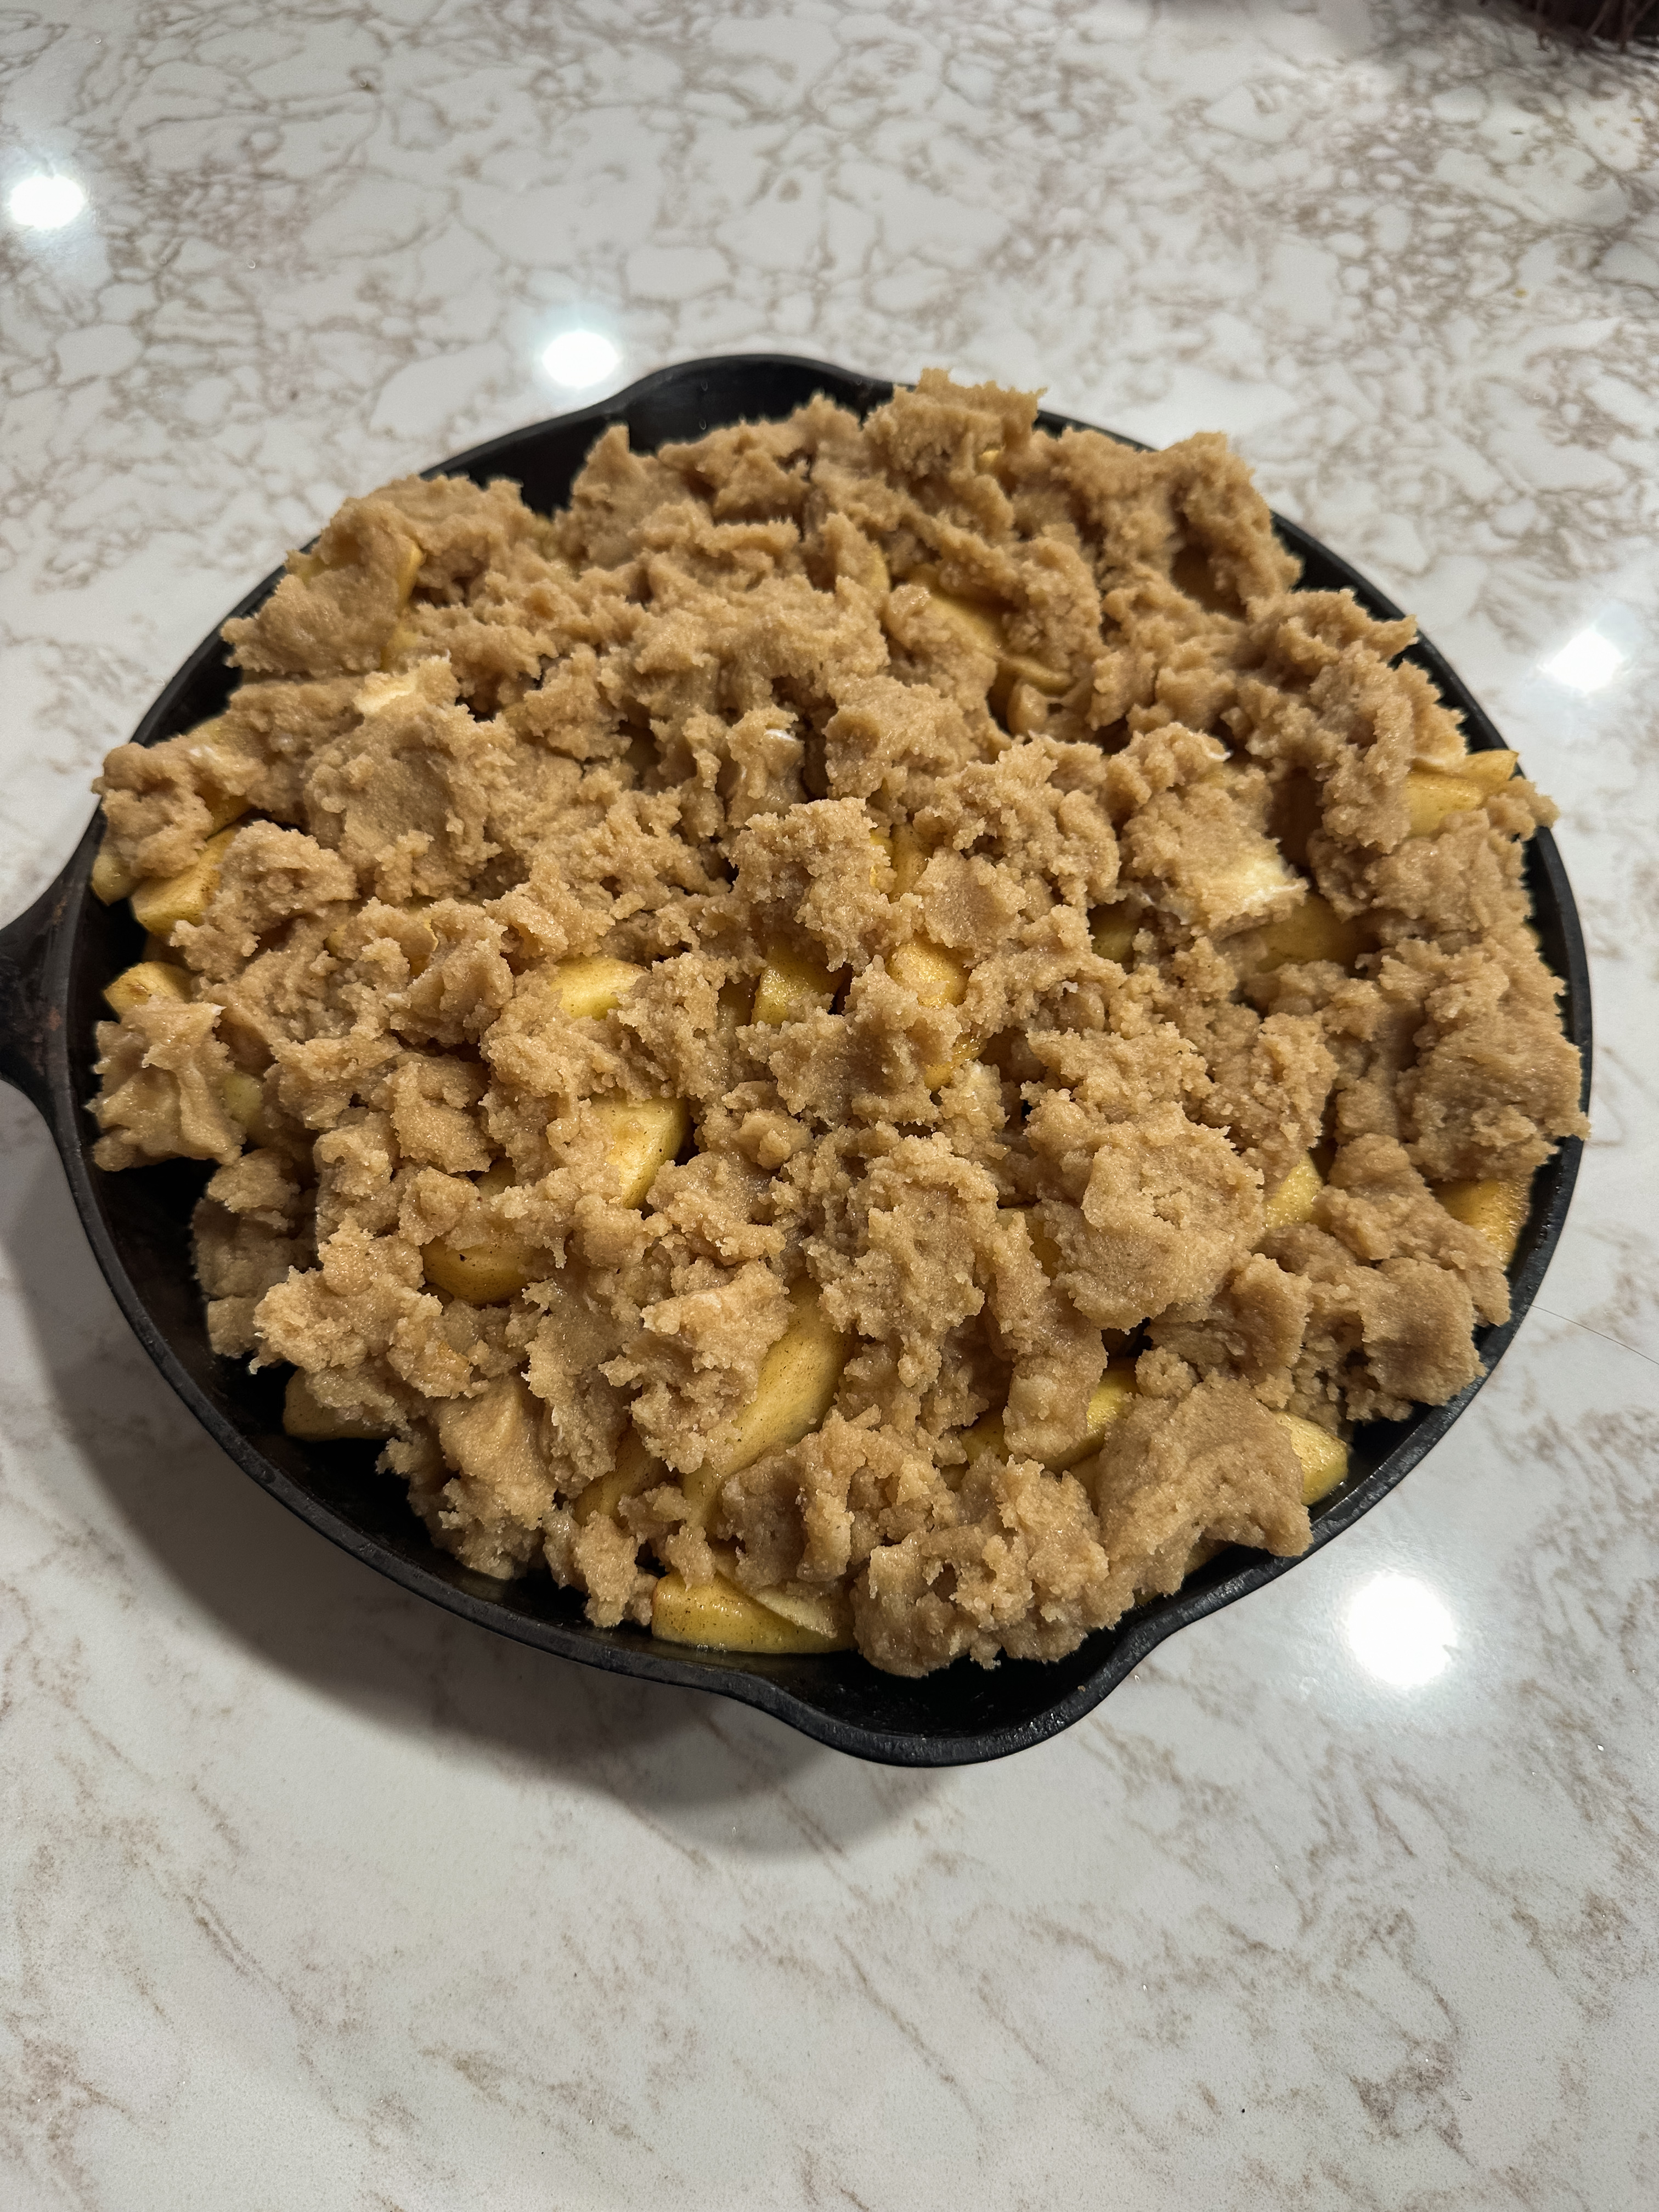
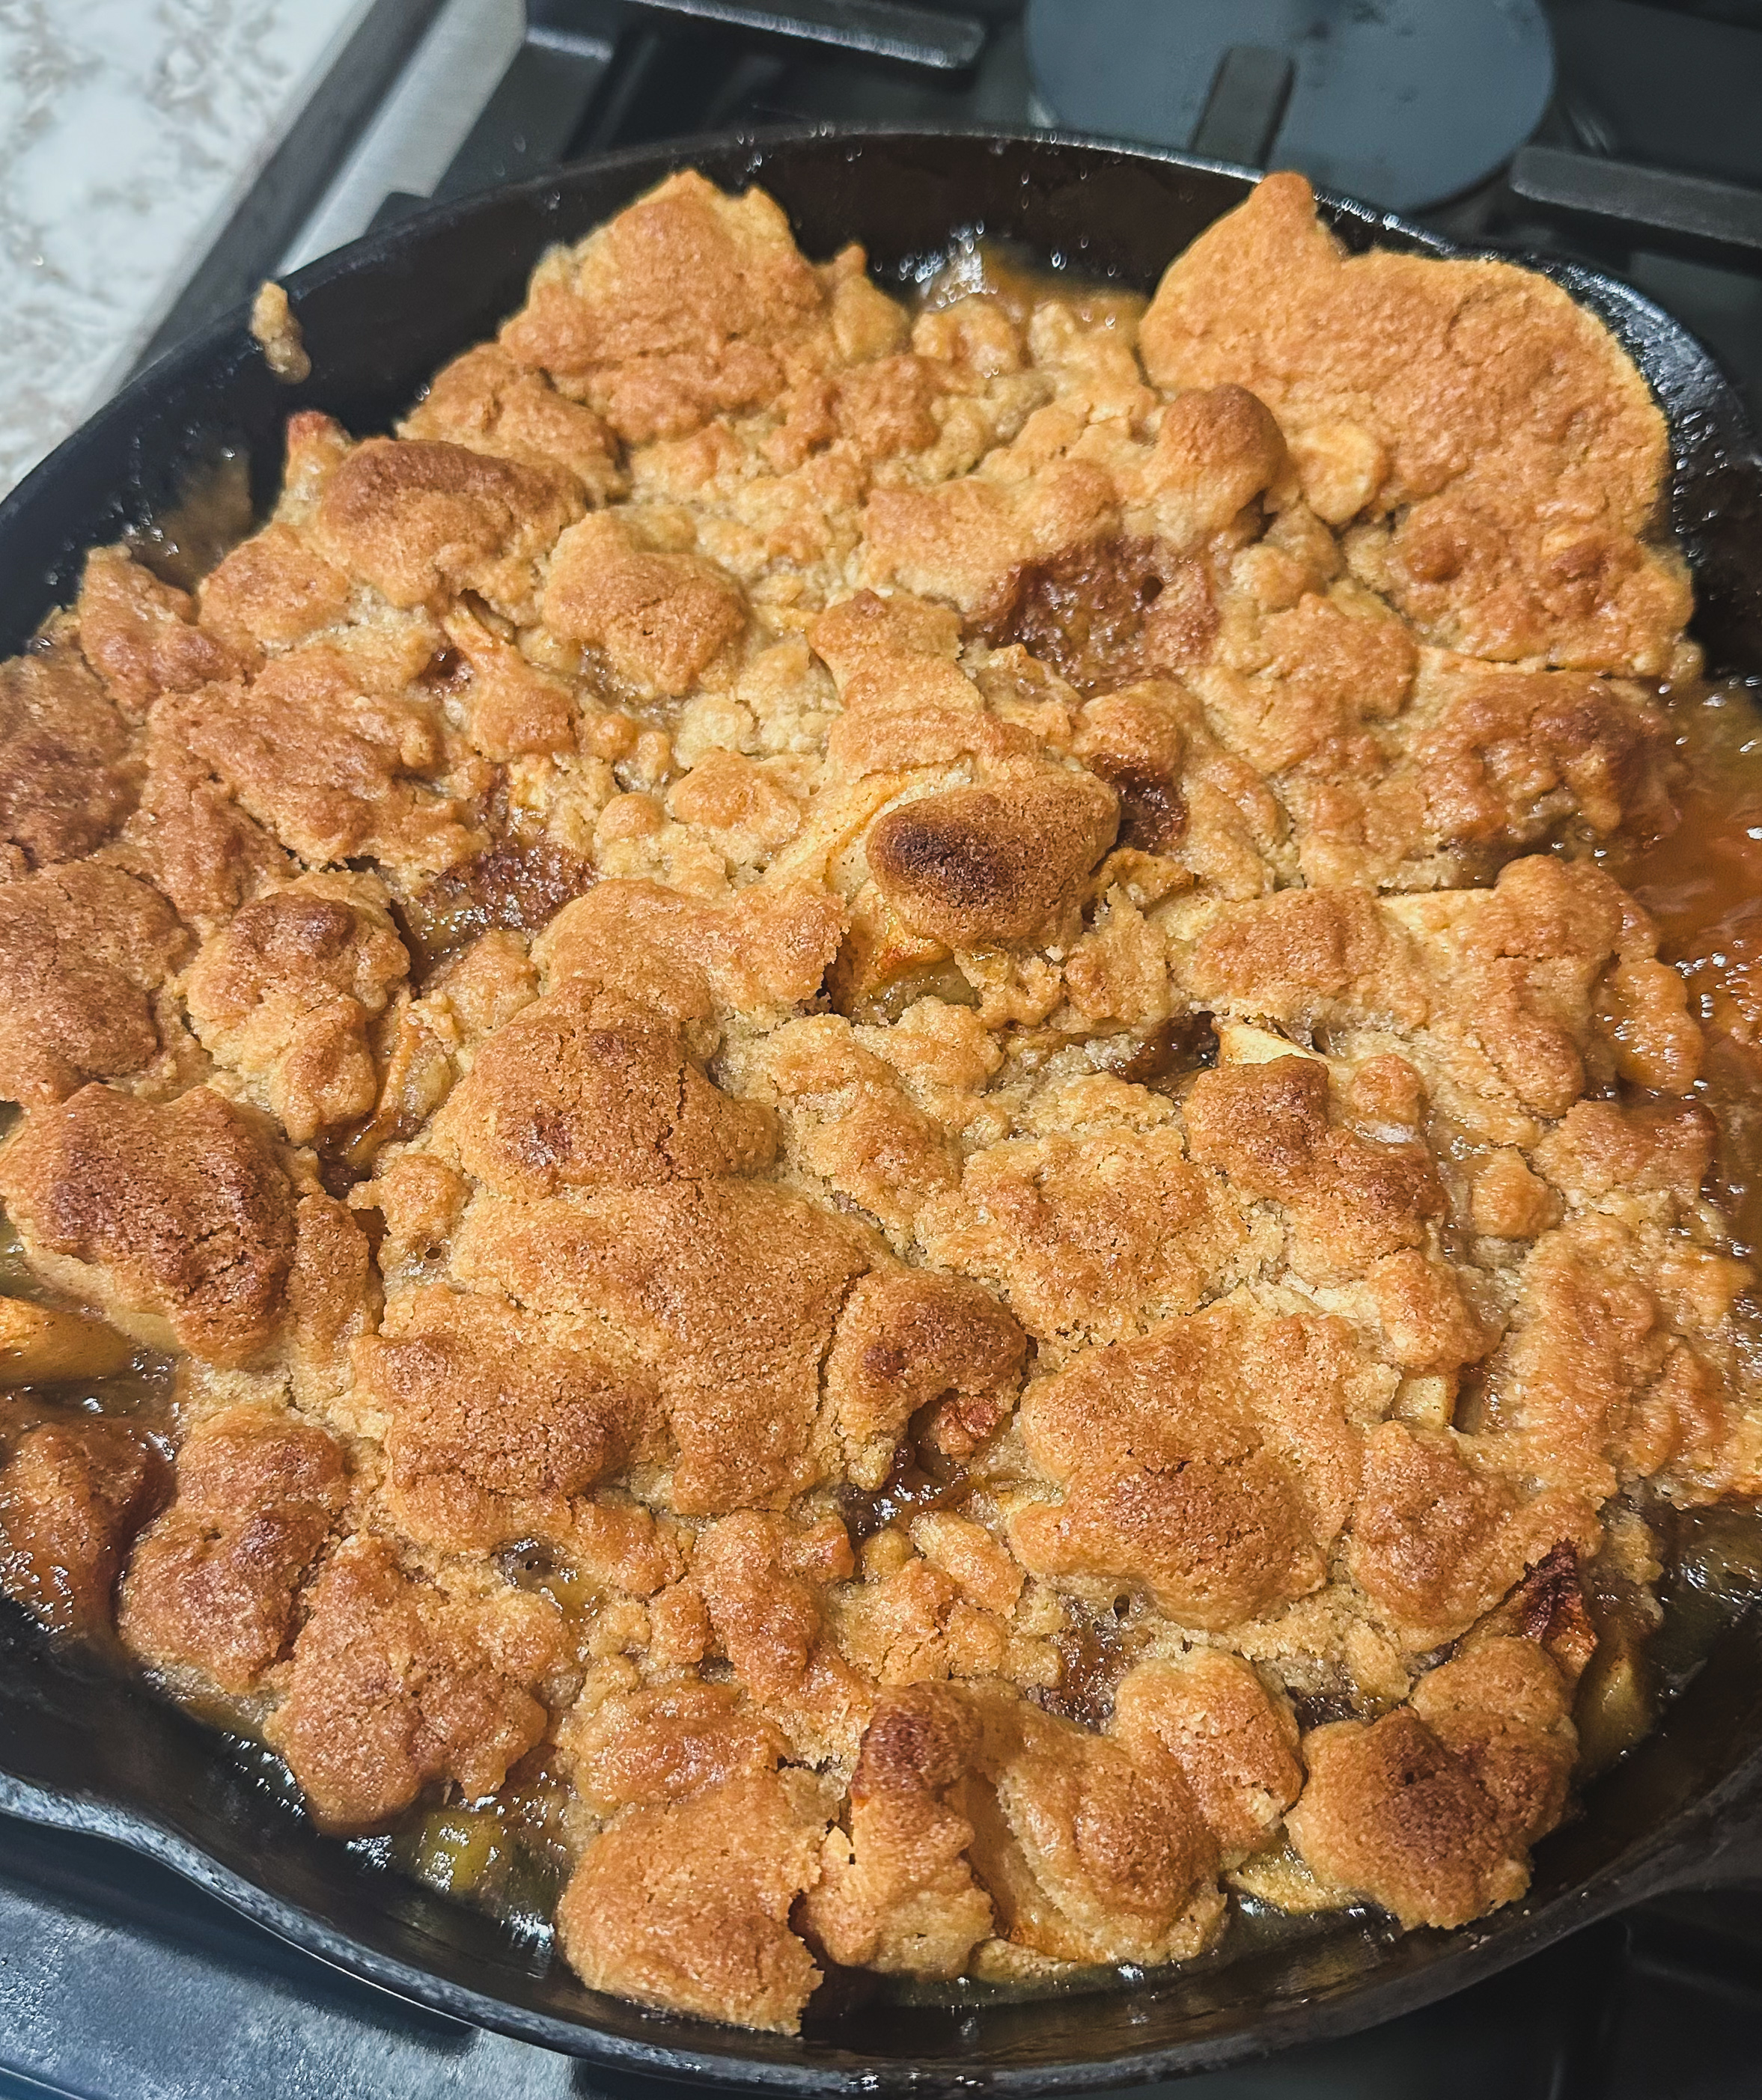
In the fall, two flavors reign supreme: pumpkin and apple. I have a special place in my heart for both, but for this very recipe, apple is number one. The recipe from The Modern Proper screams fall with tons of cinnamon and caramel apples. I highly recommend pairing with homemade vanilla ice cream.
Ingredients
5 Cups Granny Smith Apples, peeled, cored, and sliced
1 1/3 Cups Brown Sugar
1 1/2 TSP Cinnamon
3 TBSP Butter
2/3 Cup Melted Butter
1 Cup Flour
Let’s Get Baking
Preheat your oven to 375°F and ensure there is a rack in the center of the oven.
Add in the sliced apples to a medium bowl; add in 1/3 Cup brown sugar + 1/2 TSP cinnamon, toss to coat.
Thinly slice 3 TBSP of butter and place in the bottom of a 12-inch cast-iron skillet. Pour the apples over the butter into the skillet.
Heat the remaining 2/3 Cup butter until soft but not fully melted. Pour the butter into a mixing bowl. Add in the 1 Cup Brown sugar + 1 TSP cinnamon + 1 Cup flour to the melted butter. Using your hands, mix the ingredients until fully combined and a loose dough forms. Crumble over top the apples.
Bake until the top is golden brown, for about 40-45 minutes. Allow to cool for about 10 minutes before enjoying.
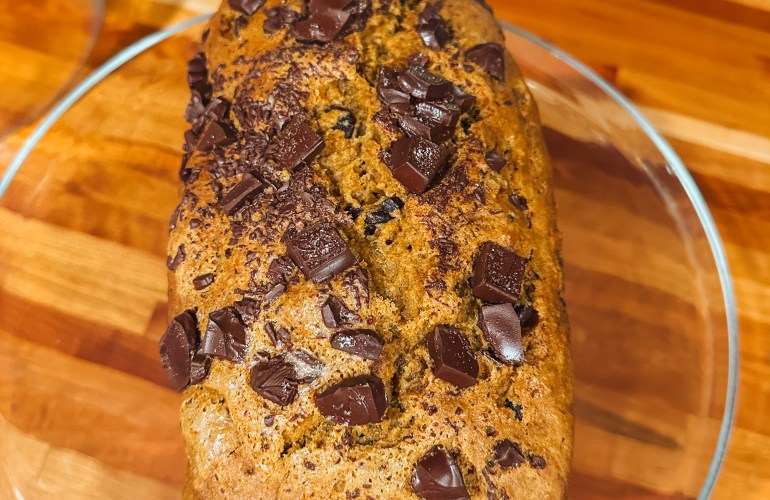
October is one of my favorite months. The leaves are changing, the weather is cooling off, and it is time to lean into all things cozy. Cozy for me includes slower moments, spices, candlelit rooms, and being wrapped up in a blanket. I think that this sourdough pumpkin bread from This Jess Cooks adds to the experience of fall. It has the perfect balance of spices, pumpkin flavor, chocolate, and my favorite, a little tang from the sourdough discard. This all comes together quickly and is ideal for sharing!
Ingredients:
1 cup + 2 Tablespoons All Purpose Flour
2 teaspoons ground cinnamon
1/2 teaspoon ground nutmeg
1/2 teaspoon ground ginger
1/4 teaspoon ground cloves
1 teaspoon baking soda
1 teaspoon kosher salt
1/2 cup granulated sugar
1/2 cup light or dark brown sugar
1 cup pumpkin purée
200 grams (about ¾ cup) sourdough discard unfed, at room temperature
1/3 cup vegetable oil
1 egg
3/4 cup dark chocolate chunks or chips
1-2 teaspoons turbinado sugar for topping (I did not have & used regular sugar instead)
Let’s Get Baking
Preheat oven to 350°F. Grease a 9×5-inch loaf pan and line it with parchment paper.
In a medium bowl, whisk together flour + cinnamon + nutmeg + cloves + ginger + baking soda + salt. Set the bowl aside.
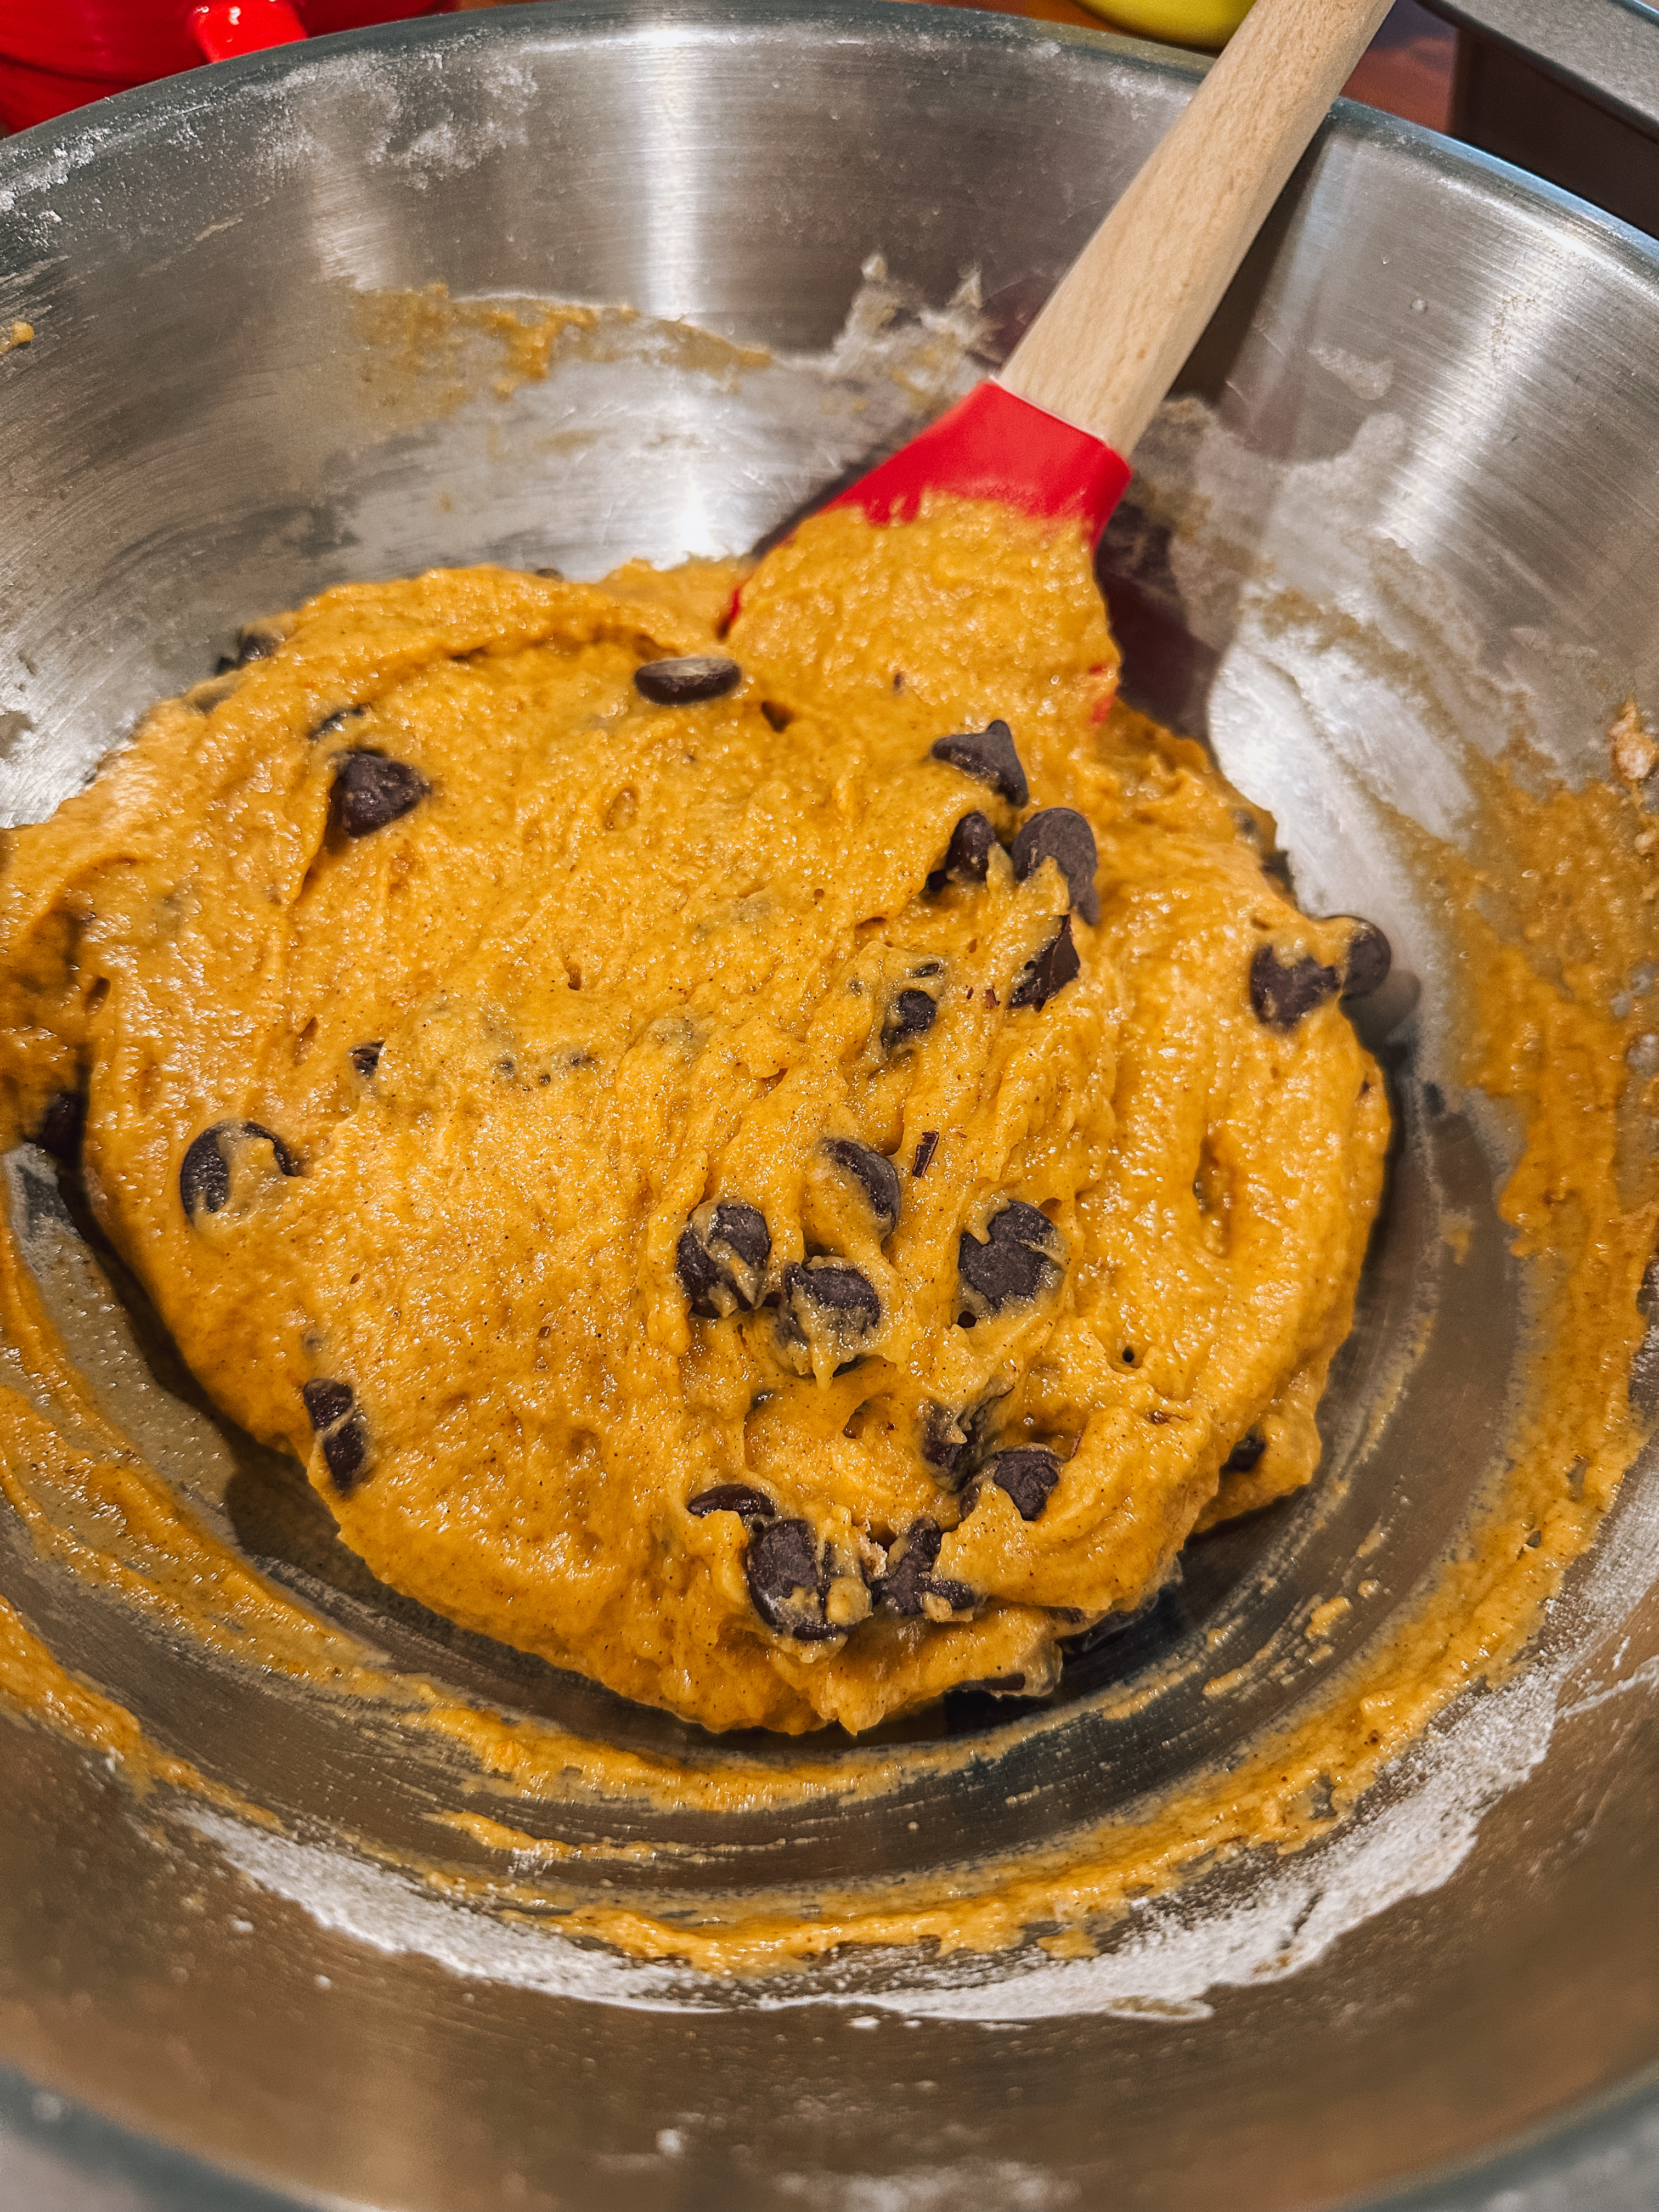
In another large bowl, whisk together the granulated sugar + brown sugar + pumpkin purée + sourdough discard + vegetable oil + egg.
Slowly add the dry ingredients to the wet ingredients and stir until combined.
Fold in the chocolate chunks, keeping at least 2 Tablespoons of chocolate chunks for the topping. Pour the batter into the prepared pan and spread evenly. Sprinkle the top with turbinado sugar and the leftover chocolate chunks.
Bake for 60 minutes or until a toothpick inserted in the center comes out clean.
Remove from the oven and let cool for 10 minutes in the pan. Then remove the loaf from the pan and transfer it to a cooling rack to cool completely.
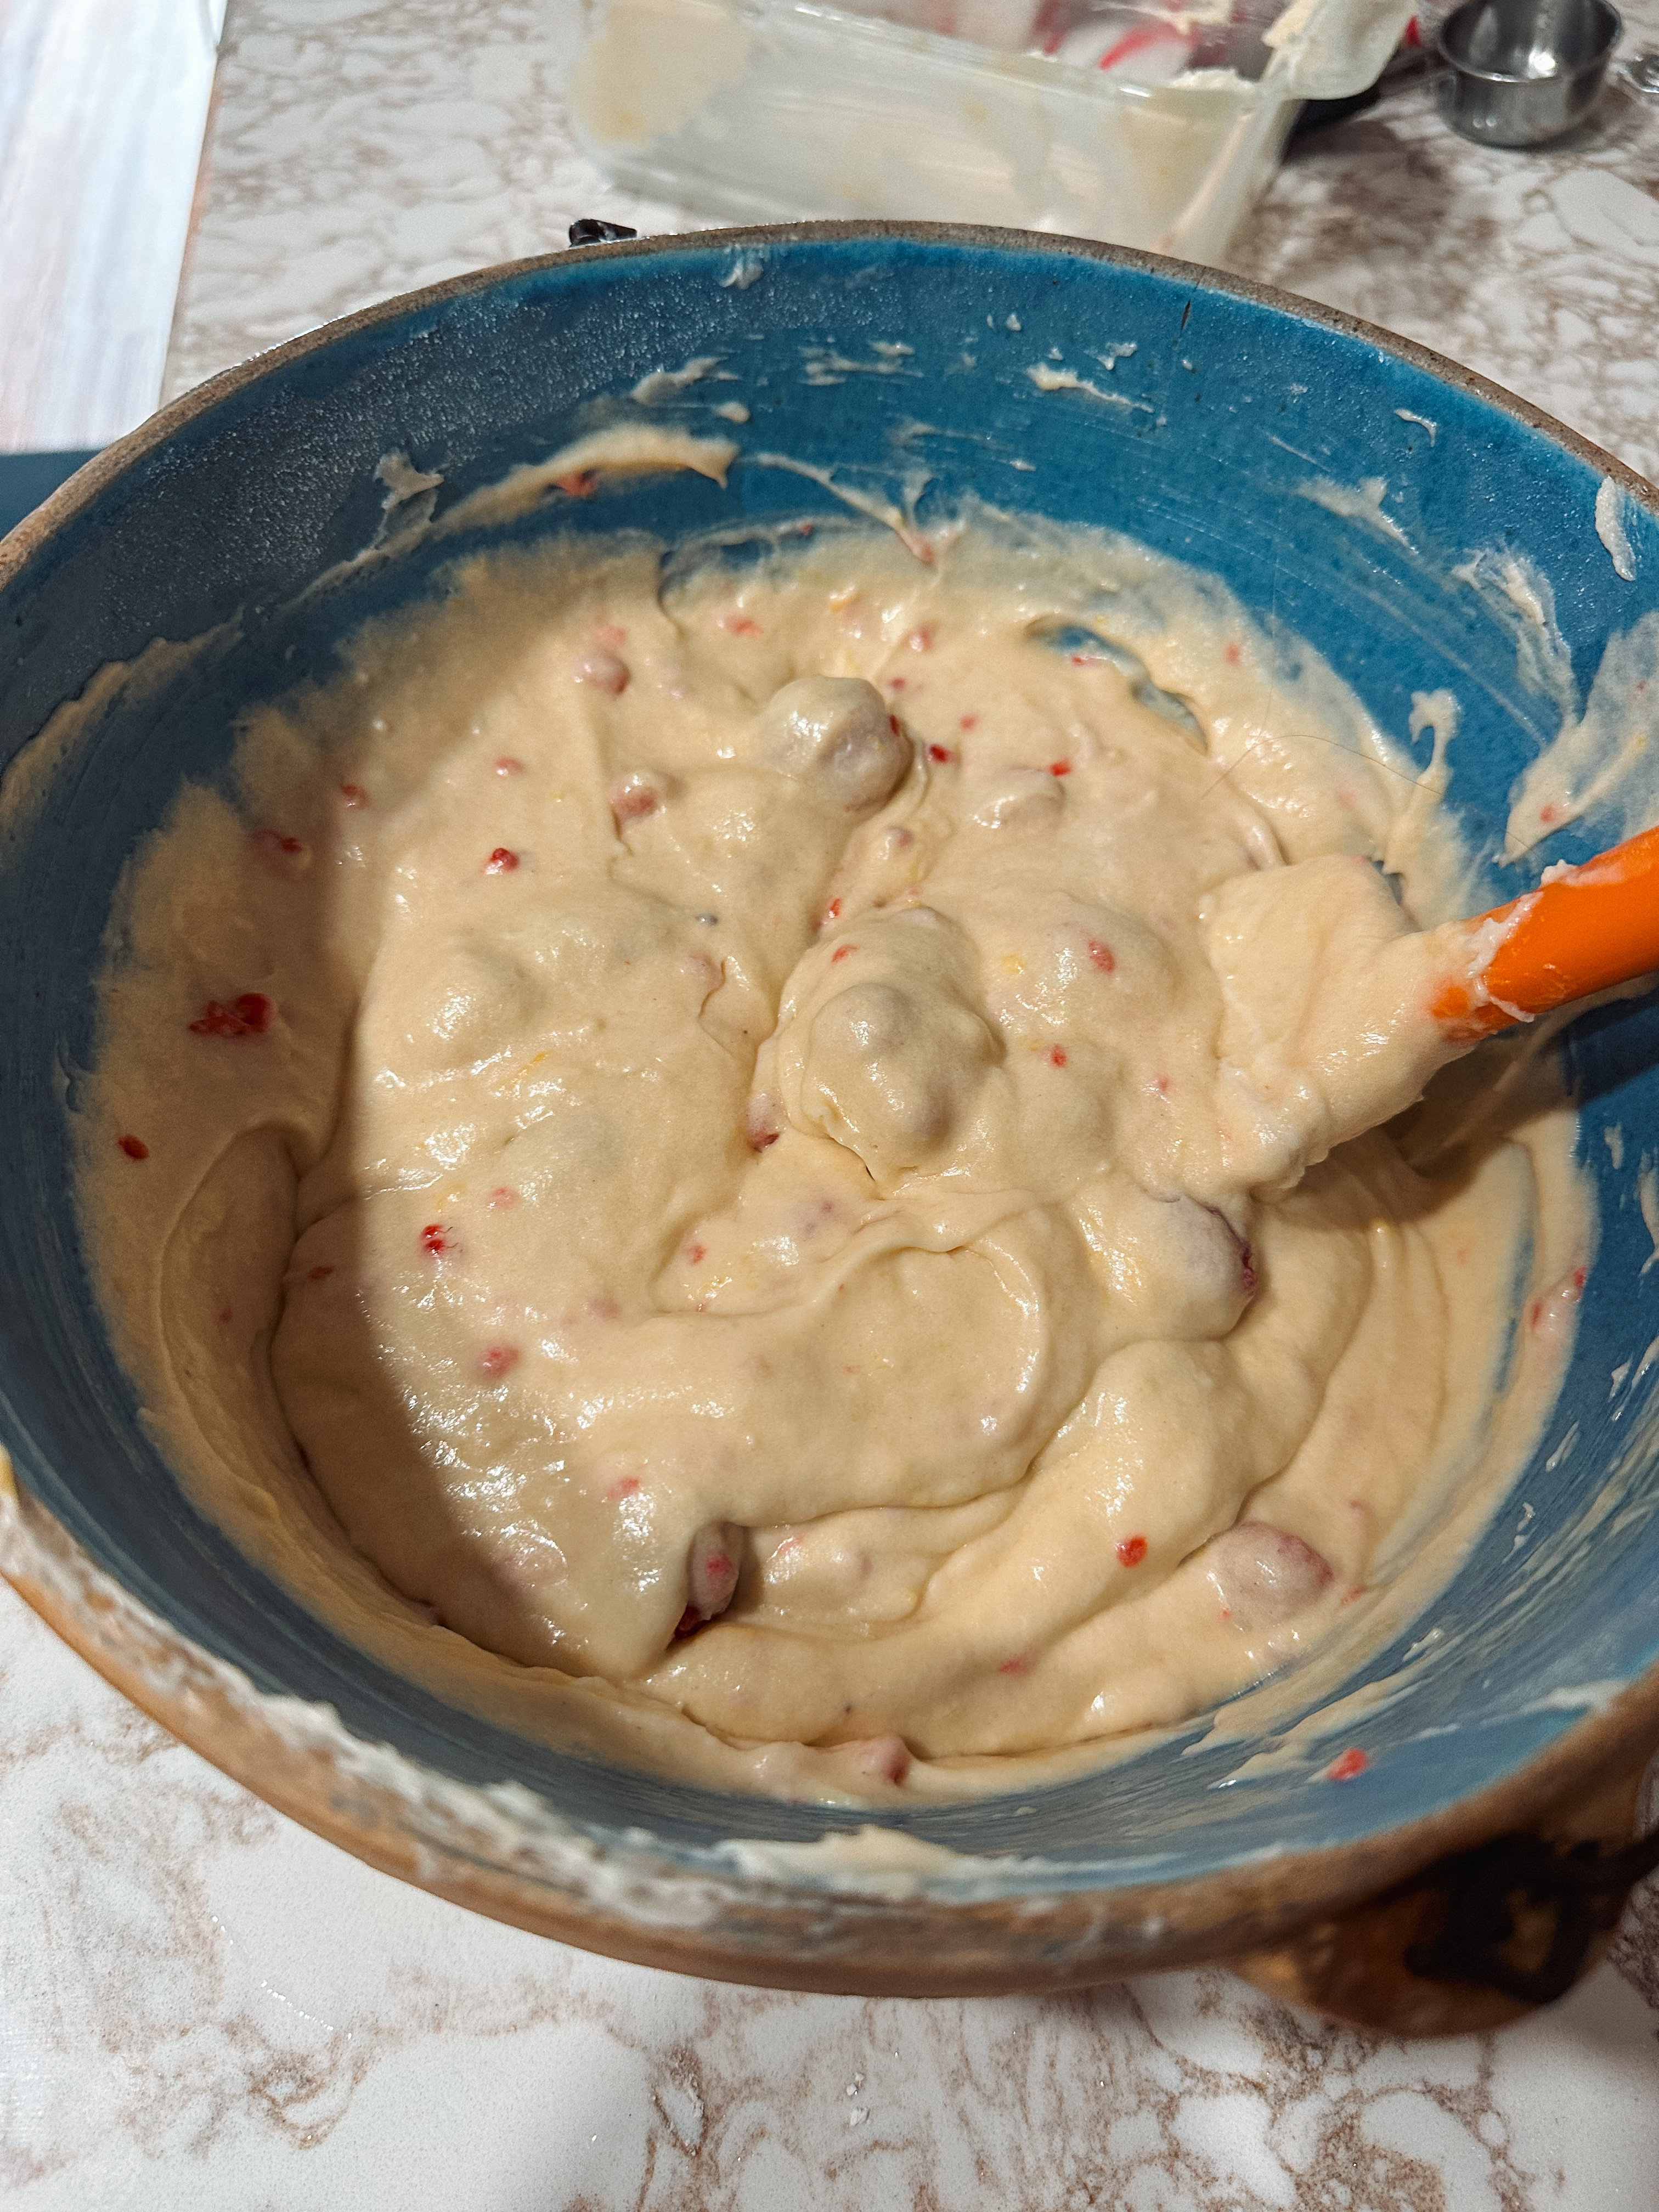
I was home a few weekends ago, and my mom kept talking about how she wanted a pound cake. I love a good loaf cake, especially in the summer when bright flavors can be added. I decided to switch it up and go with a lemon and raspberry combo. I wanted something extra tart with this heat wave we have been having. Shout out to YEY Food for the recipe.
Ingredients
Pound Cake:
1 1/2 cups (3 sticks) unsalted butter, softened
1 3/4 cups granulated sugar
4 large eggs
3 cups all-purpose flour
1 teaspoon baking powder
1/2 teaspoon salt
1 cup milk
1 tablespoon grated lemon zest (from about 2 lemons)
1/2 teaspoon vanilla extract
1 cup fresh raspberries
Lemon Glaze:
1 cup powdered sugar
2-3 tablespoons fresh lemon juice
Let’s Get Baking
Full transparency: when making this cake, I missed ingredients and had to remake it. Do not be like me and make sure to read the instructions!
Preheat oven to 350°F. Grease a 9×5-inch loaf pan and set aside. Zest your lemons and rinse the raspberries.
In a large bowl, using an electric mixer, cream together butter + sugar until light yellow and fluffy. Beat in eggs one at a time, then stir in vanilla extract.
In a separate bowl, whisk together flour + baking powder + salt. Add dry ingredients to wet ingredients and alternate with milk, starting and ending with the dry ingredients. Mix until just combined.
Gently fold in lemon zest and fresh raspberries. Do not overmix, or the raspberries will break down.
Pour batter into prepared loaf pan. Bake for 55-60 minutes, or until a toothpick inserted into the center comes out clean. Let the cake cool for 5-10 minutes, then remove from pan and place on a wire rack.
Lemon Glaze
In a small bowl, whisk together powdered sugar + lemon juice to make a thin glaze.
Once the cake is completely cool, drizzle the lemon glaze over the top.
Eat immediately or wrap tightly in foil/plastic wrap and keep in the fridge.
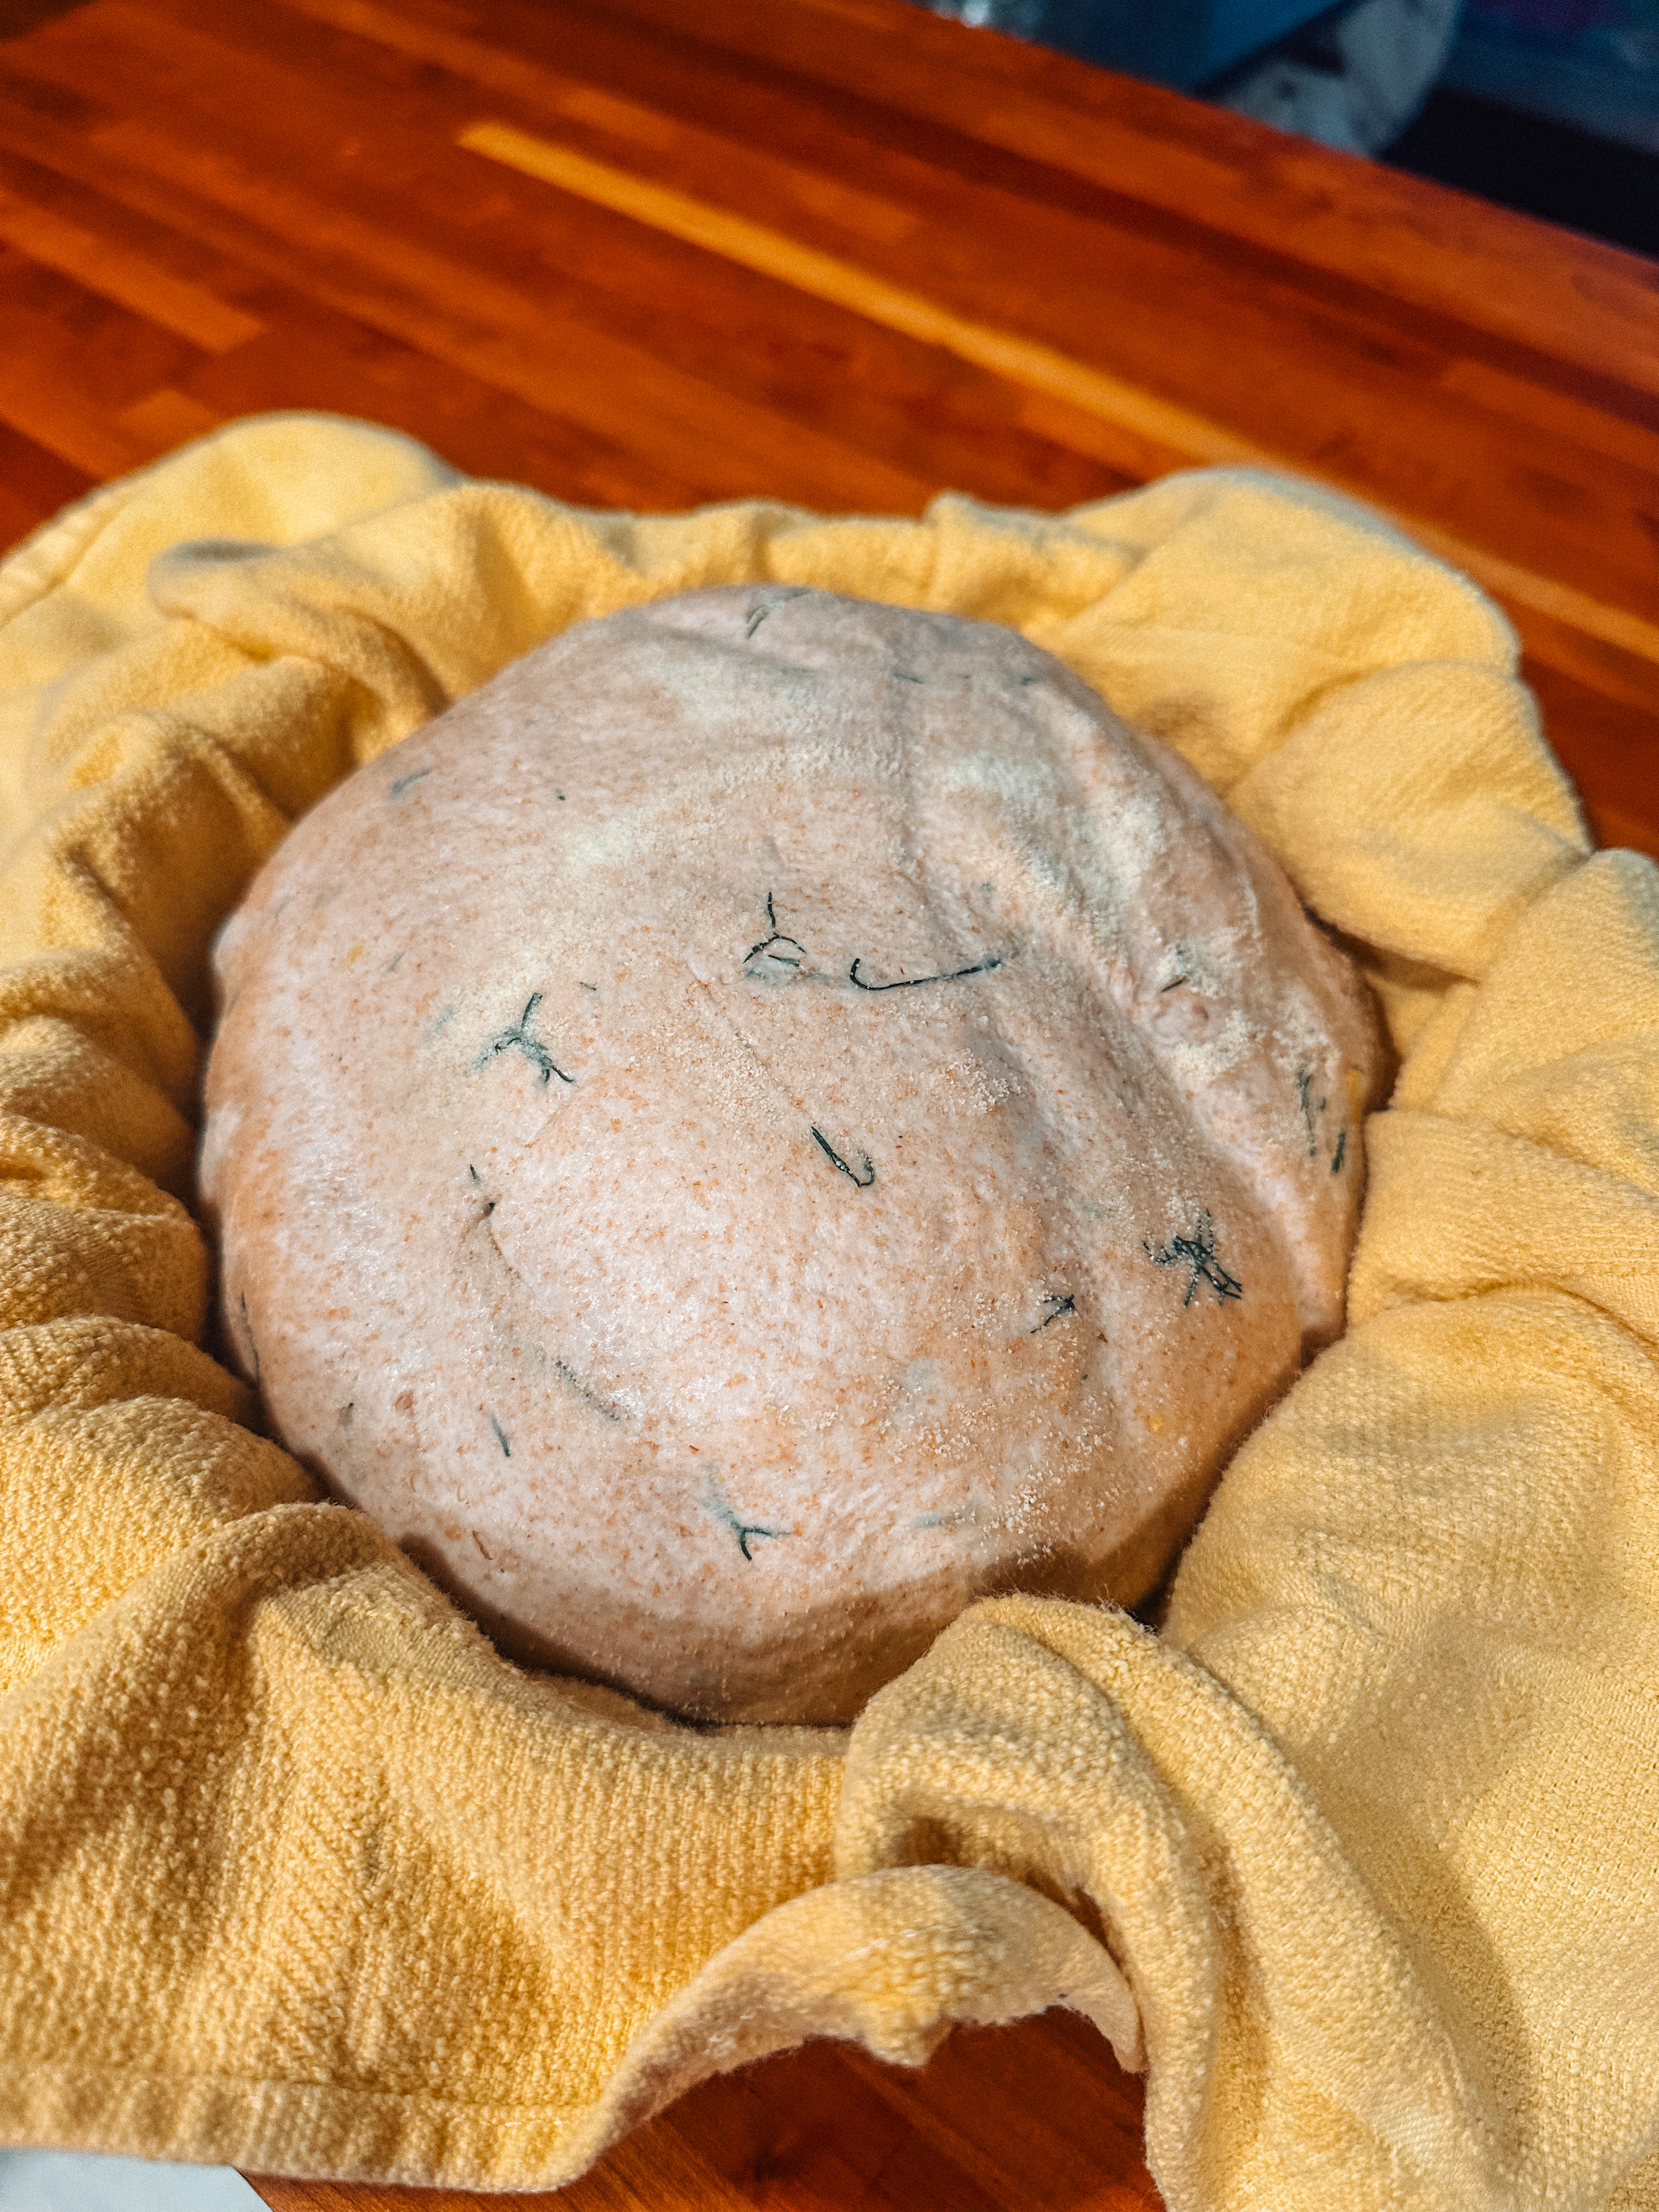
I have so much dill in my garden now that I don’t know what to do with it! I usually plant it for my homemade pickles but I wanted to find ways to incorporate it into other dishes. I decided that adding dill to my sourdough loaf would be a perfect start to using up my harvest. All I could think about was making BLTs on homemade bread. I loved how the dill and lemon highlighted the sourness of the bread. This might be my new go-to summer loaf! I used Sourdough by Syd recipe on TikTok – I make the perfect loaf with it every time!
Ingredients
300g Water
175g Active Sourdough Starter
450g Bread Flour [I used bread flour and whole wheat just because I did not have enough bread flour]
10g Sat
1 Bunch of dill, chopped
1 Lemon, zested
Let’s Get Baking
In a large bowl, combine 300g water + 150g active sourdough starter and whisk until fully incorporated.
Then add in 450g of bread flour + 10g of salt. Mix well until there are no dry spots on the dough. The dough should be sticky. Cover with a damp towel and let sit on the counter for an hour.
After the initial hour, uncover the dough and add in the dill + lemon. Now we begin stretch and folds. Wet your hands and place them underneath the dough, pull the edges of the dough up and fold them on themselves. Repeat on all sides of the dough. Once folded, cover the dough with the towel and repeat the stretches every hour until the loaf has doubled in size – the timing will vary. The dough will feel light, airy, and it will be less sticky when it is ready.
Time to shape! On a place your dough on a floured surface. Pull out the edges of the dough to create a rectangle. Fold one side halfway into the rectangle and fold the other side over that. Roll the dough away from you, creating a log. Place your hands on the sides of the dough and begin pulling towards yourself to get rid of the seams and create a tighter ball. Prepare a bowl by placing a towel in the bowl and sprinkling flour on the towel. Place the dough ball upside down [or seam side up] into the prepared bowl. Cover with the towel and let it proof for one hour on the counter before moving it into the fridge overnight.
Preheat the oven to 500°F and put your Dutch oven in the oven while it preheats. Place your dough on a piece of parchment paper and score the bread to release the steam. Carefully remove your Dutch oven once the oven has preheated and place your dough inside. Cover with the lid and bake at 500F for 20 minutes. After the initial 20 minutes, reduce the heat to 475°F and bake for another 25 minutes.
Allow to fully cool before cutting into the dough – this is the hardest part! Then enjoy!
I would love to hear about all the creations you make with this bread! What are your favorite dill recipes?
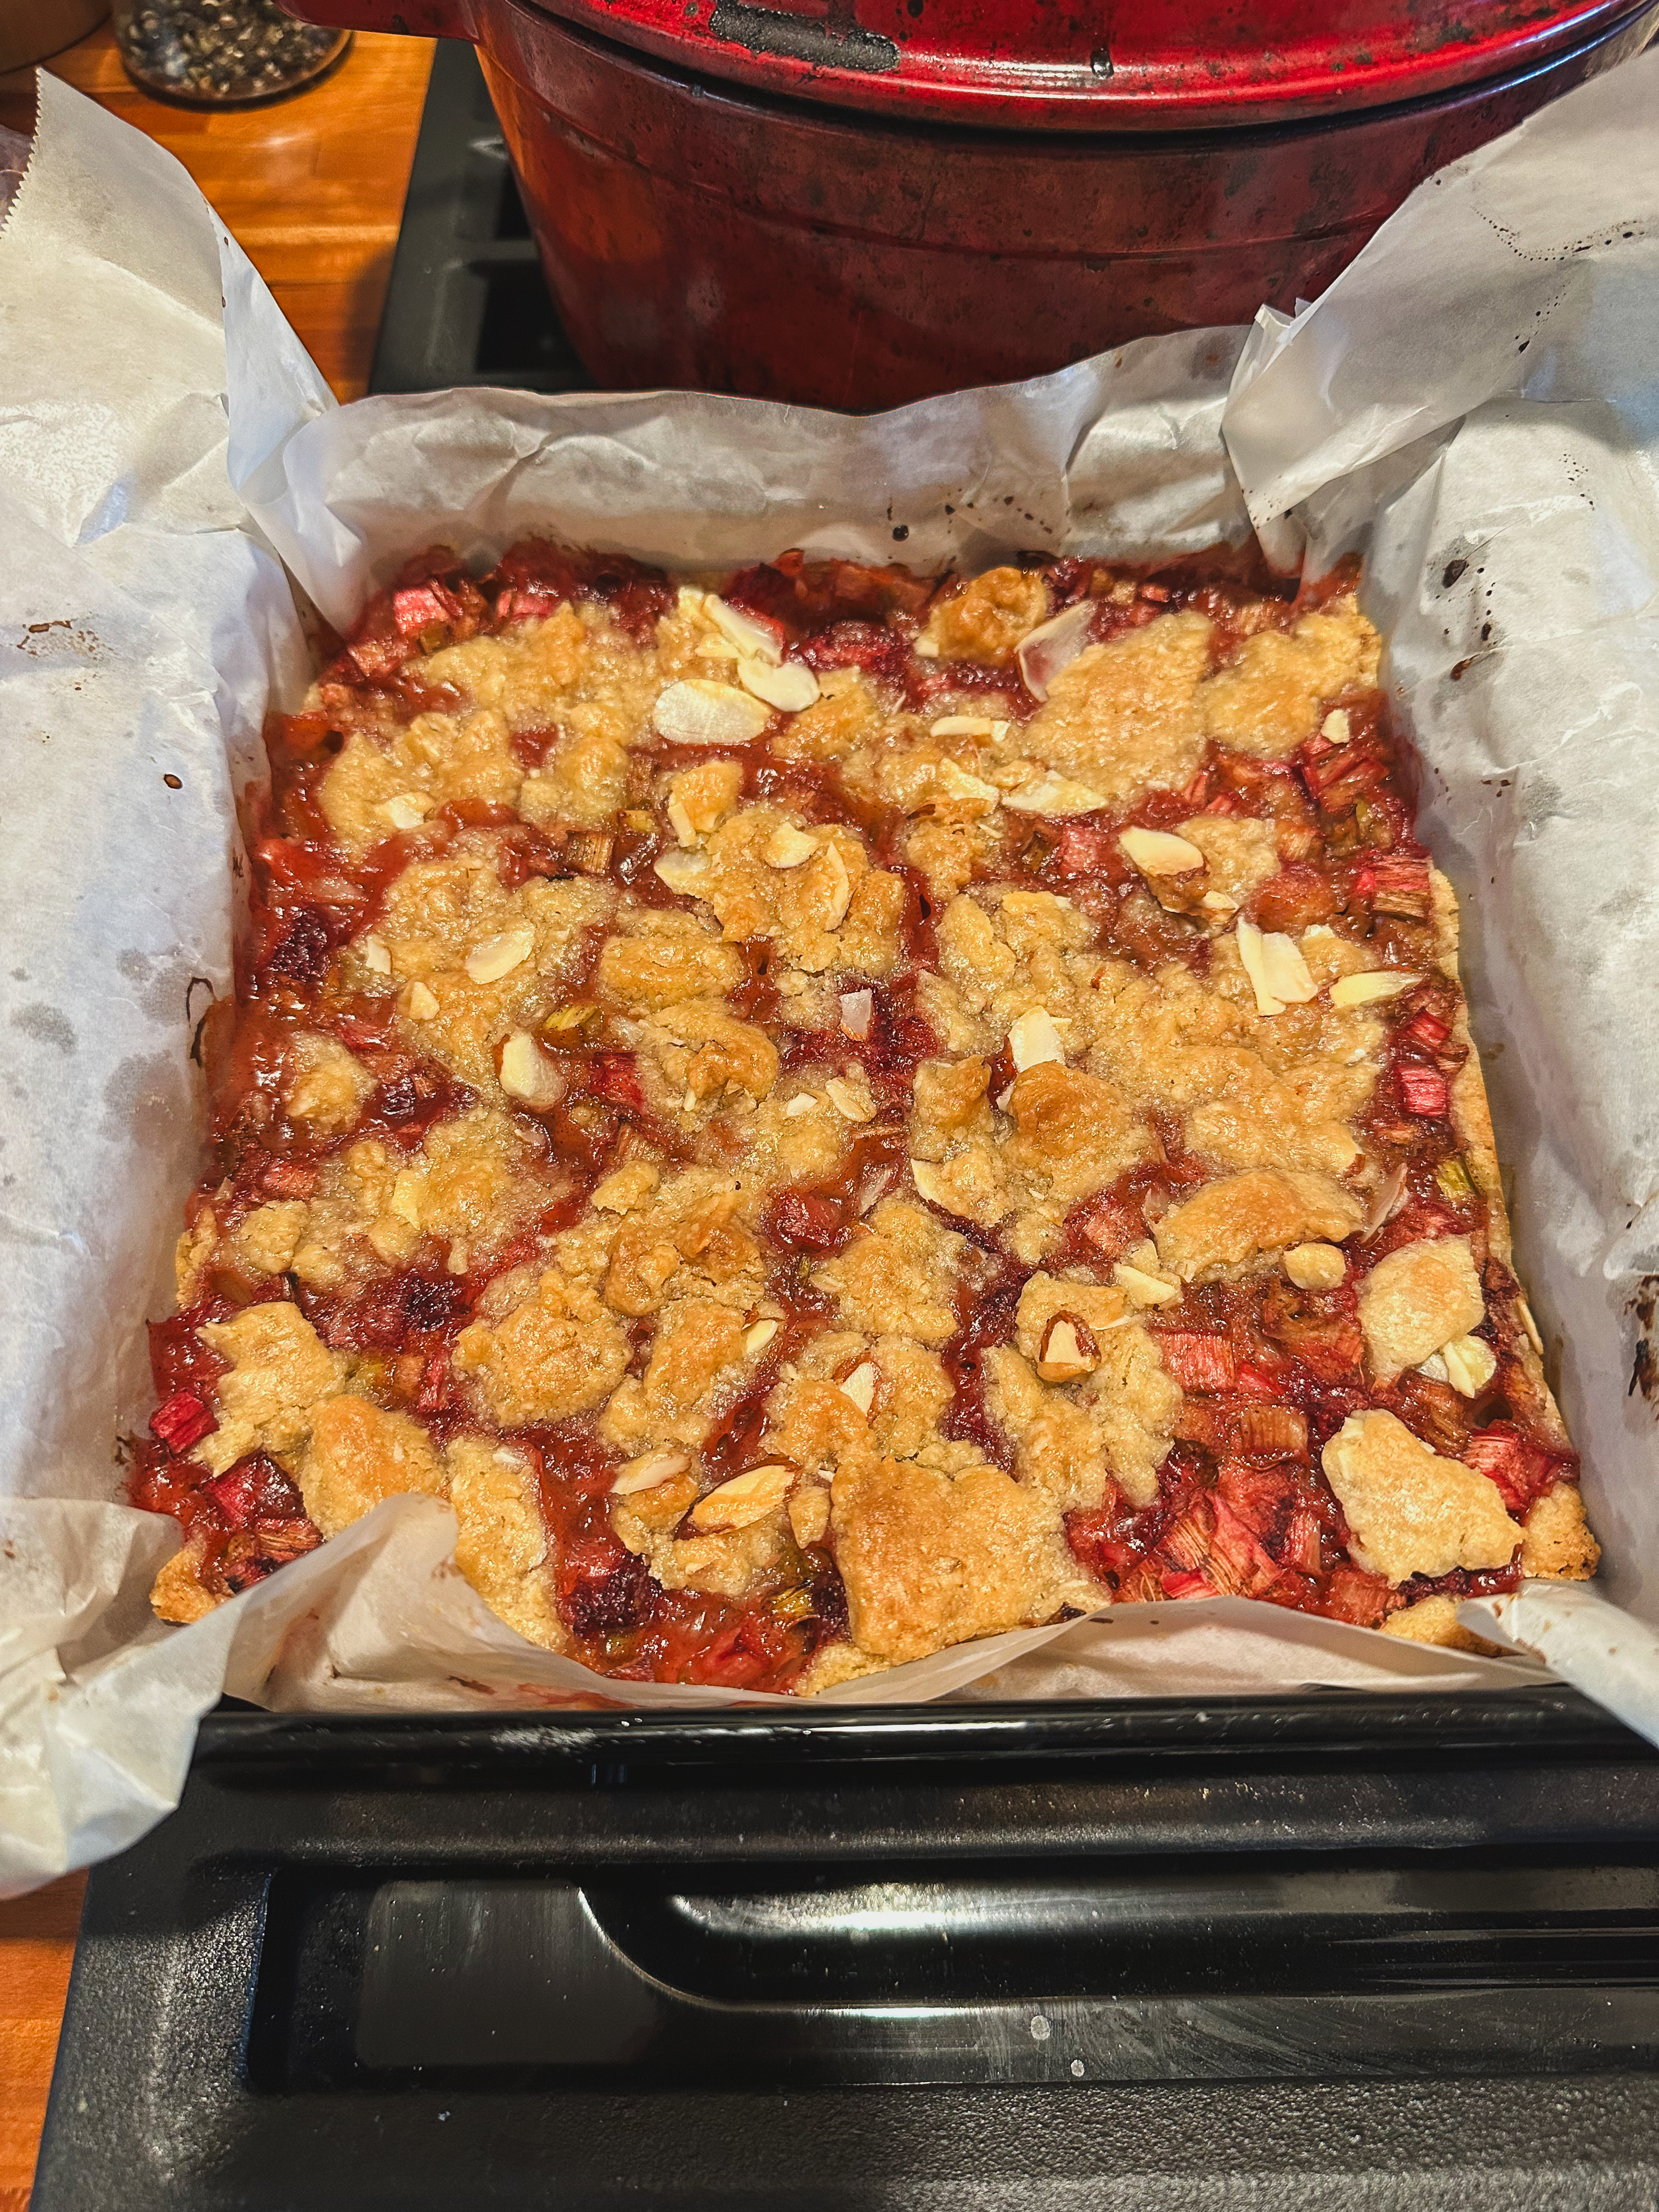
Rhubarb does not get the hype that she deserves. I am still new to the rhubarb world, and I am kicking myself for waiting so long. I made Claire Saffitz’s rhubarb loaf a few years ago, and I am so excited to bake with it again. With Memorial Day coming up, I needed a dessert to share with my family, and I figured you could never go wrong with a dessert bar. I found these rhubarb crumble bars from Molly’s Home Guide, which I changed a bit by adding lemon zest and almond slices! If you like tart over sweet, then these are the desserts for you!
Ingredients
1¼ to 1½ cups rhubarb, cut into small pieces
1¼ to 1½ cups strawberries, hulled and diced
1 tablespoon lemon juice
Zest of 1 Lemon
1 teaspoon vanilla extract
2 tablespoons brown sugar
2 teaspoons cornstarch
½ teaspoon ground cinnamon
Pinch of salt
12 tablespoons softened unsalted butter
⅓ cup packed brown sugar
¼ cup granulated sugar
1⅔ cups plain flour
¼ cup rolled oats
½ teaspoon salt
¼ cup chopped nuts (optional) – I used almonds
Let’s Get Baking
Preheat the oven to 375F
Line a 8×8 square pan with parchment paper and set aside.
In a large bowl, combine the diced rhubarb + strawberries + cornstarch + lemon zest + lemon juice + cinnamon + vanilla extract + salt + brown sugar. Mix well and set aside.
Using a mixer, cream together the butter + brown sugar + white sugar until the mixture is light and fluffy. Slowly add in the flour + oats + salt, mixing until incorporated.
Take 2/3 of the dough and place it into the prepared pan. Using your hands, press the dough evenly into the bottom of the pan to create the crust.
Using a slotted spoon, transfer the fruit mixture into the pressed dough crust. Spread the fruit evenly over the crust.
Mix together the remaining dough mixture with almonds (or nuts of your choice if using). Spring the crumble over the fruit layer, gently pressing it into the fruit mixture.
Bake the bars for 35-40 minutes. The crumble on top should be golden brown. Remove from the oven and allow to cool before cutting.
Enjoy warm or keep in an airtight container in the fridge for about 5 days.
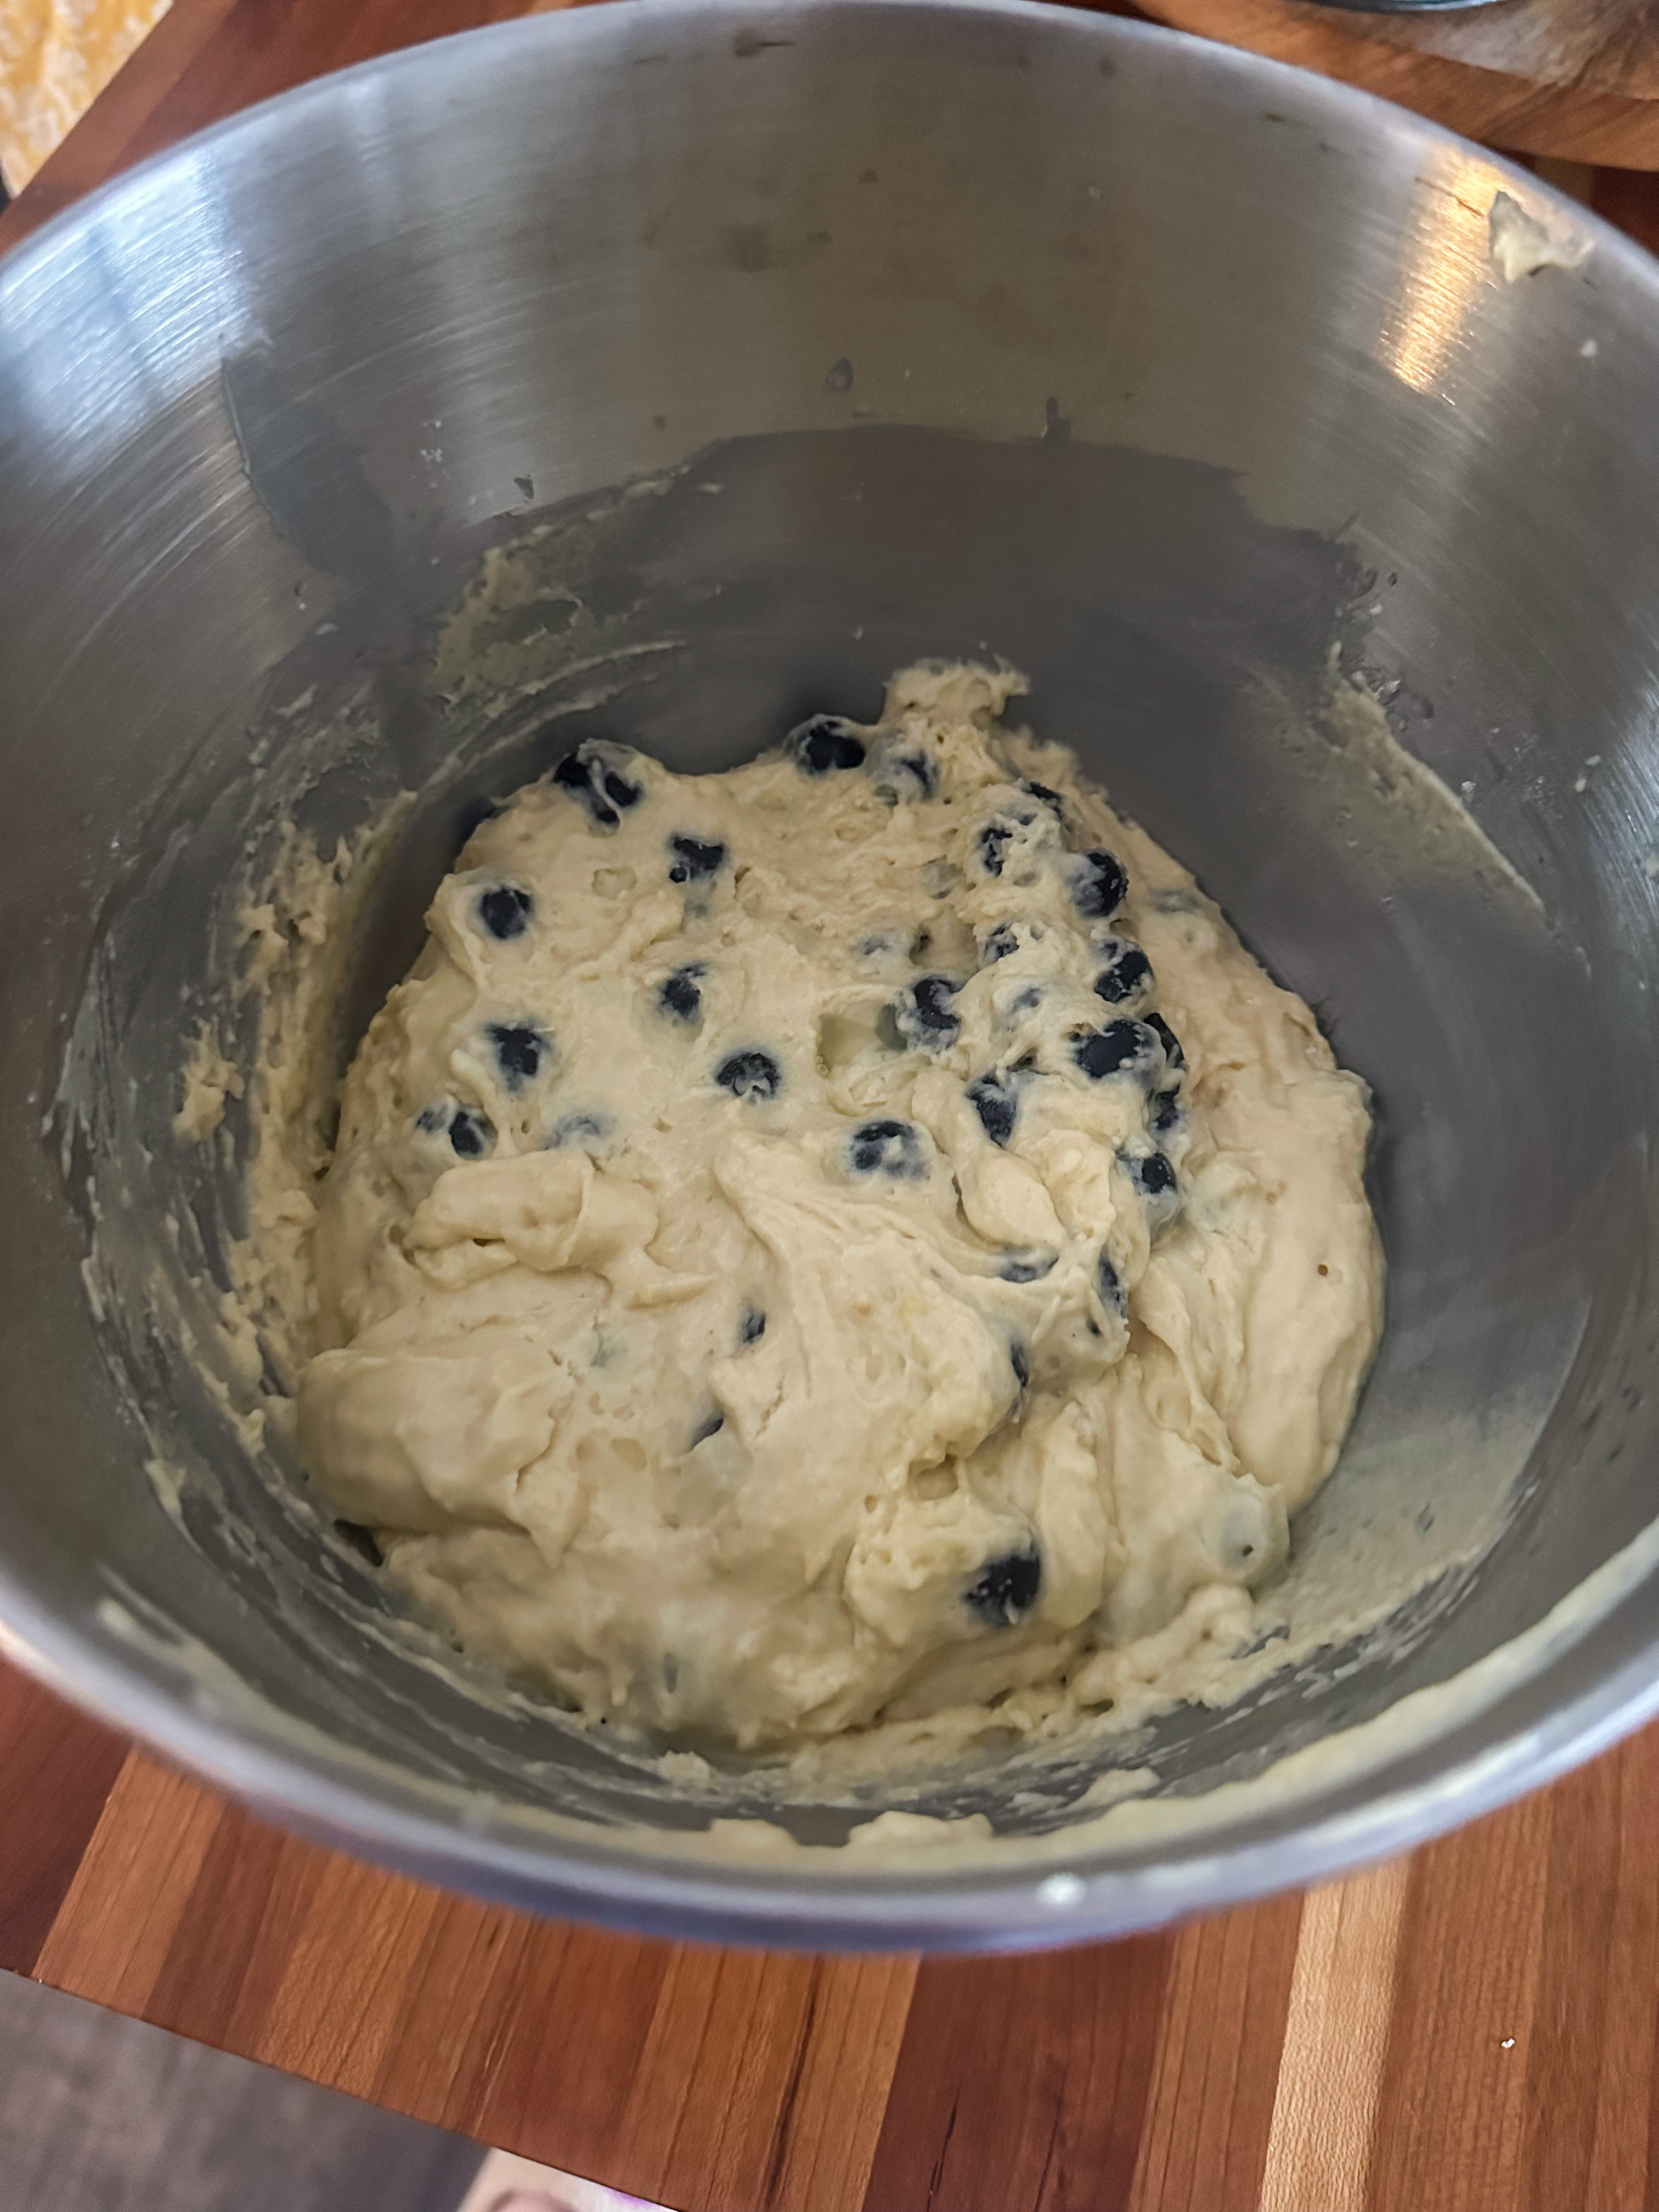
A friend recently requested a blueberry lemon loaf and I was more than happy to oblige as blueberry + lemon is the supreme combo. I have my tried and true recipe, however, I have been wanting to use my sourdough starter in more recipes and I figured this was the perfect opportunity. Shout out to Idie’s Farm for the guidance on how to make this recipe starter-friendly! I went with the long-fermented option because I wanted that tangy sourdough taste.
Ingredients
Dry Ingredients
2 Cups All Purpose Flour
1 TSP Baking Powder
1 TSP Baking Soda
1/2 TSP Salt
Zest of 1 Lemon
Wet Ingredients
1 Cup Sourdough Discard or active starter
3/4 Cup Light or Dark Brown Sugar
1/2 Cup Melted Butter
2 Large Eggs
Juice of 1 Lemon
1/4 Cup Milk
1 Cup Blueberries
Lemon Glaze
1/4 Cup Powdered Sugar
1 TBSP Lemon Juice
Let’s Get Cooking
Begin the batter 16-18 hours before you plan to bake!
In a large bowl whisk together 2 Cups All Purpose Flour + 1 TSP Baking Powder +1 TSP Baking soda 1/2 TSP Salt + Zest of 1 Lemon.
In another bowl combine 1 Cup Sourdough Discard or active starter + 3/4 Cup Light or Dark Brown Sugar+ 1/2 Cup Melted Butter+ 2 Large Eggs + Juice of 1 Lemon + 1/4 Cup Milk.
Add the wet ingredients to the dry and stir until the batter has just come together. Be aware to not over mix. Fold in the blueberries and cover with a damp towel or plastic wrap.
Allow to rise for 4-6 hours, I like to put mine in the oven with the light on. Place dough in the fridge for a second rise overnight or for 12 hrs.
The next day; preheat the oven to 350F.
Give the dough a few good stirs and then pour it into the prepared pan.
Bake for 55-65 minutes or until the toothpick comes out clean. Let cool in the pan for 10 minutes before moving to a wire rack to cool.
Combine the glaze ingredients and pour over the blueberry loaf.
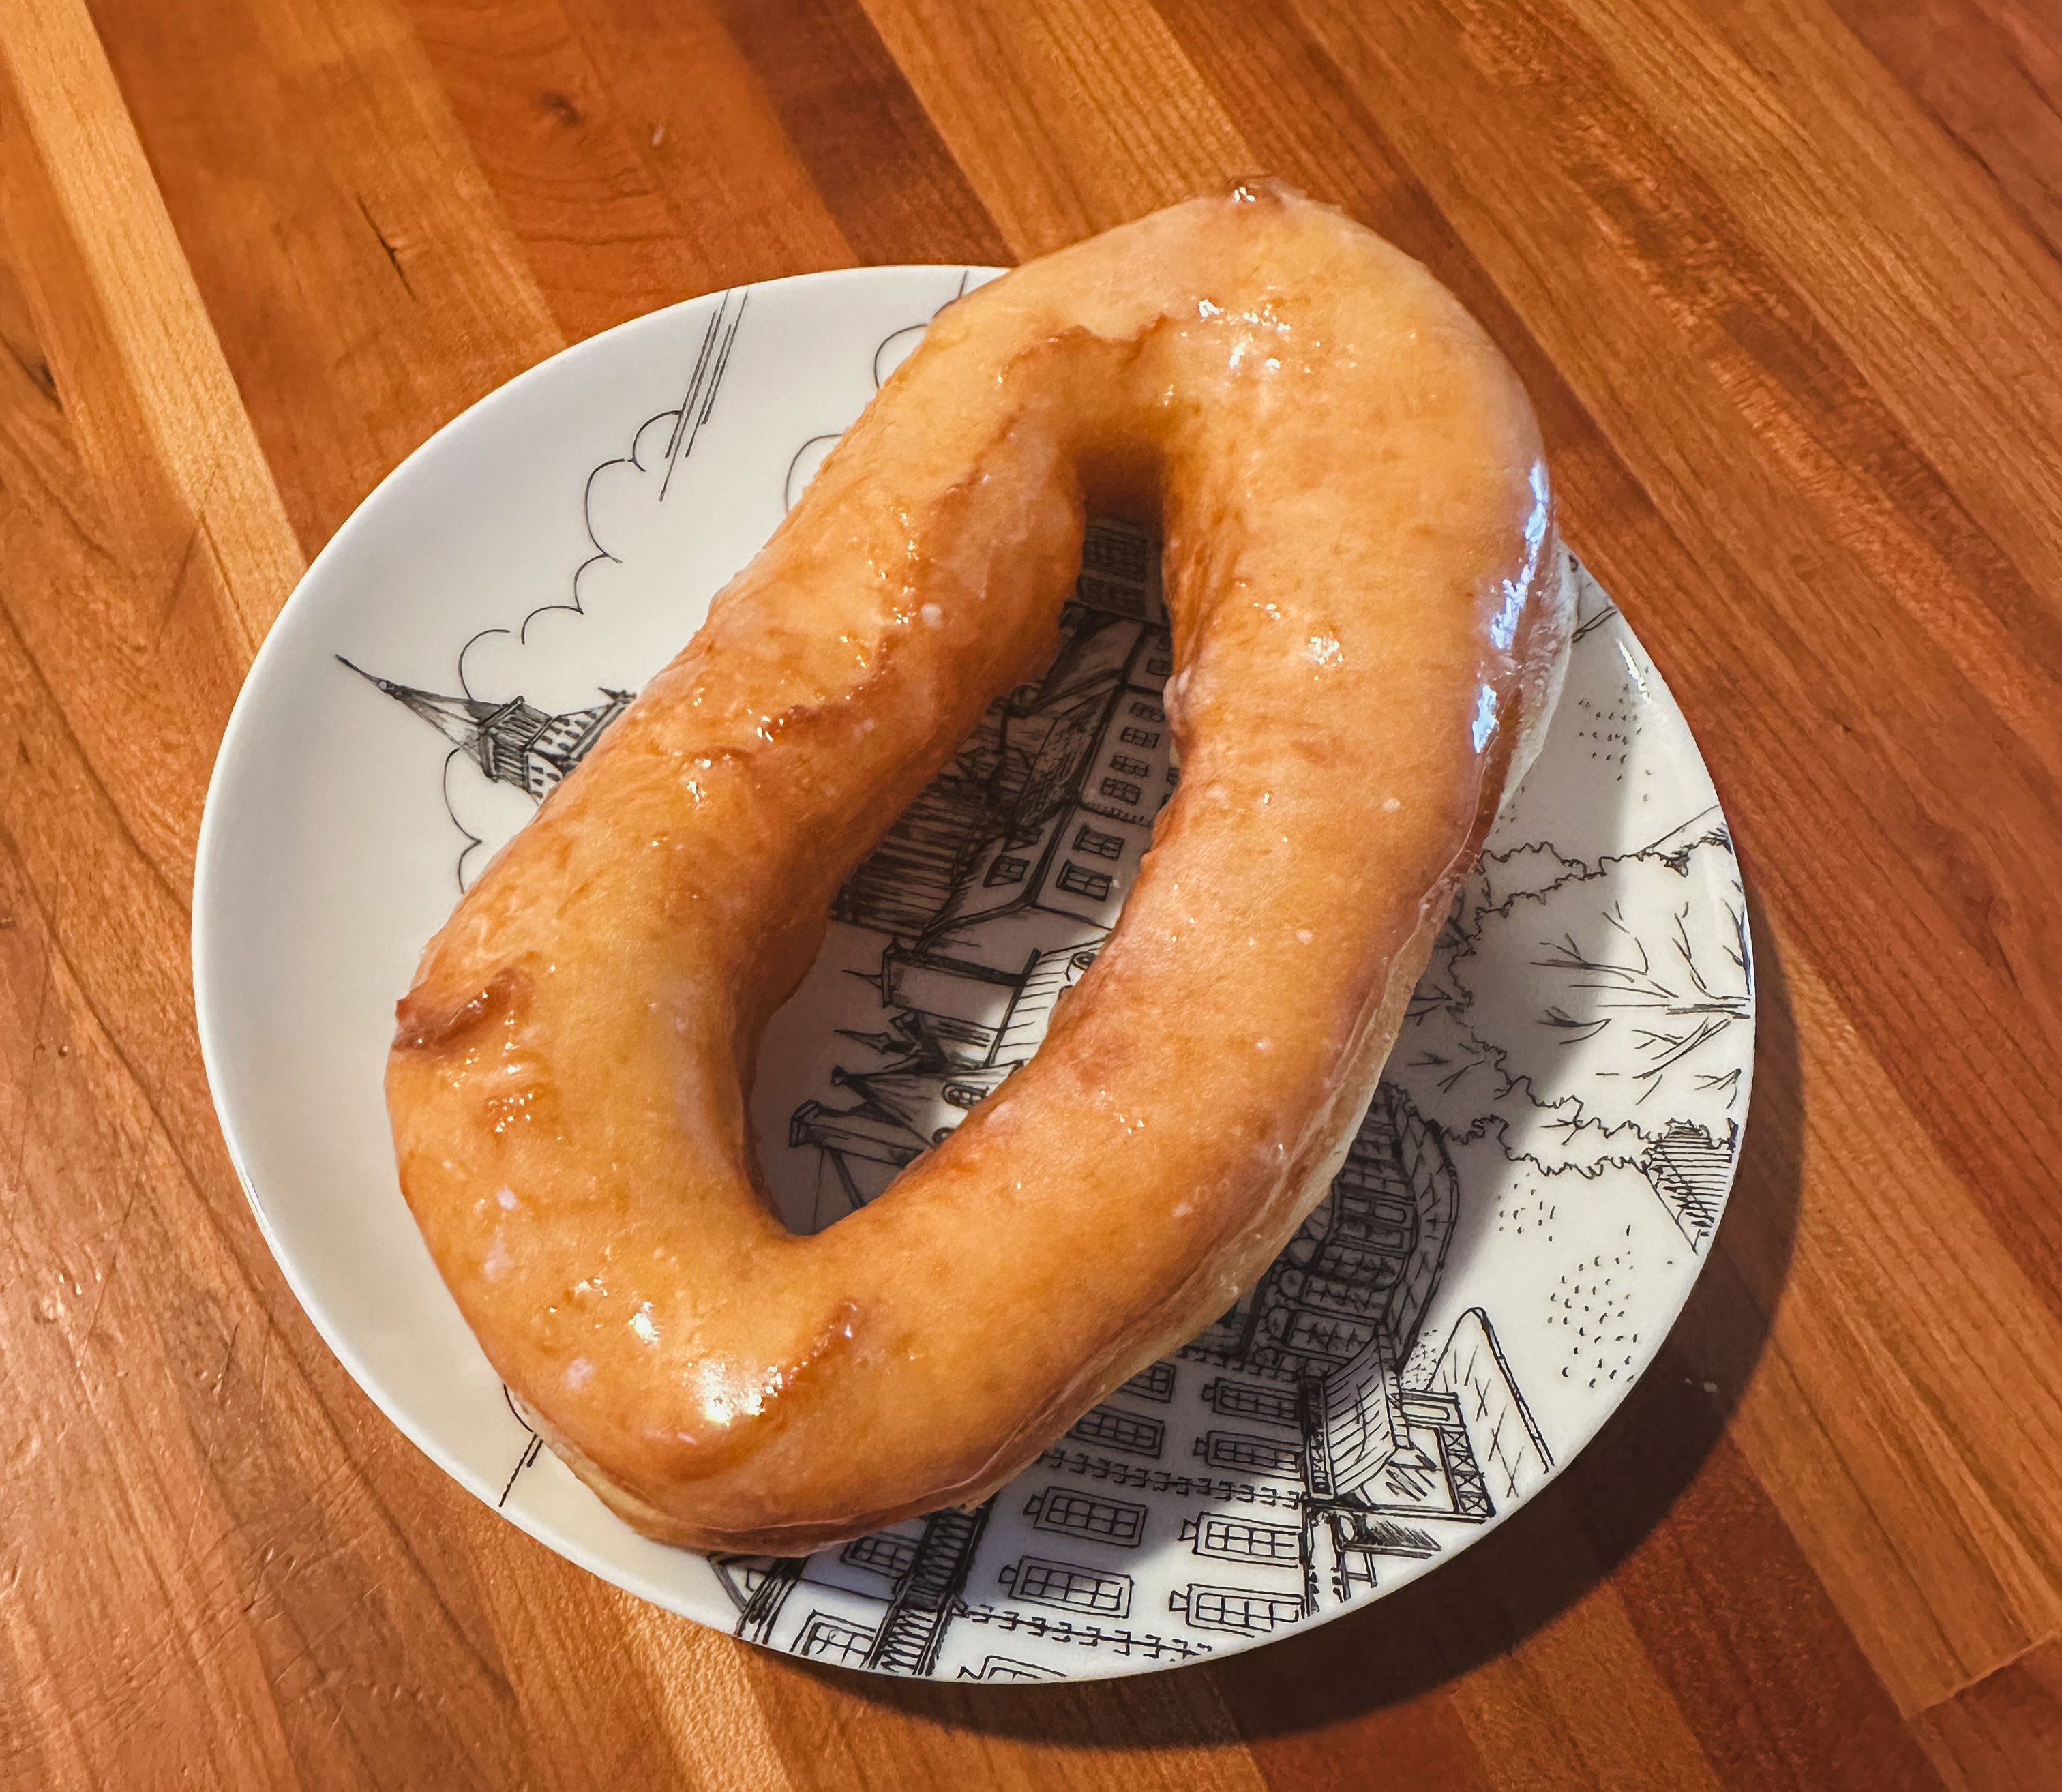
About 5 years ago when I was still a sourdough newby I attempted to make sourdough donuts. I had failed miserably. Since Brad [my starter] turns 5 this year it is the perfect time to redeem myself. Aberle Home helped guide me to success. Though I don’t have a oil thermometer it would be recommended by me to get one [it’s on my list as well] as ensuring the oil is at the right temperature is the hardest part of these donuts. This is a two day process so make sure you are planning ahead but OMG are they worth it.
Tangzhong (Scald)Dough before first proof
Ingredients
Tangzhong (Scald)
180g whole milk
38g unbleached bread flour
Dough
Cooled tangzhong
200g ripe sourdough starter (100% hydration)
375g unbleached bread flour (12.7% protein)
3 Large eggs
38g granulated sugar
2 teaspoon pure vanilla extract
12g kosher salt
100g salted butter, cold and cut into small cubes
Vanilla Glaze
70g Whole Milk
230g Powdered Sugar
1 TBSP Salted Butter, melted, cooled
1/2 TSP Vanilla Extract
Pinch of Salt
Additional
Vegetable Oil for Frying
Donut Cutter [or create your own at home like I did with a container lid and smaller cookie cutter]
Parchment Paper
Let’s Get Baking
Day One
Feed your starter 6hrs in advance and allow it to peak.
Prepare the tangzhong mixture: whisk together 180g milk + 38g flour in a small saucepan over medium heat. Cook and stir constantly with a rubber spatula until it thinkens to the consistency of mashed potatoes. Spread flat on a dinner plate and refridgerate until cool.
In a stand mixture fitted with a dough hook, add the cooled tangzhong + 200g Ripe Starter + 3 Large eggs + 38g granulated sugar + 2 TSP vanilla extract + 375g unbleached bread flour. Mix on low speed for 1 minute until combined. Cover with plastic wrap and allow to rest for 30 minutes.
After 30 minutes, add in the 12g of salt and knead on low speed for 10 minutes. Add in half the butter cubes and continue needing until the butter is incorporated and no longer visible. Add in the second half of the butter cubes. The dough is done when it cleans itself off the sides of the bowl and clings to the dough hook, this may take 10-15 minutes.
With damp hands form the dough into a smooth ball. Place in a large bowl, cover, and set in a warm plave until it has nearly doubled in size. After the dough has risen, cover tightly, and refridgerate overnight.
Day 2
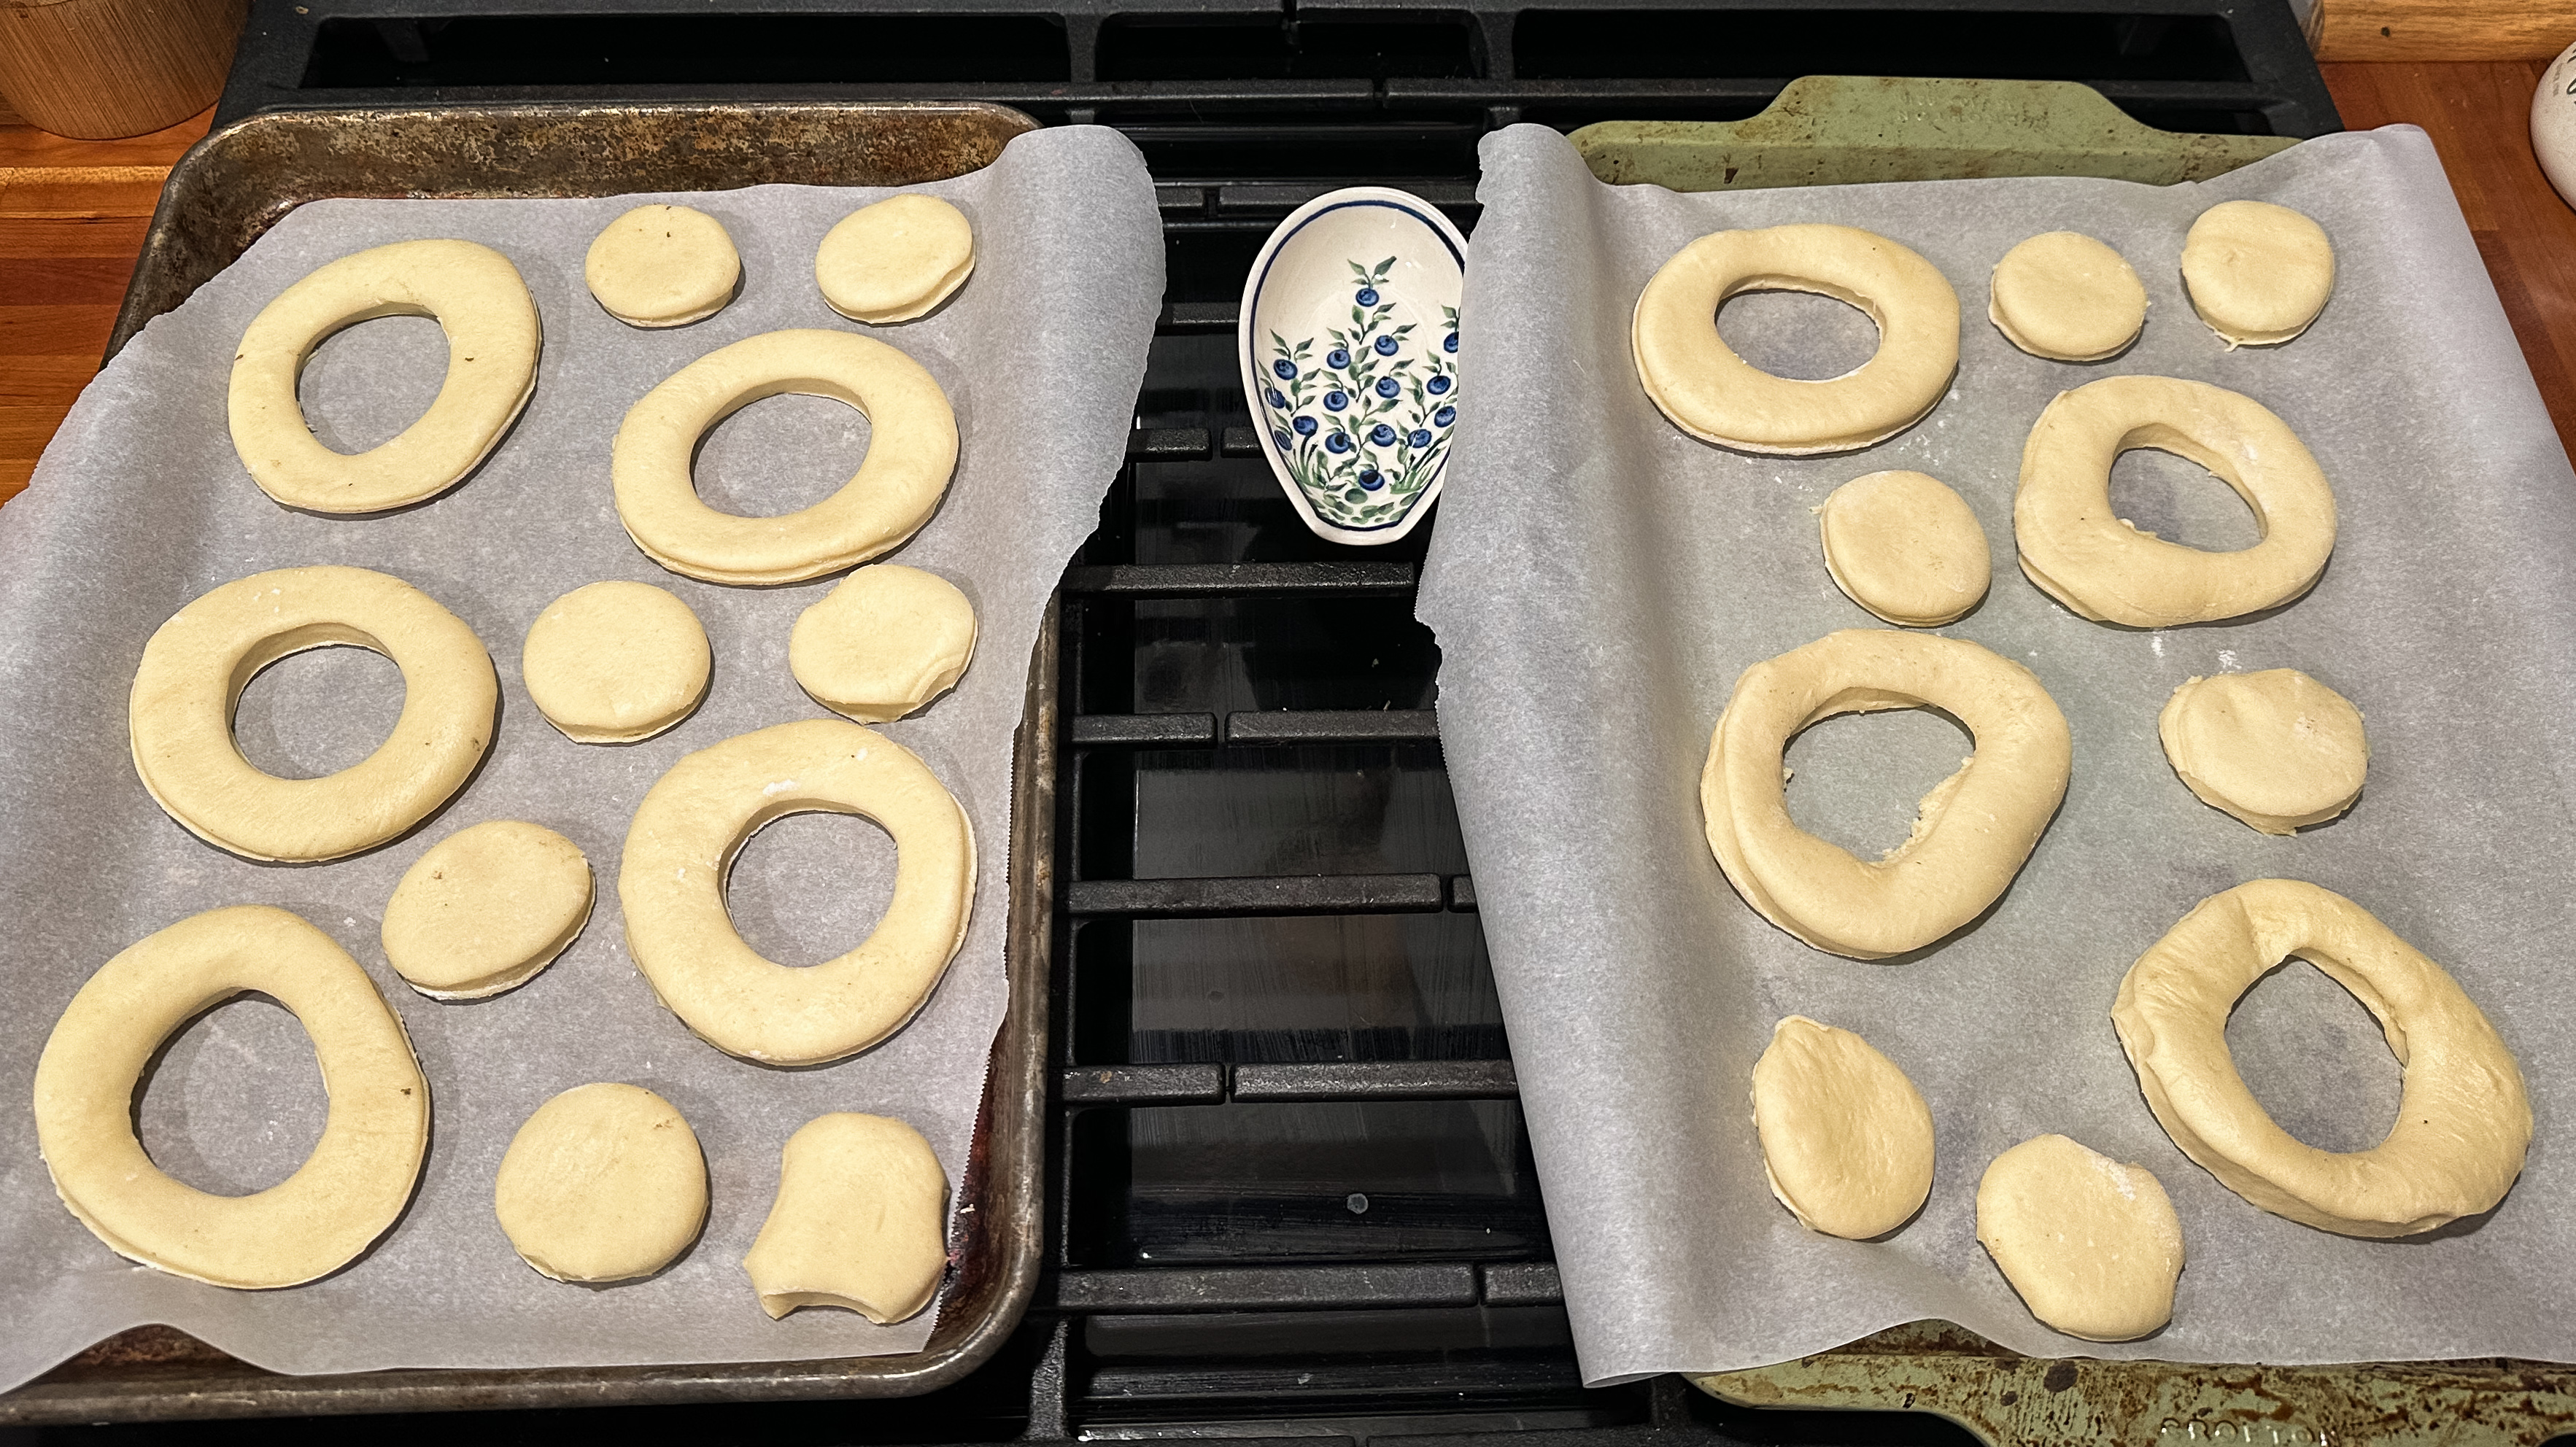
Line two sheet pans with parchment paper, lightly dust them with flour. Lightly flour your counter and turn out the cold dough. Roll evenly to 1/2-inch thickenness. Use your donut cutter and cut as closely spaced together, placing them on the parchment paper.
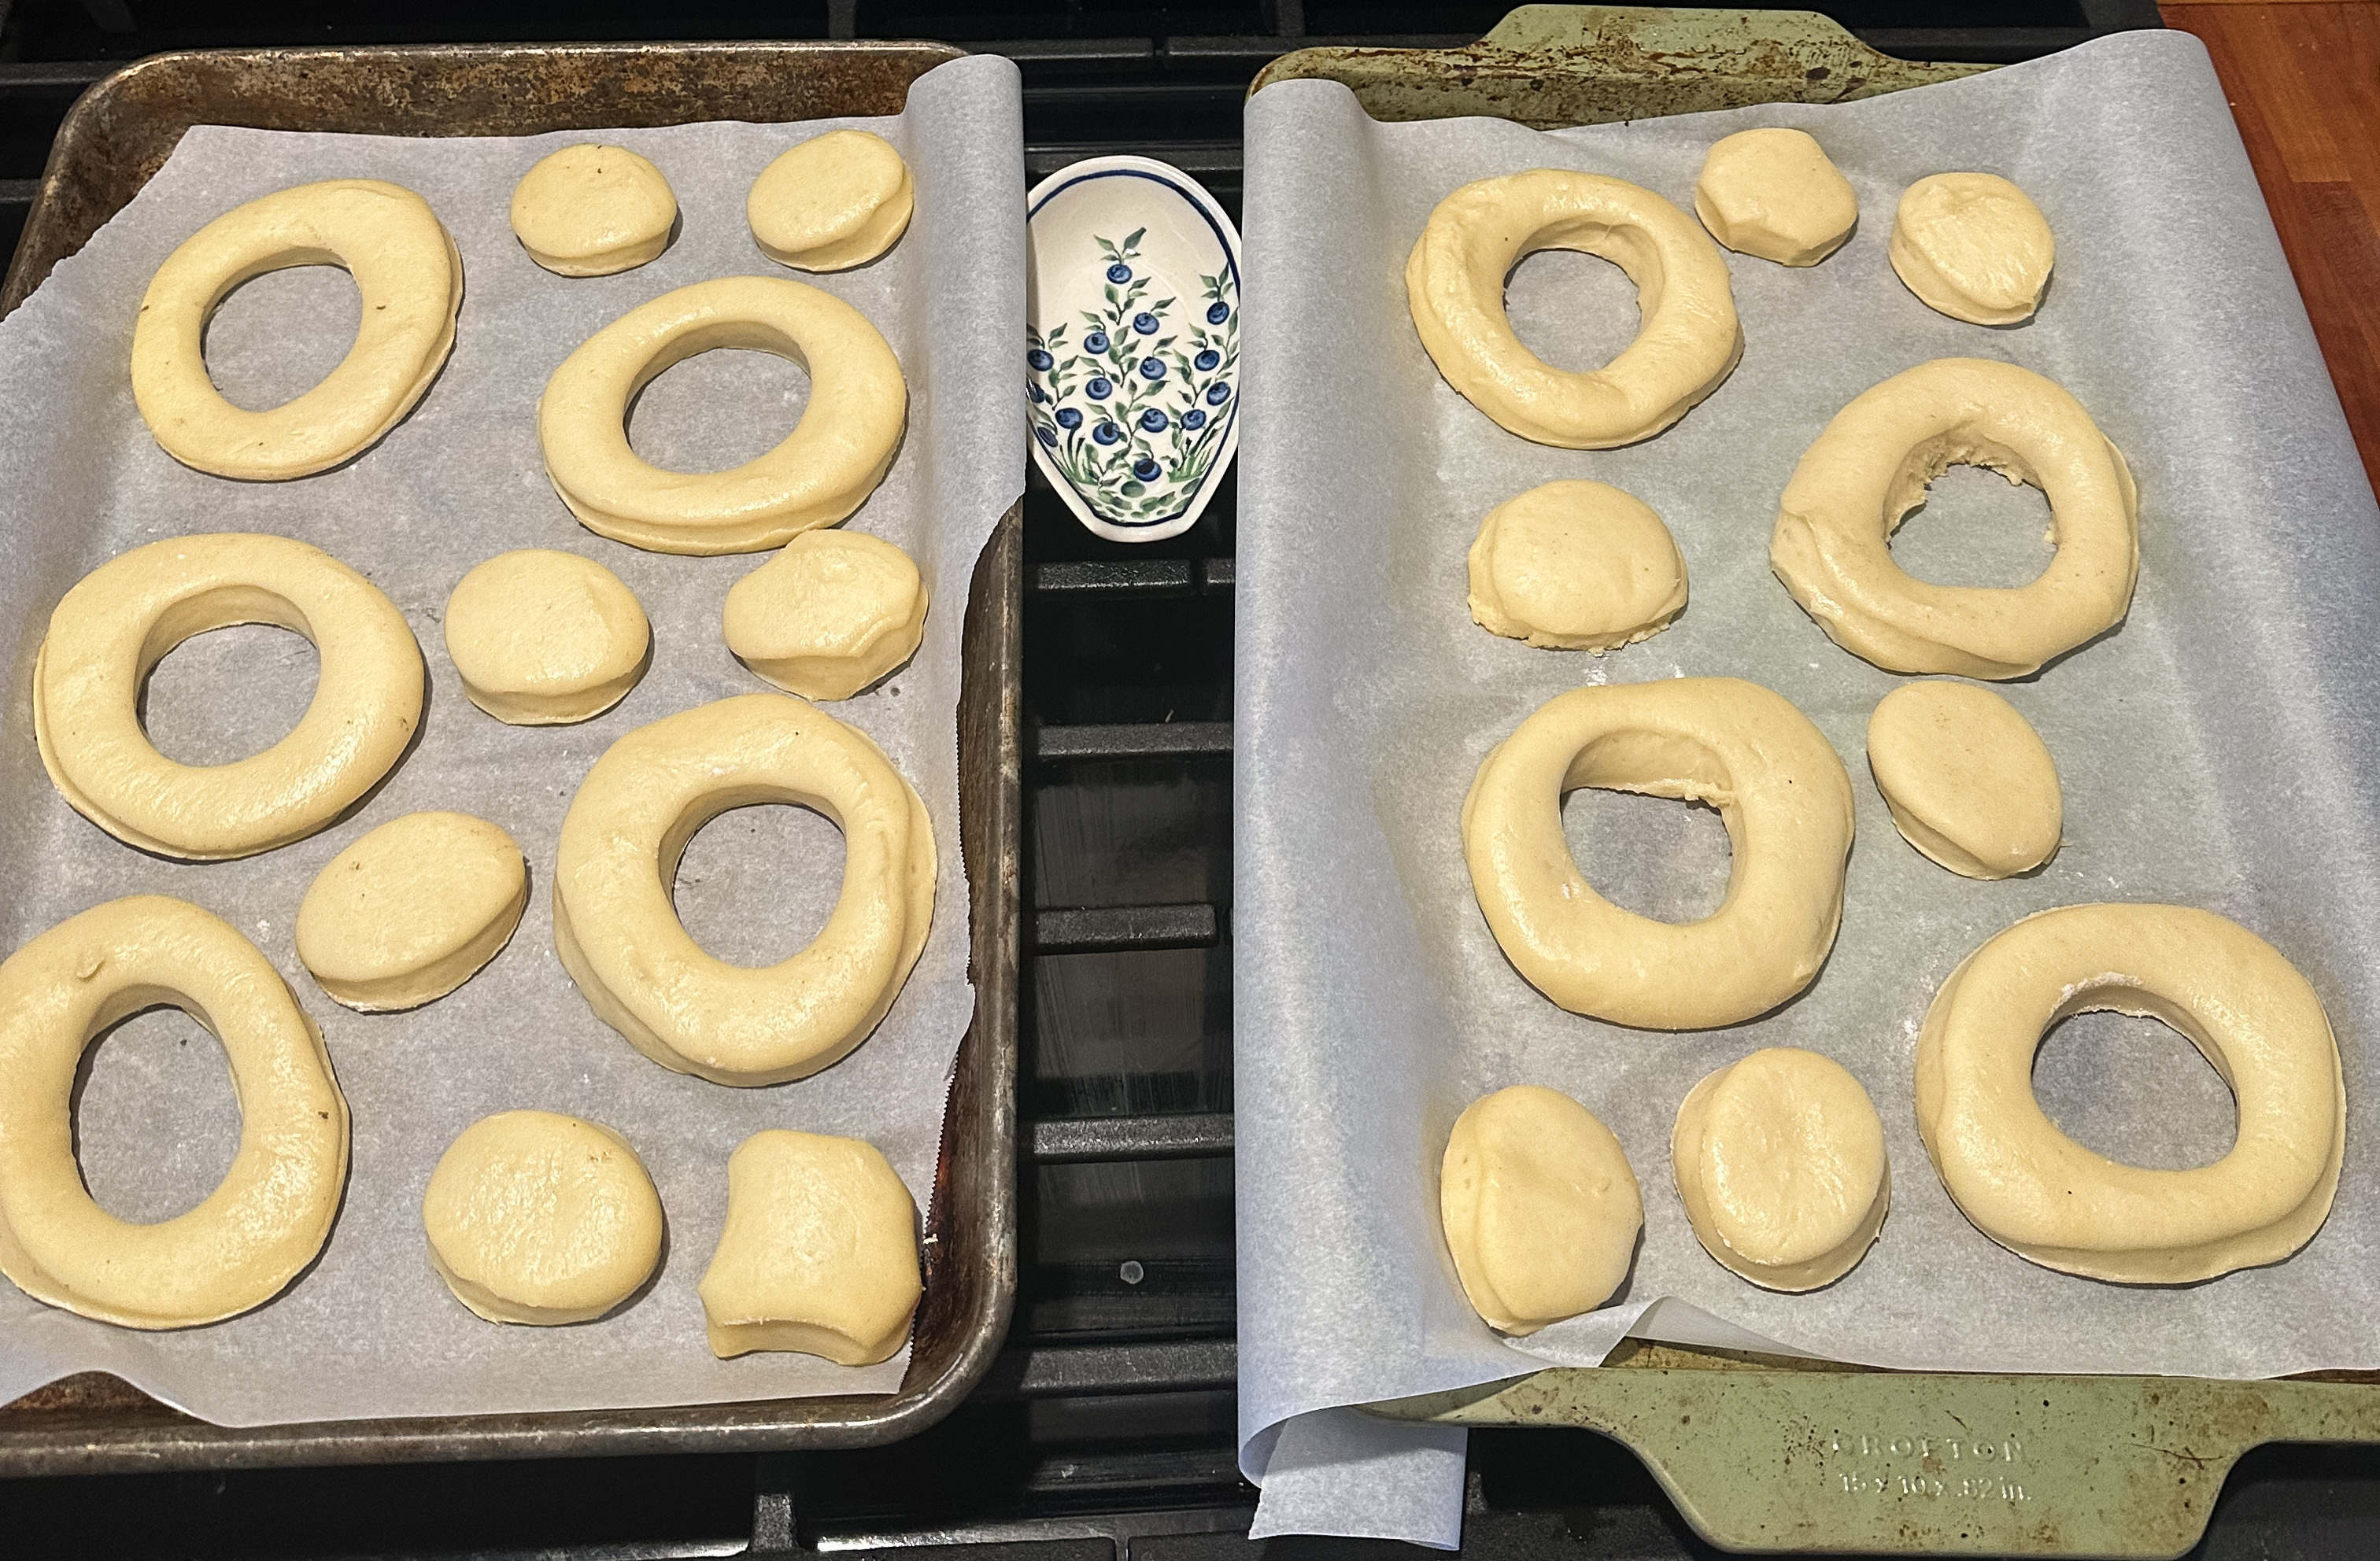
Cover the pans with plastic wrap and set in a warm place to proof until the donuts are puffy and soft to the touch.
Before Proof After Proof
When the donuts are about ready, fill a heavy bottomed pot with 2 inches of frying oil. Line a cooling rack with paper towels underneath and begin frying when the oil reaches 360F. Fry about 2 donuts at a time, fry about 2 minutes per side or until they are golden brown.
Make the vanilla glaze: combining 230g powdered sugar + 70g whole milk + 1 TBSP melted butter + 1/2 TSP vanilla extract + salt. Mix well until all combined. Once donuts have cooled, dip them in the glaze and place glazed side up on the cooling rack.
Enjoy immediately! Trust me you’re not going to be able to stop.