
I have been on a sourdough kick recently, I love how versatile it is! You can make pastries, savory snacks, and the best bread ever. I love making the big loaves, but I wanted to try something easier to cut and use for my morning avocado toast. I found this recipe from Stay at Home Sarah and she truly is right on with how easy this sandwich bread is! This recipe makes two loaves which you can easily wrap up and freeze until you’re ready to use!
Ingredients
- 1/2 Cup Softened Butter
- 2 1/2 Cups Warm Water
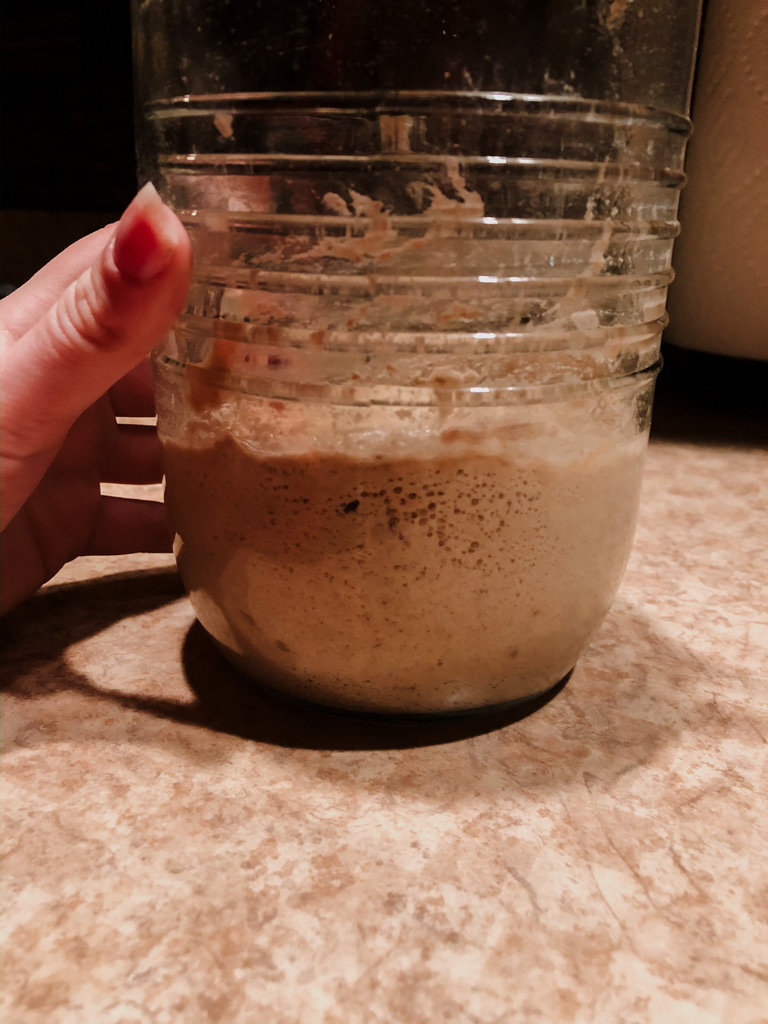
- 1 1/2 Cups Active Sourdough Starter
- 2 TBSP Honey
- 1 TBSP Salt
- 8 Cups Bread Flour


Let’s Get Baking
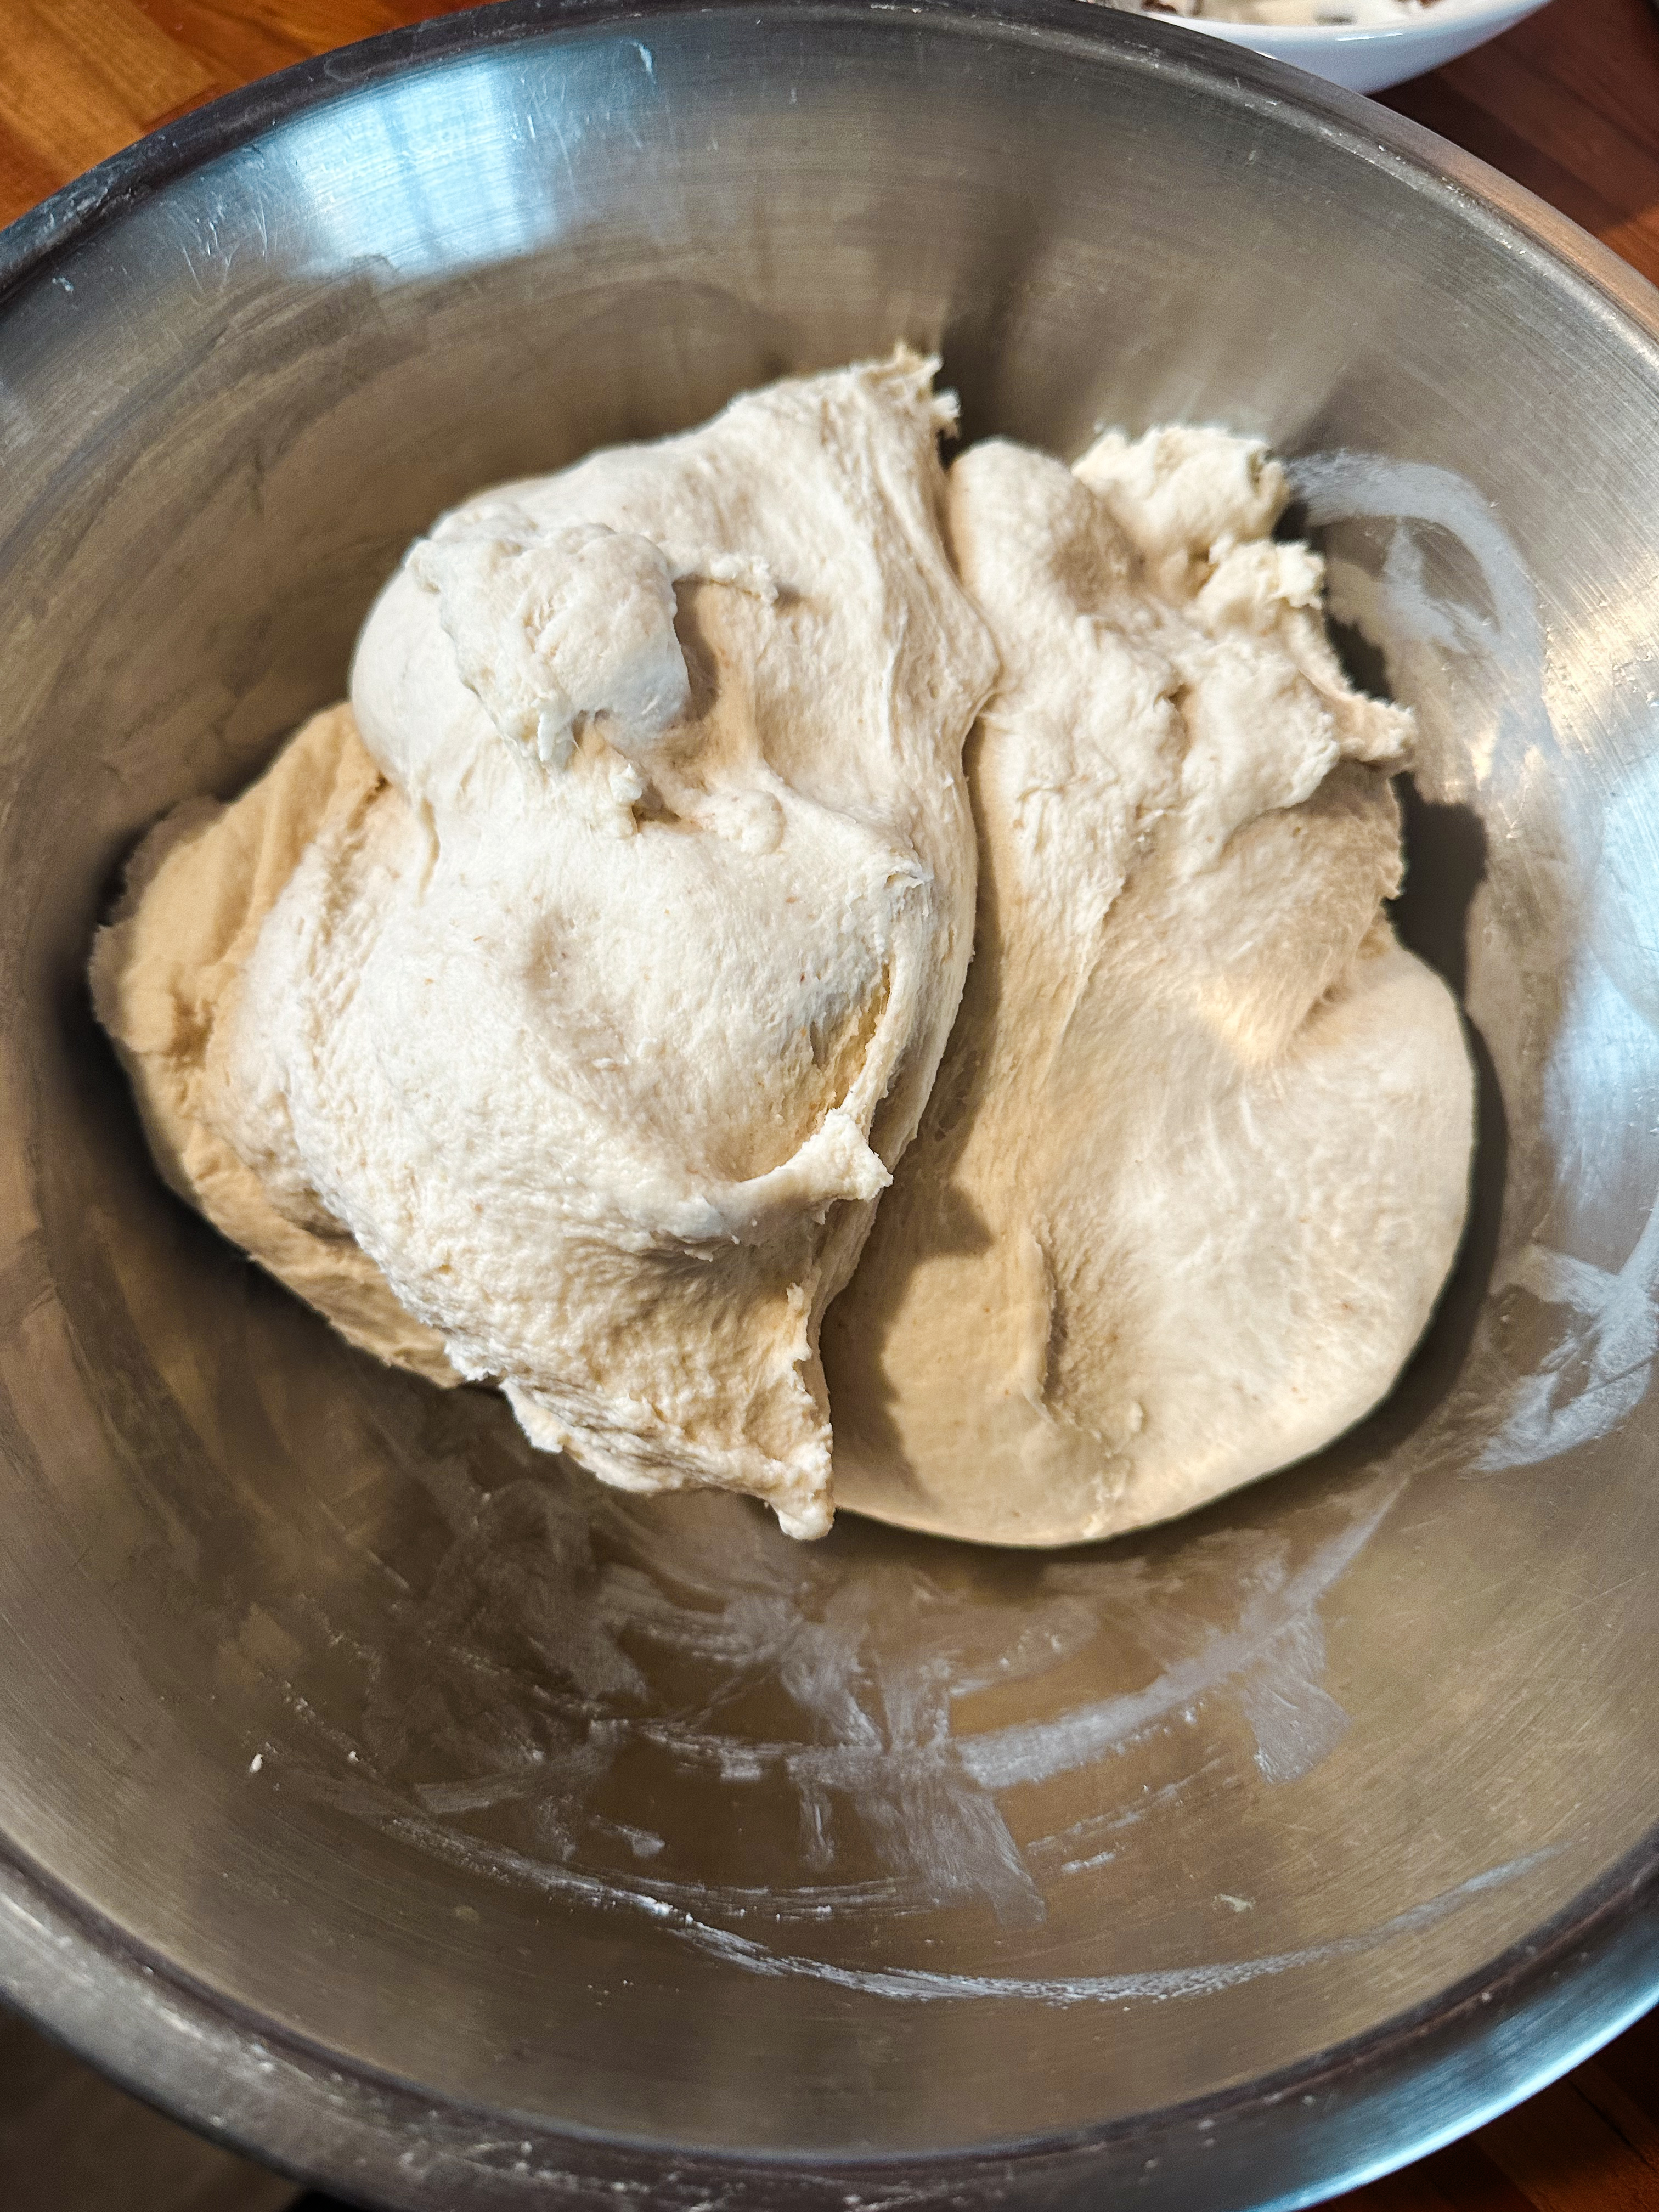
Using your stand mixer bowl, add in softened butter + warm water + active sourdough starter + honey + salt + half of the flour. Mix with paddle attachment until all the ingredients are combined. Switch to the dough hook and slowly add in the rest of the flour. Knead on low for about 7-8 minutes or until the dough is smooth and glossy.
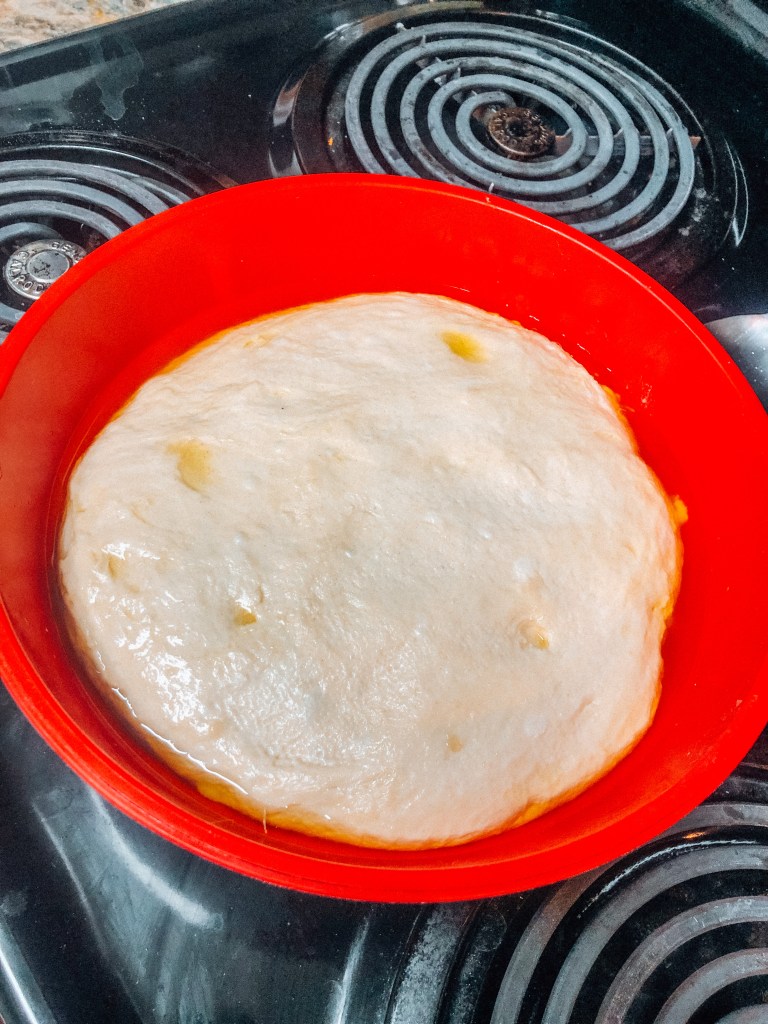
Place the dough into a buttered bowl and cover with plastic wrap or a damp towel. Leave at room temp to proof for 10-12 hours. The dough will be ready when it’s doubled in size.
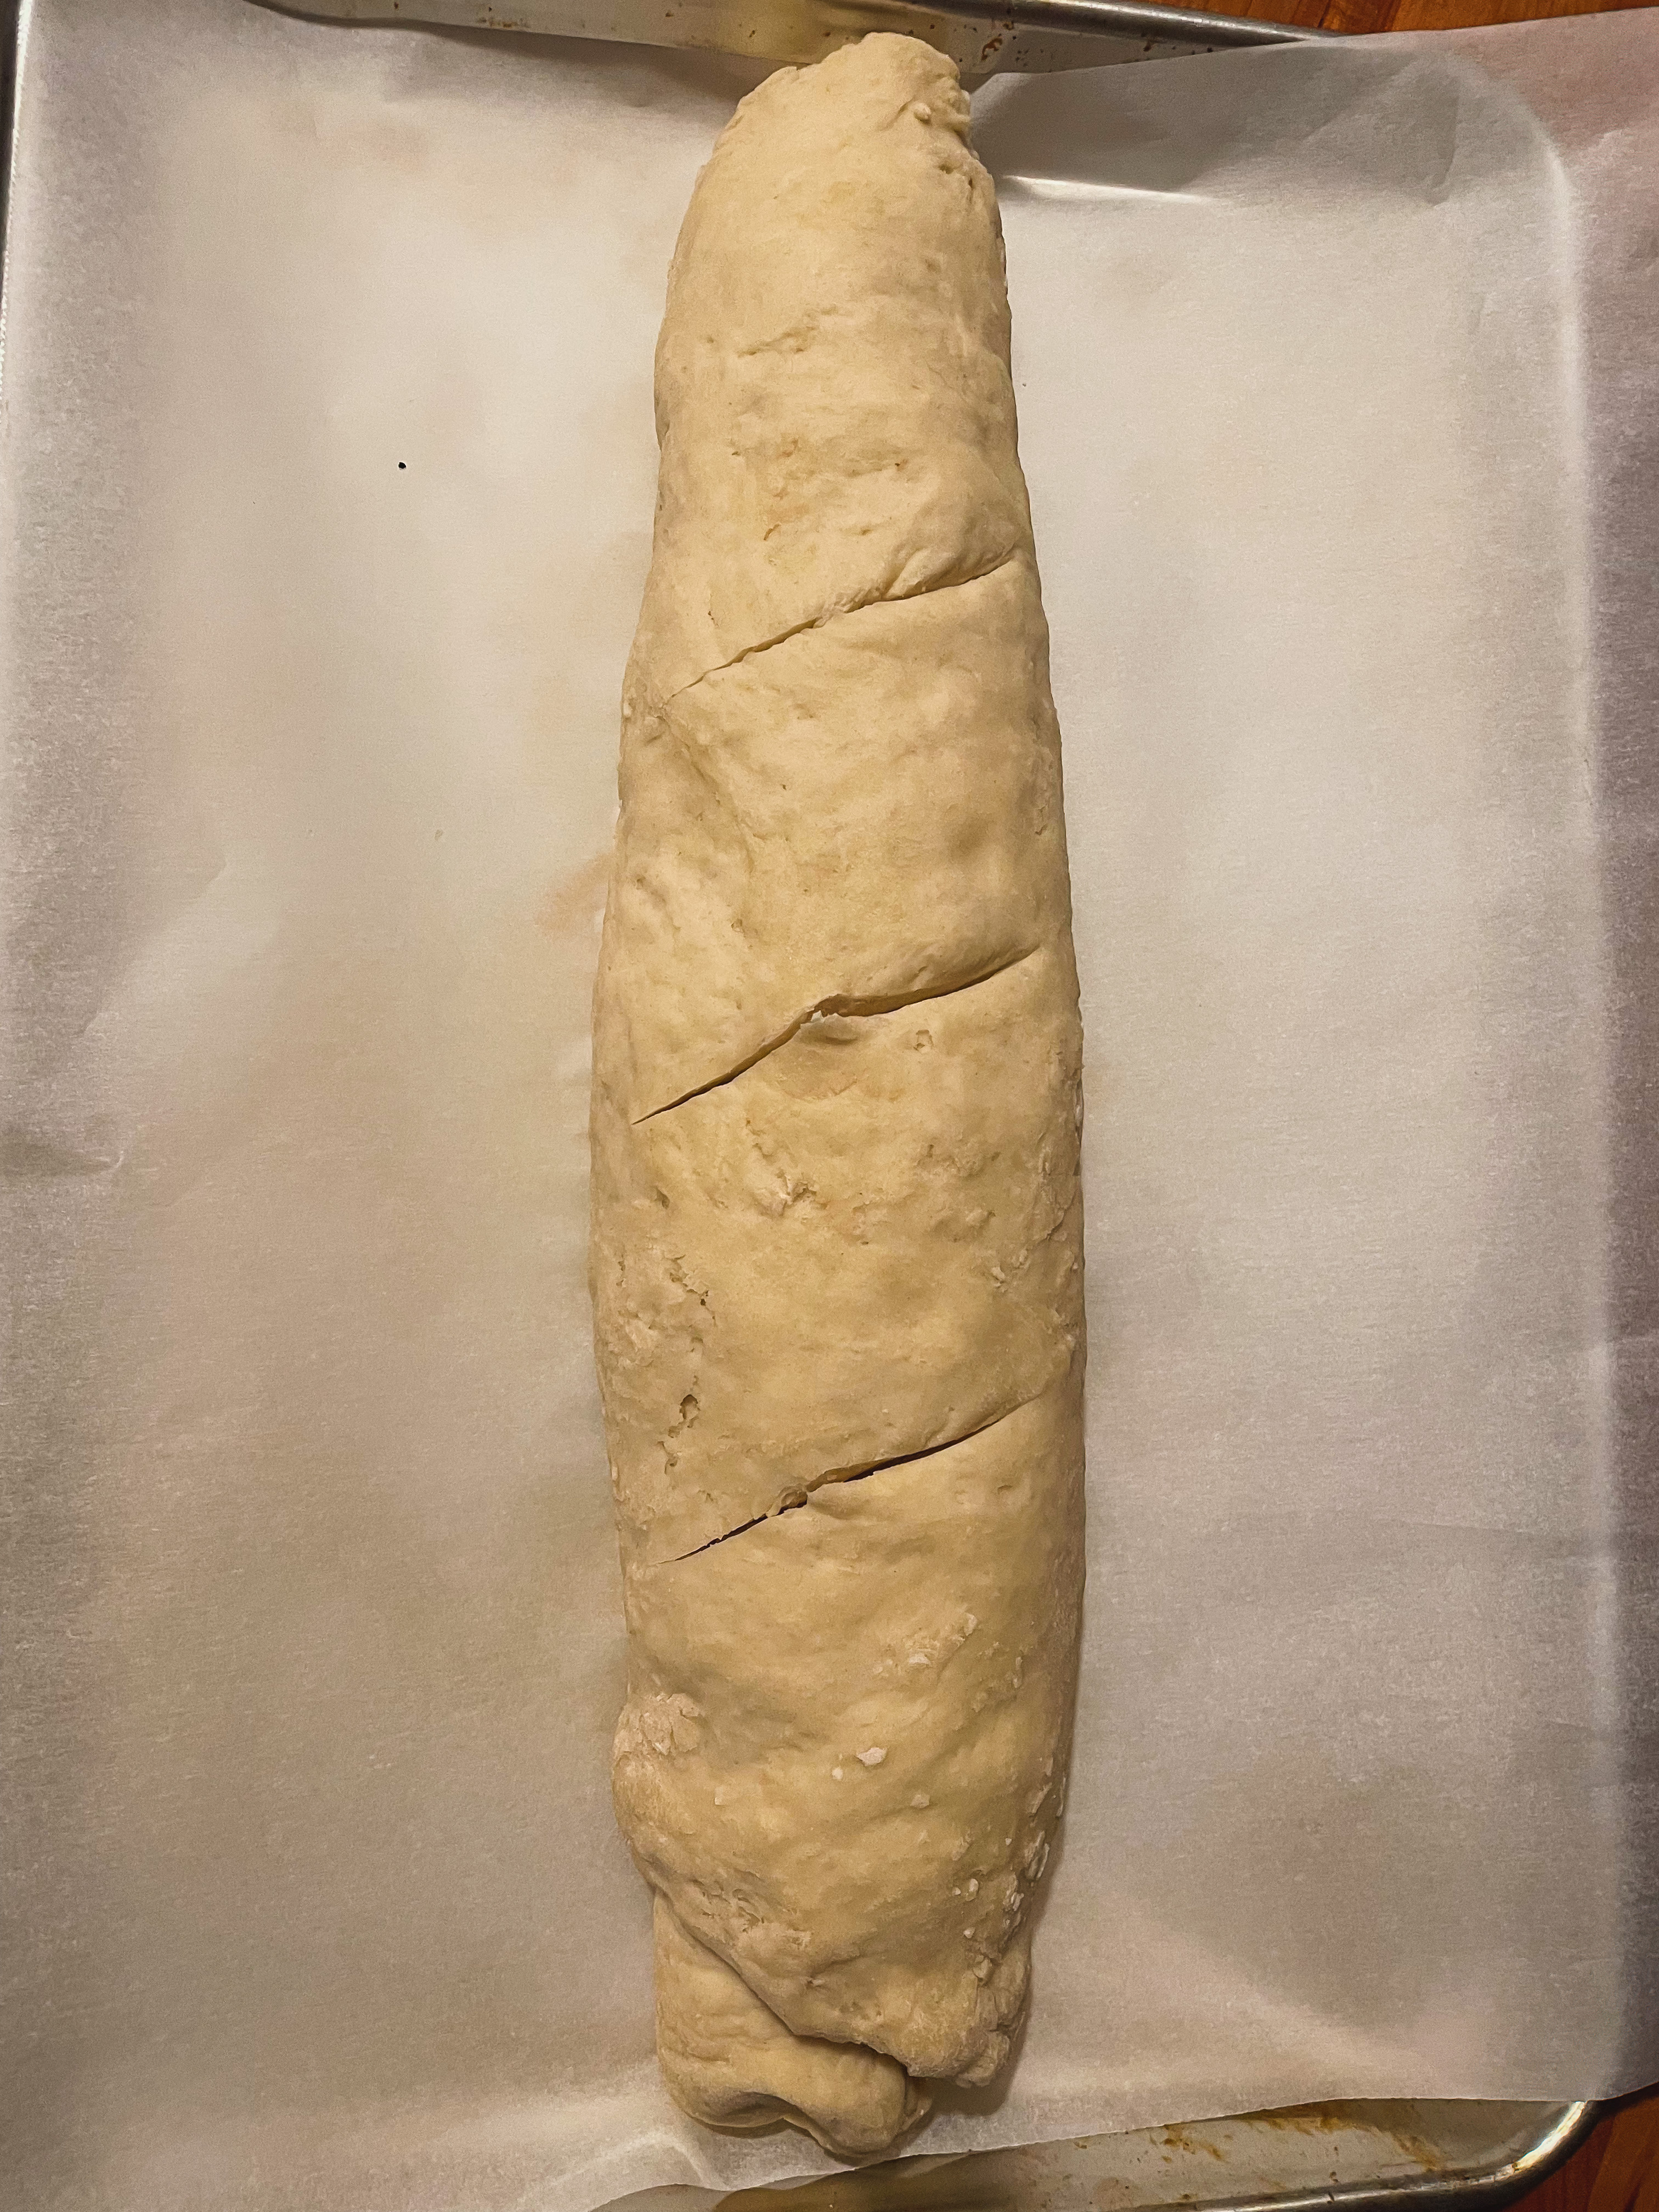
After your first proof, lightly coat your loaf pans with oil or butter. Divide the dough in half. Working one at a time, roll the dough into a large rectangle. Stretch the sides and press gently on the dough to release any bubbles. using the short sides, fold the dough into thirds. Starting at the short end, roll the dough up into a log, tuck the ends in underneath. Repeat with the other piece of dough. Place into the prepared pans seam side down. Cover with a damp towel and let proof again. This can take up to about 3-6 hours, or until the dough is about 1in from the pan rim. I completed this second proof in the fridge, but you can also leave it out.
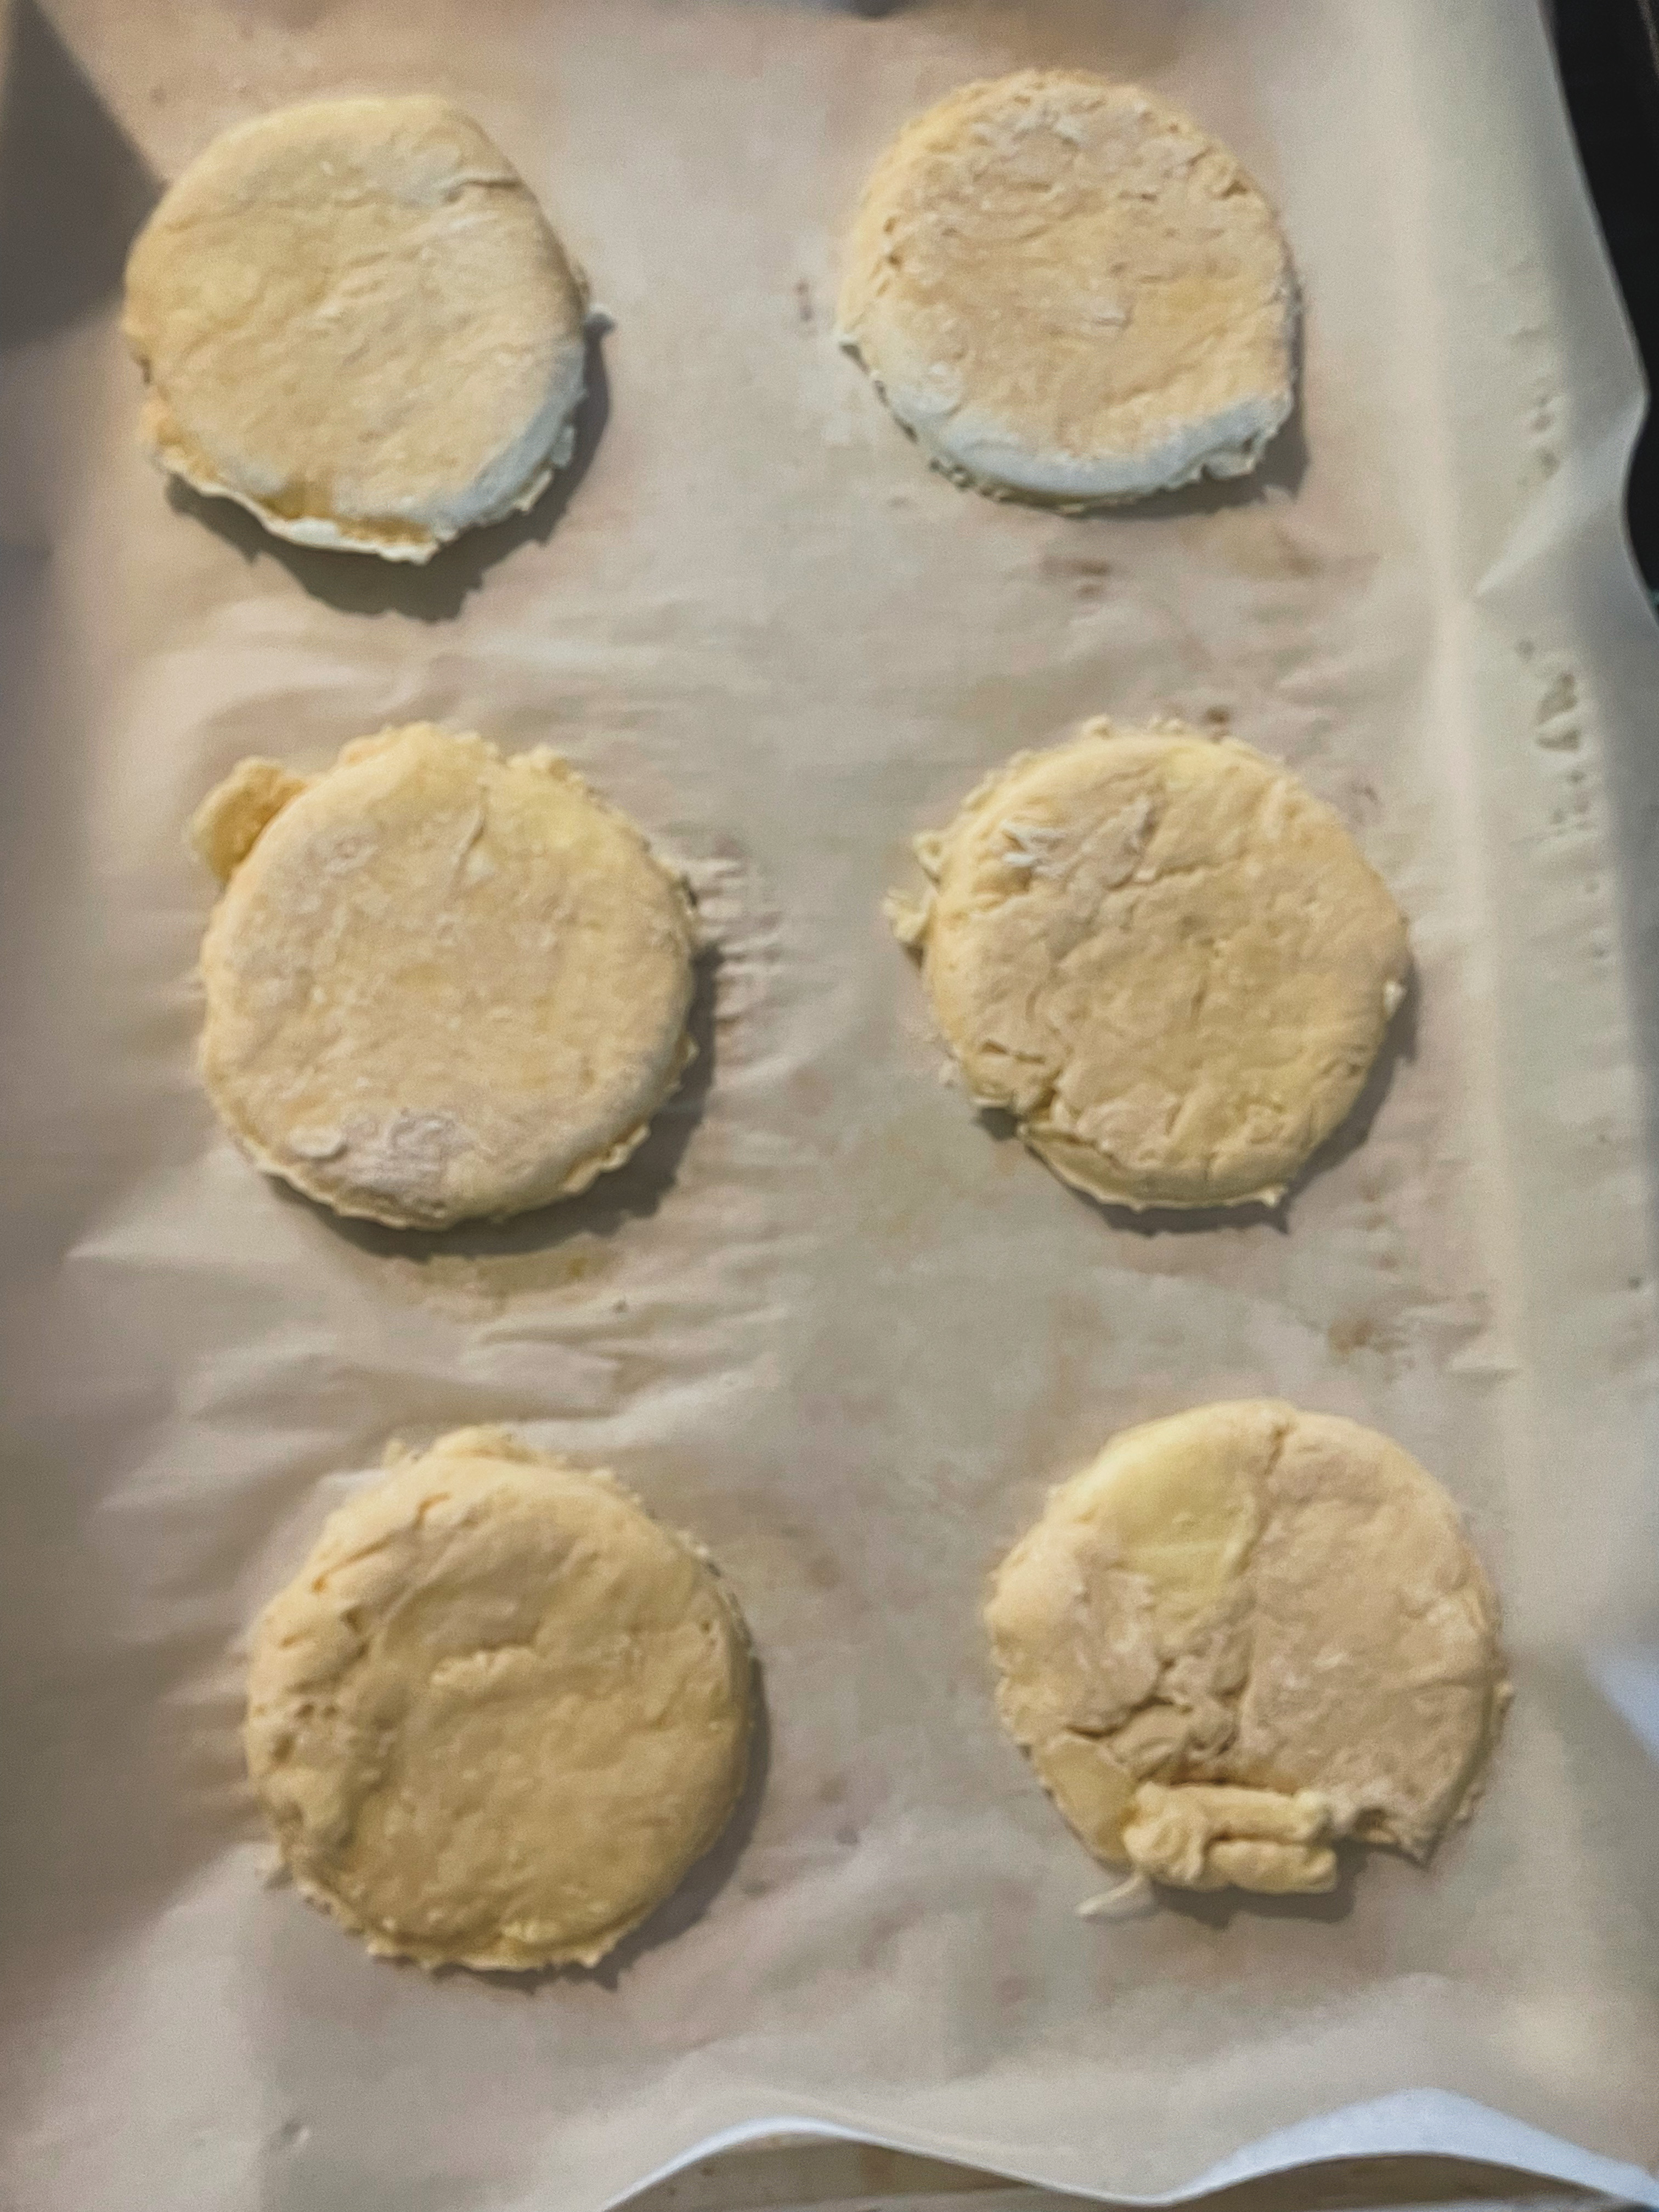
To bake, preheat the oven to 375F and bake for about 40 min. Allow to cool on a wire wrack and let rest 1 hour before slicing.
This makes the best bread that can be used with any toppings imaginable! I have been loving it with avocado + chili oil + a runny egg for my breakfast
Made with love,
Hannah