
I’m hesistant about peanut sauces. They tend to be too sweet for me, and I am not a sweet meats girl. However, when we were in Savannah, these PB&J chicken wings were highly recommended, and I quickly became obsessed. I had to find a way to make them at home, and luckily, I found a recipe from Pekin the Chef that was spot on. Though it seems complicated, I promise they are easy. The peanut sauce is not overly sweet; it has almost an umami flavor. You pair the chicken wings with this slightly spicy peach jam. It’s never too late to switch it up and try out some new flavors. I air-fried the chicken wings; you are welcome to fry them up, bake them, or do whatever you like.
Ingredients
Chicken Wings
- 2lbs Chicken Wings
- 1 TSP Salt
- 1/2 TSP Black Pepper
Pecan Peanut Butter Sauce
- 1/4 Cup Pecans, toasted & finely chopped
- 2 TBSP Butter
- 1/2 Cup Peanut Butter
- 2 TBSP Soy Sauce
- 1 TBSP Honey
- 1 TBSP Rice Vinegar
- 1 TSP Garlic, minced
- 1 TSP Ginger, freshly grated
- 2 TBSP Water
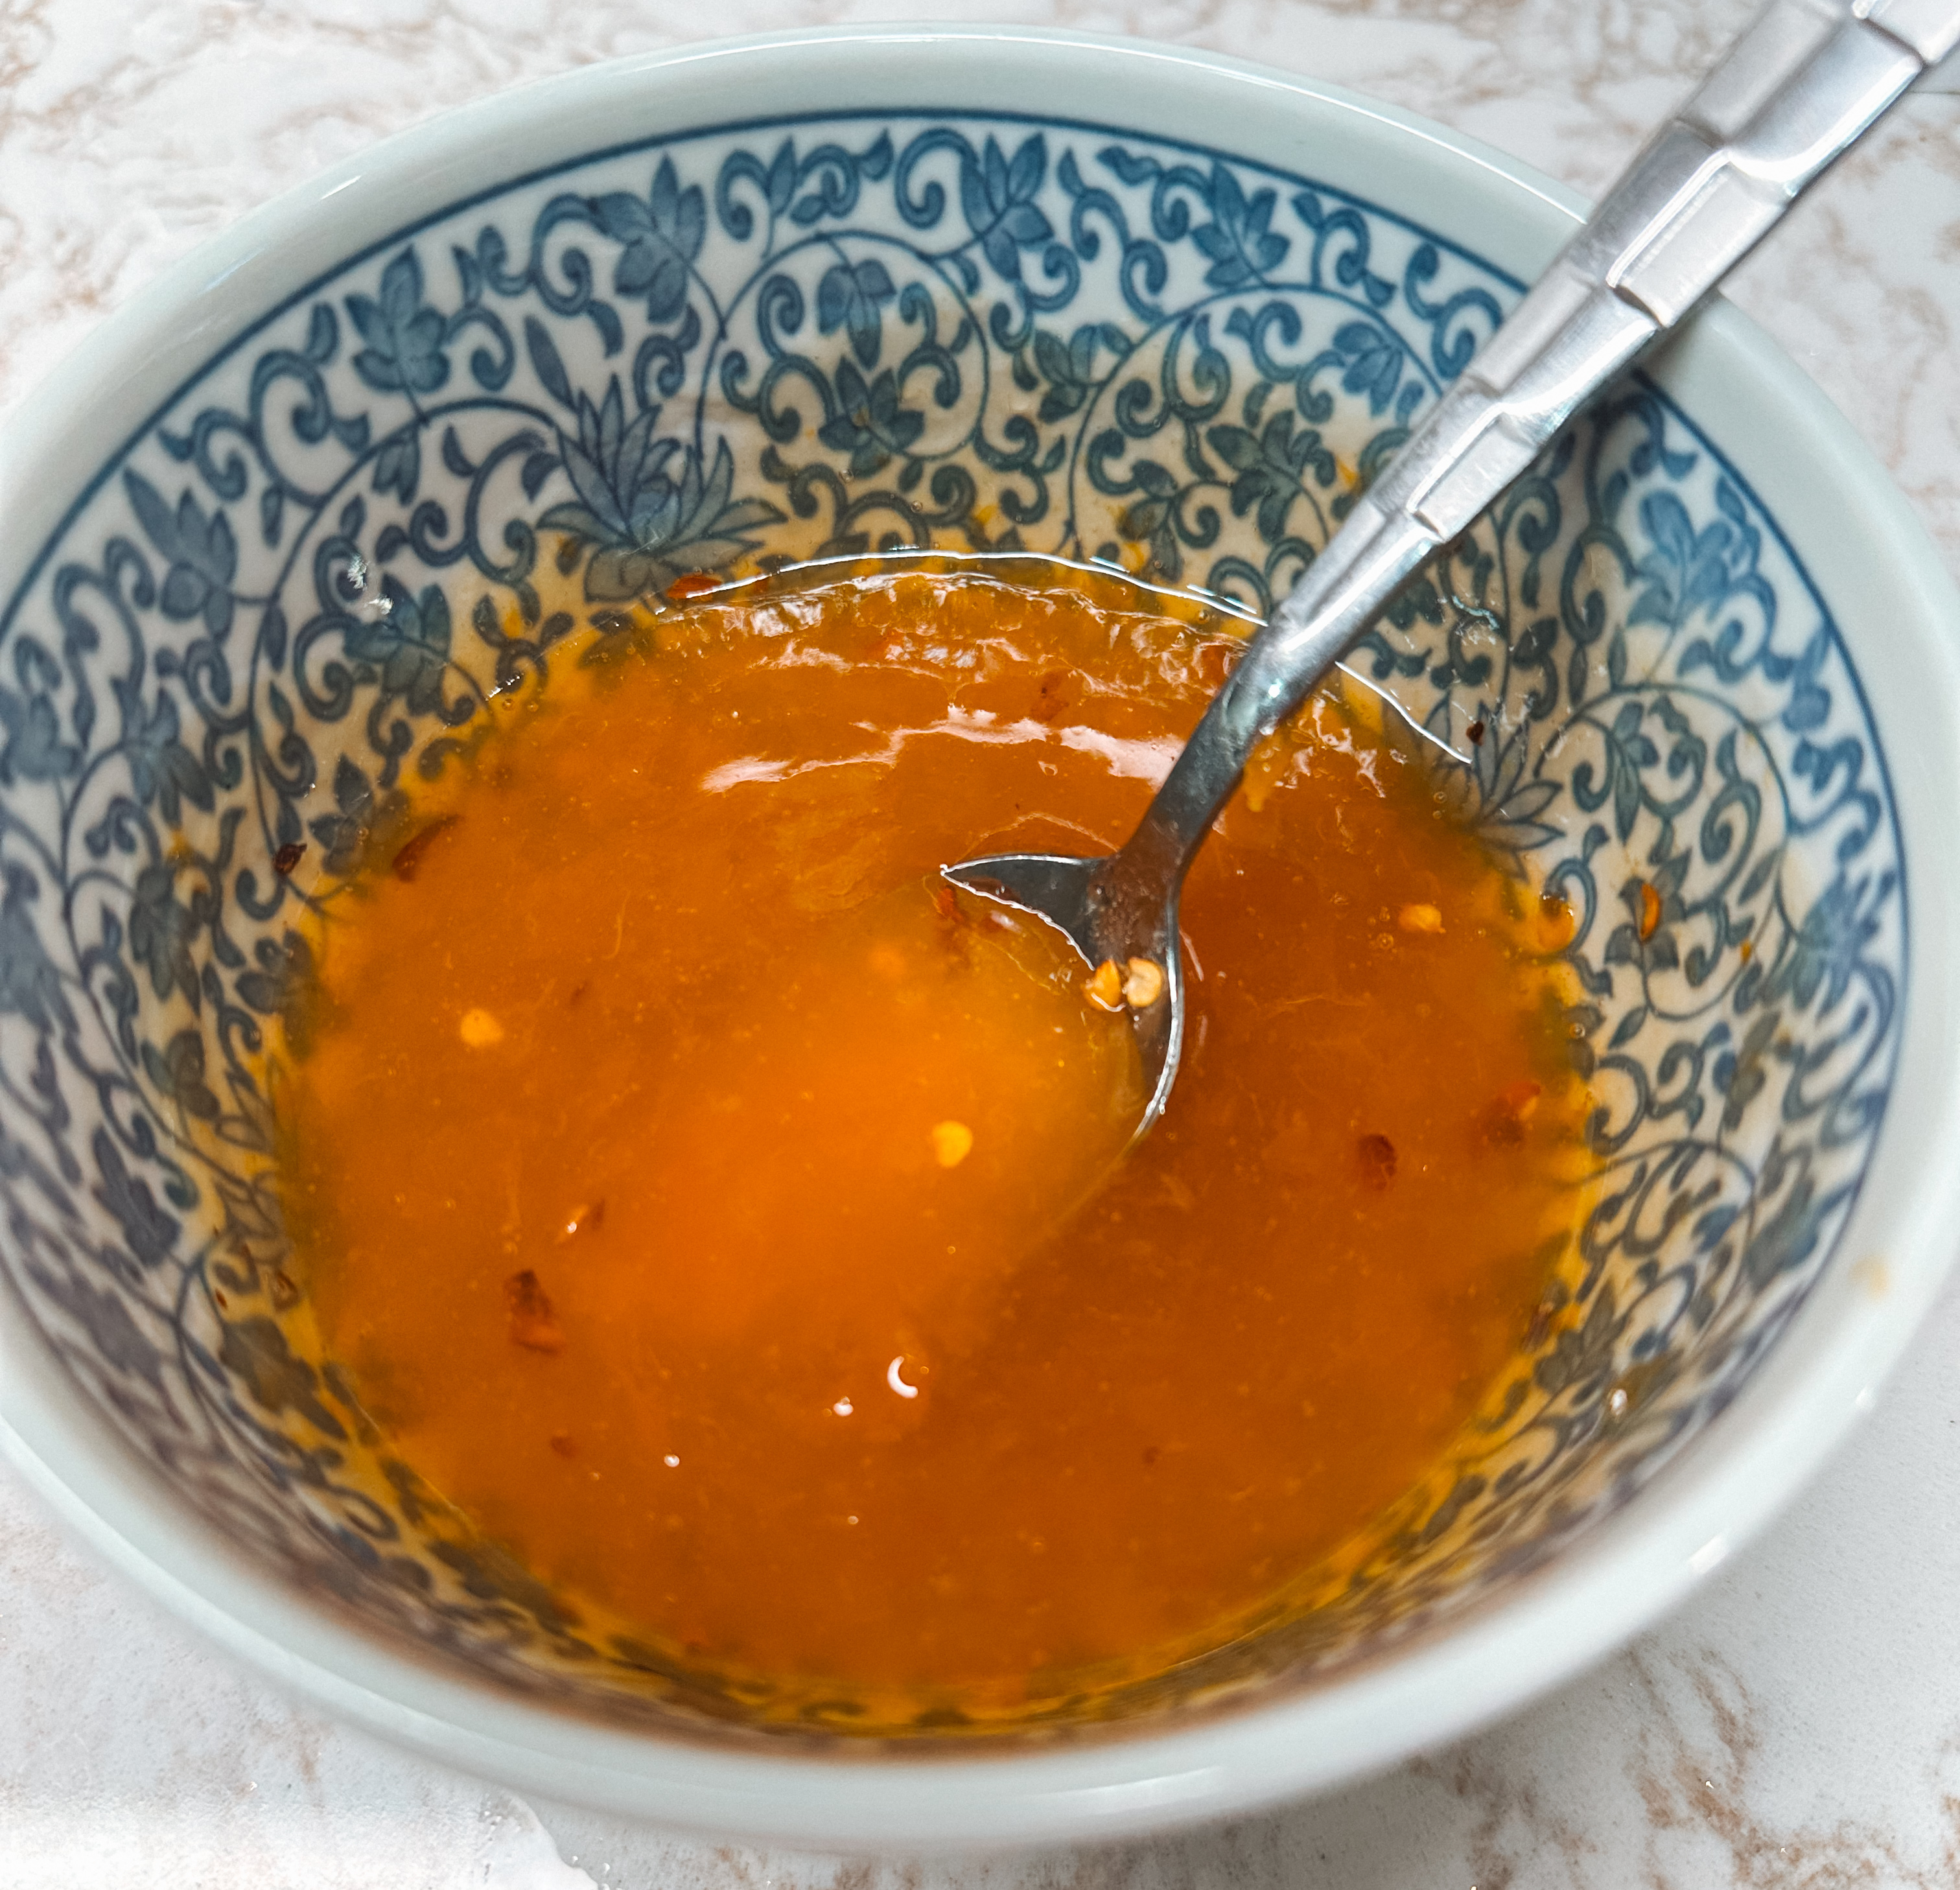
Peach Jam Dipping Sauce
- 1/2 Cup Peach Jam
- 1 TBSP Apple Cider Vinegar
- 1/4 TSP Red Pepper Flakes
- 1 TBSP Water
Let’s Get Cooking
Rinse the chicken wings and pat them dry. Season with salt & pepper and let sit at room temperature for 20 minutes.
Preheat the air-fryer to 400F. Airfry the chicken wings in batches for 25 minutes, flipping them halfway through. Once all cooked, place to the side.
Make the Pecan Peanut Butter Sauce.
In a small saucepan, toast the pecans over medium heat until fragrant. Set aside.
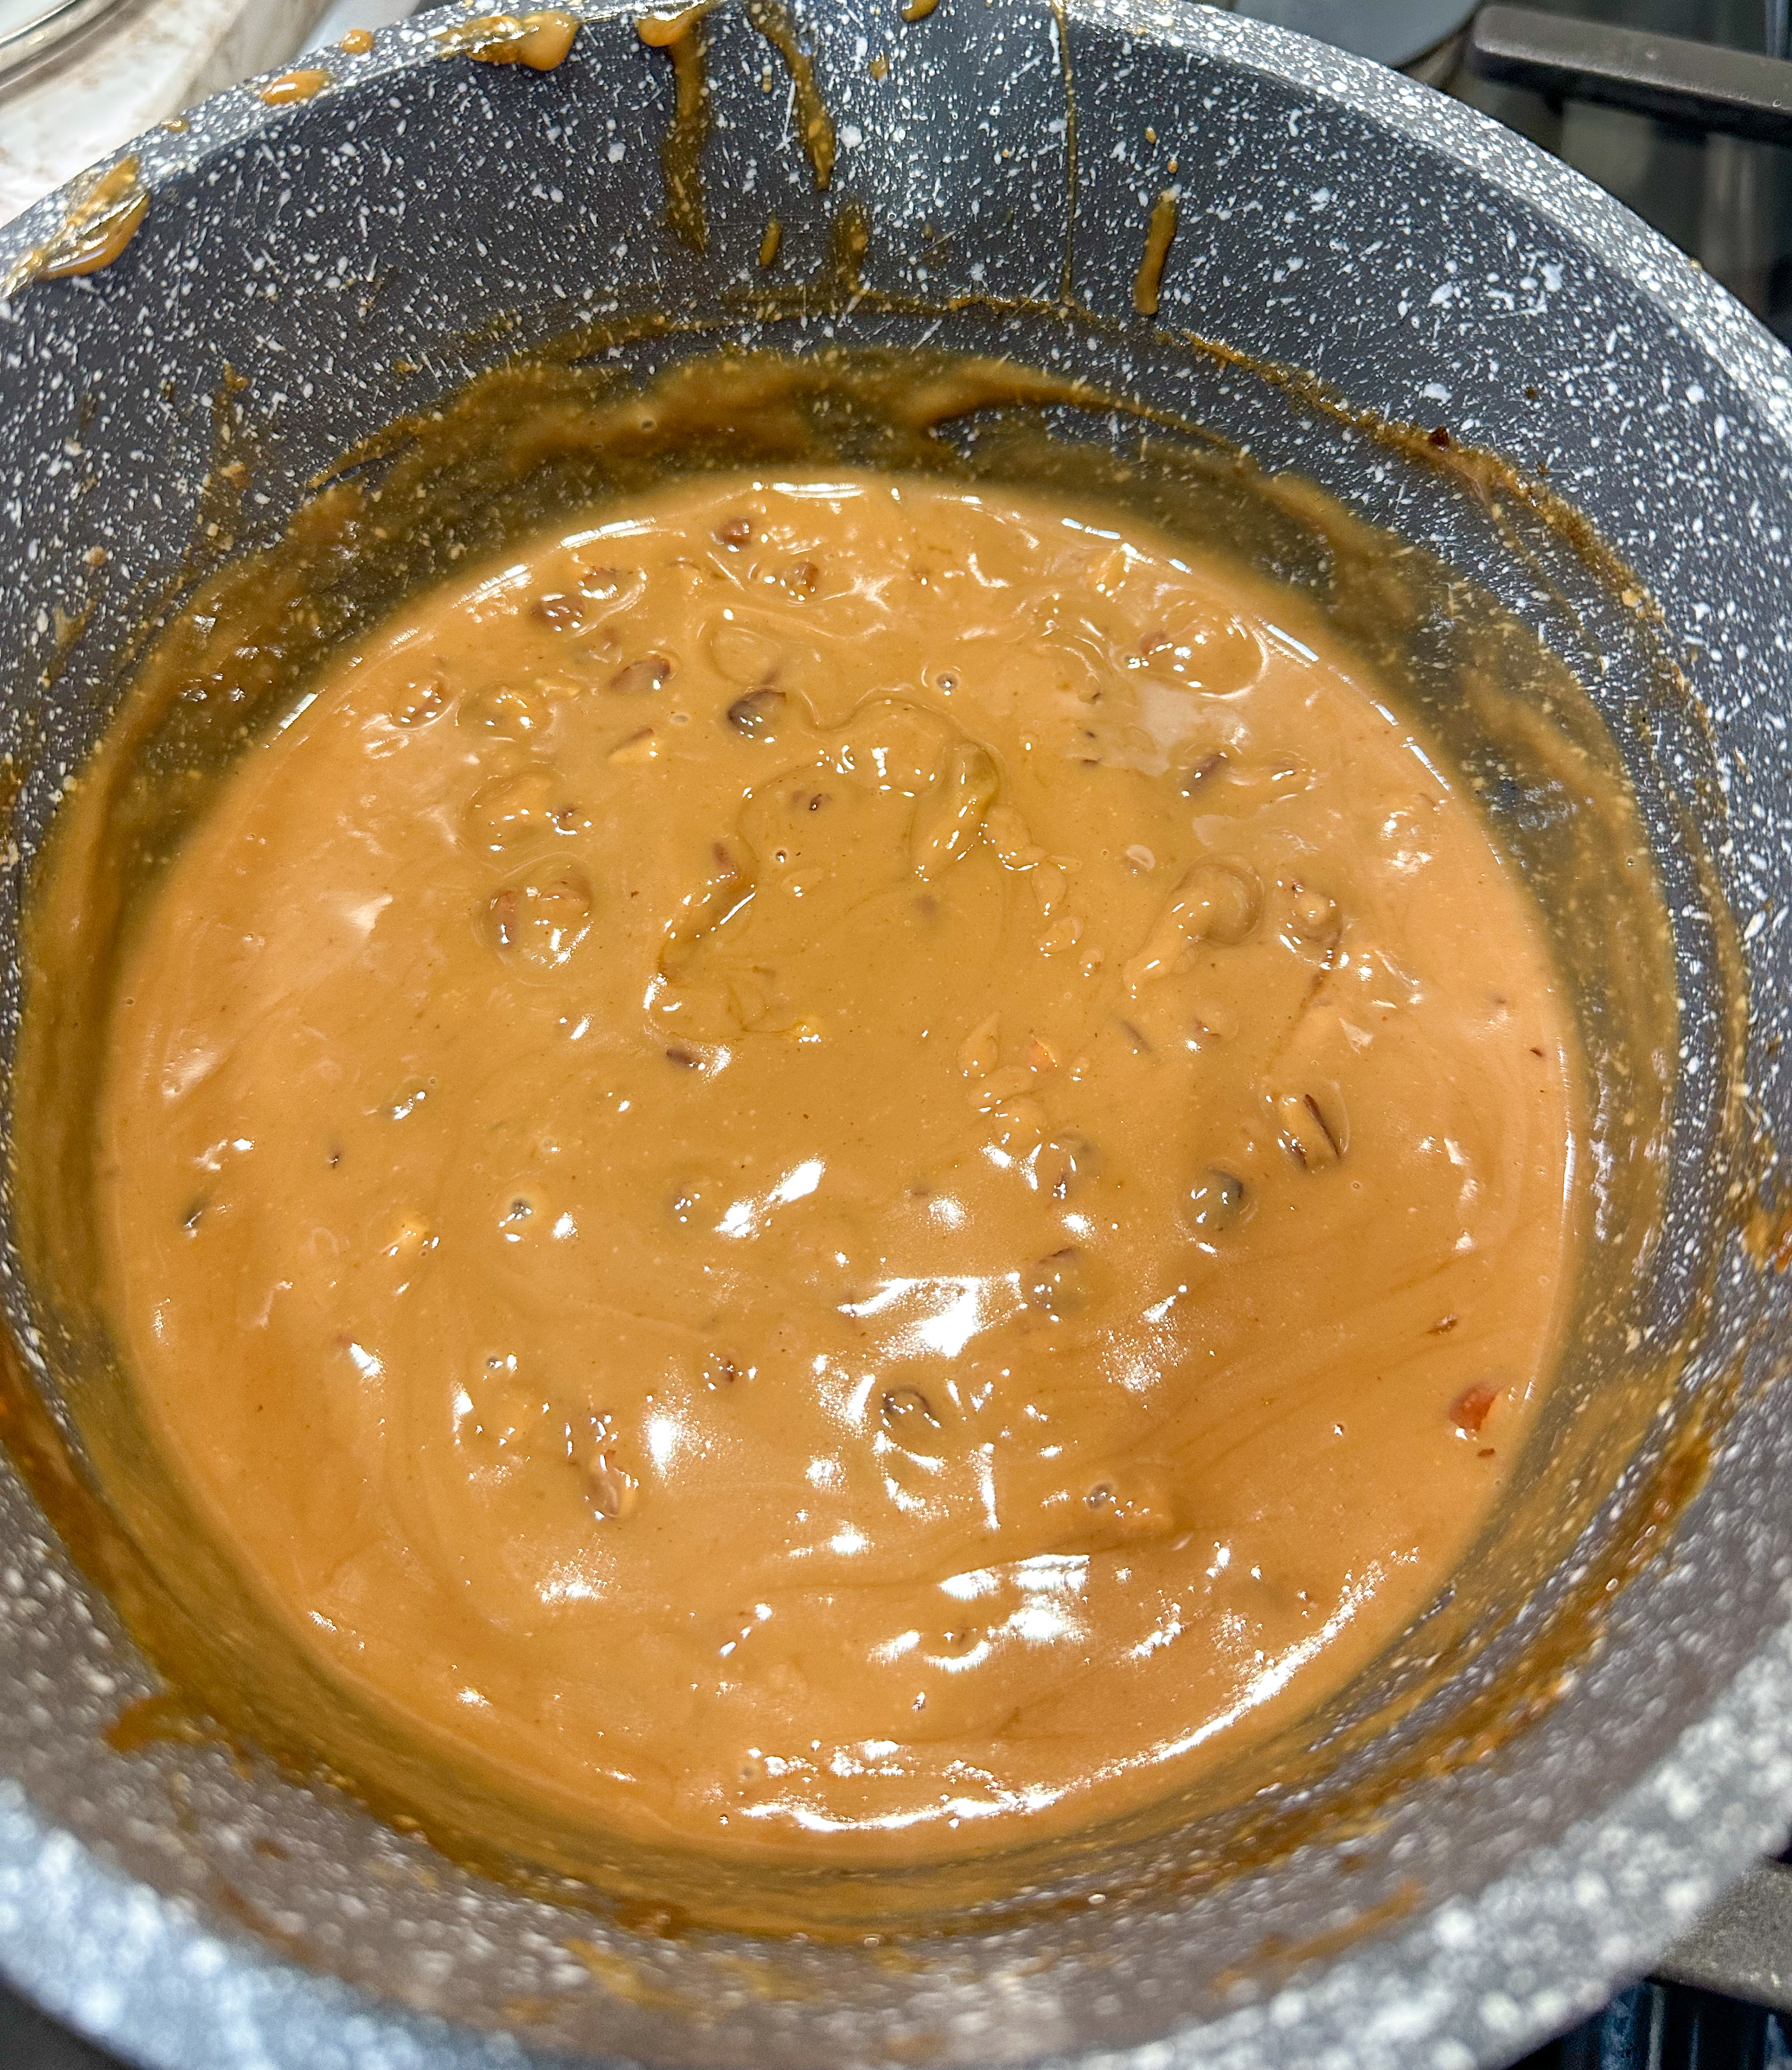
In a small saucepan, melt the 2 TBSP butter over medium heat. Add in the 1/2 cup of peanut butter, and stir until it begins to melt.
Stir in the toasted pecans. Add in 2 TBSP soy sauce + 1 TSBP honey. Stir well, then reduce the heat to low to keep warm.
Make the Peach Jam Dipping Sauce.
Warm up 1/2 cup of peach jam either in a microwave-safe bowl or on the stove top.
Stir in 1 TBSP Apple Cider Vinegar + 1/4 TSP Chili Flakes. If the jam is still too thick, add water.
In a large mixing bowl, add in the cooked chicken wings and warmed pecan peanut butter sauce, and coat evenly. Serve with the peach dipping sauce and enjoy.
Made with Love,
Hannah