I love how customizable sourdough can be! I have been trying out different variations, and this combo may be one of my fall favorites. The walnuts add this wonderful crunch while the blue cheese highlights the tanginess of the sourdough. It makes a wonderful bread for grilled cheese, to dip into soup, and to eat toasted with some butter!


Ingredients
- 300g Water
- 175g Active Sourdough Starter
- 450g Bread Flour
- 10g Sat
- 1 Cup of Walnuts, roughly chopped
- 1 Package of Your fav Blue Cheese, crumbled
Let’s Get Baking
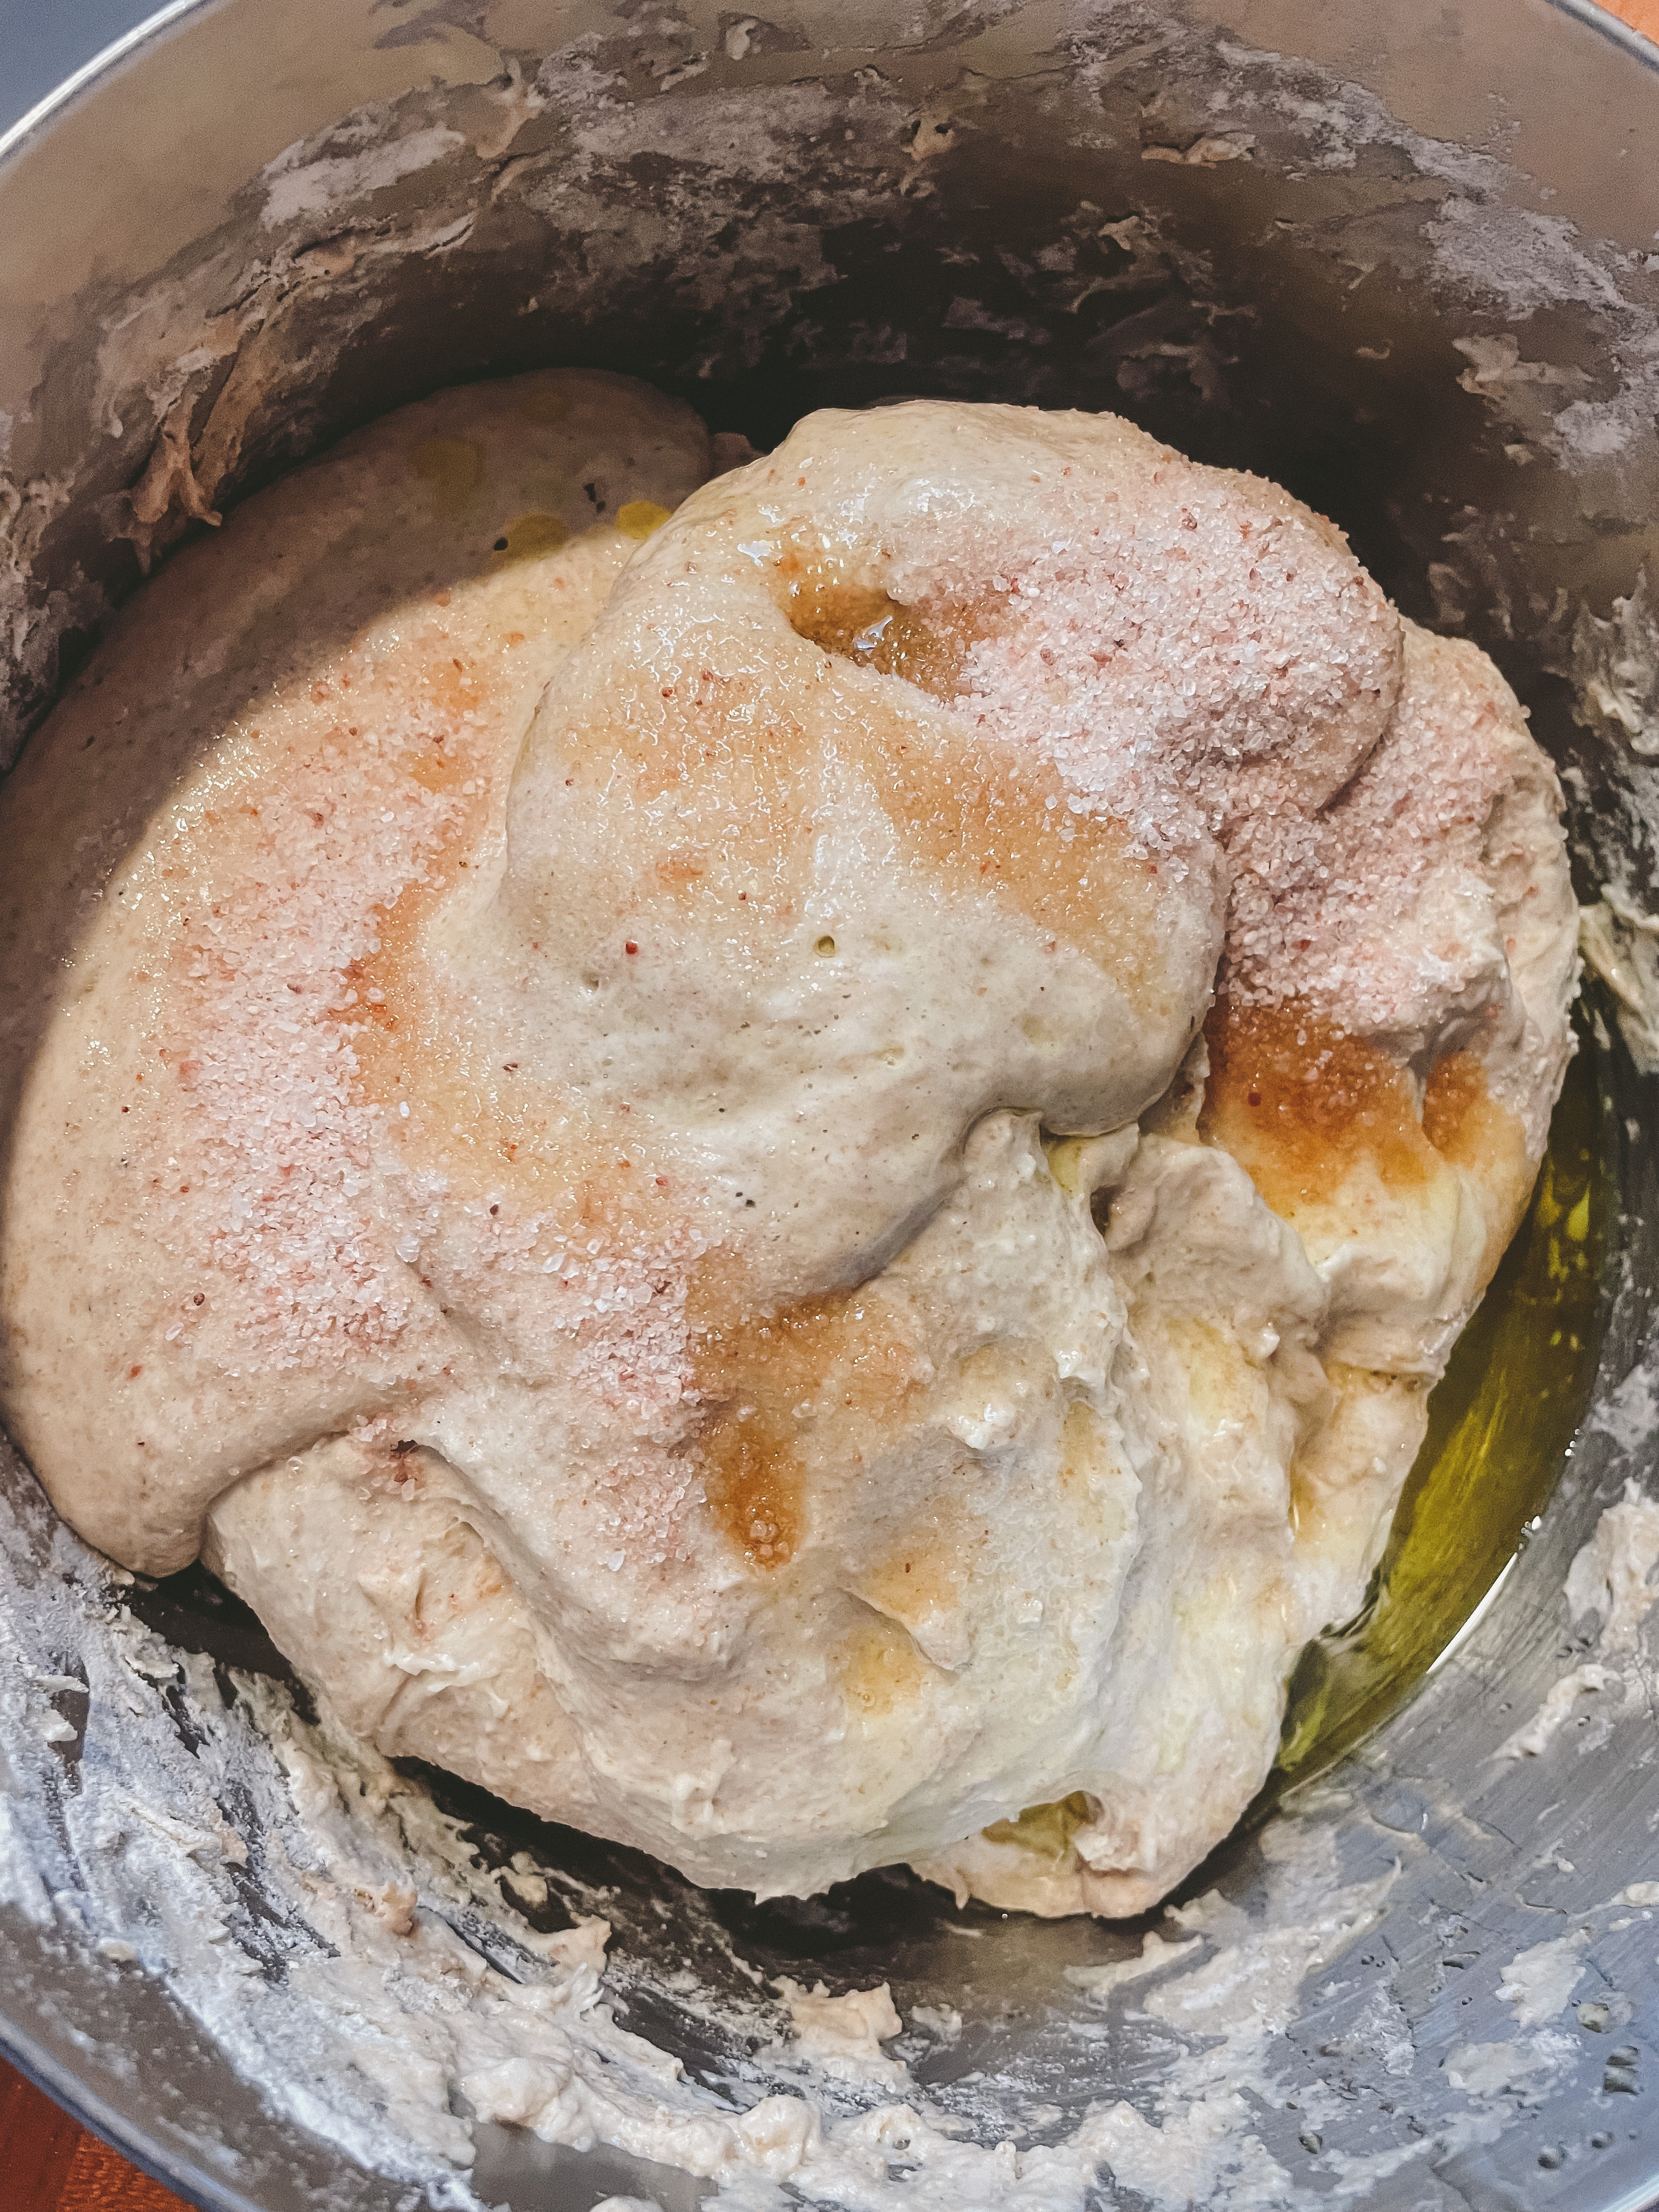
In a large bowl, combine 300g water + 150g active sourdough starter and whisk until fully incorporated.
Then add in 450g of bread flour + 10g of salt. Mix well until there are no dry spots on the dough. The dough should be sticky. Cover with a damp towel and let sit on the counter for an hour.
After the initial hour, uncover the dough and add in most of the chopped walnuts + blue cheese. Be sure to save some of the fillings for the shaping process! Now we begin stretch and folds. Wet your hands and place them underneath the dough, pull the edges of the dough up and fold them on themselves. Repeat on all sides of the dough. Once folded, cover the dough with the towel and repeat the stretches every hour until the loaf has doubled in size – the timing will vary. The dough will feel light, airy, and it will be less sticky when it is ready.
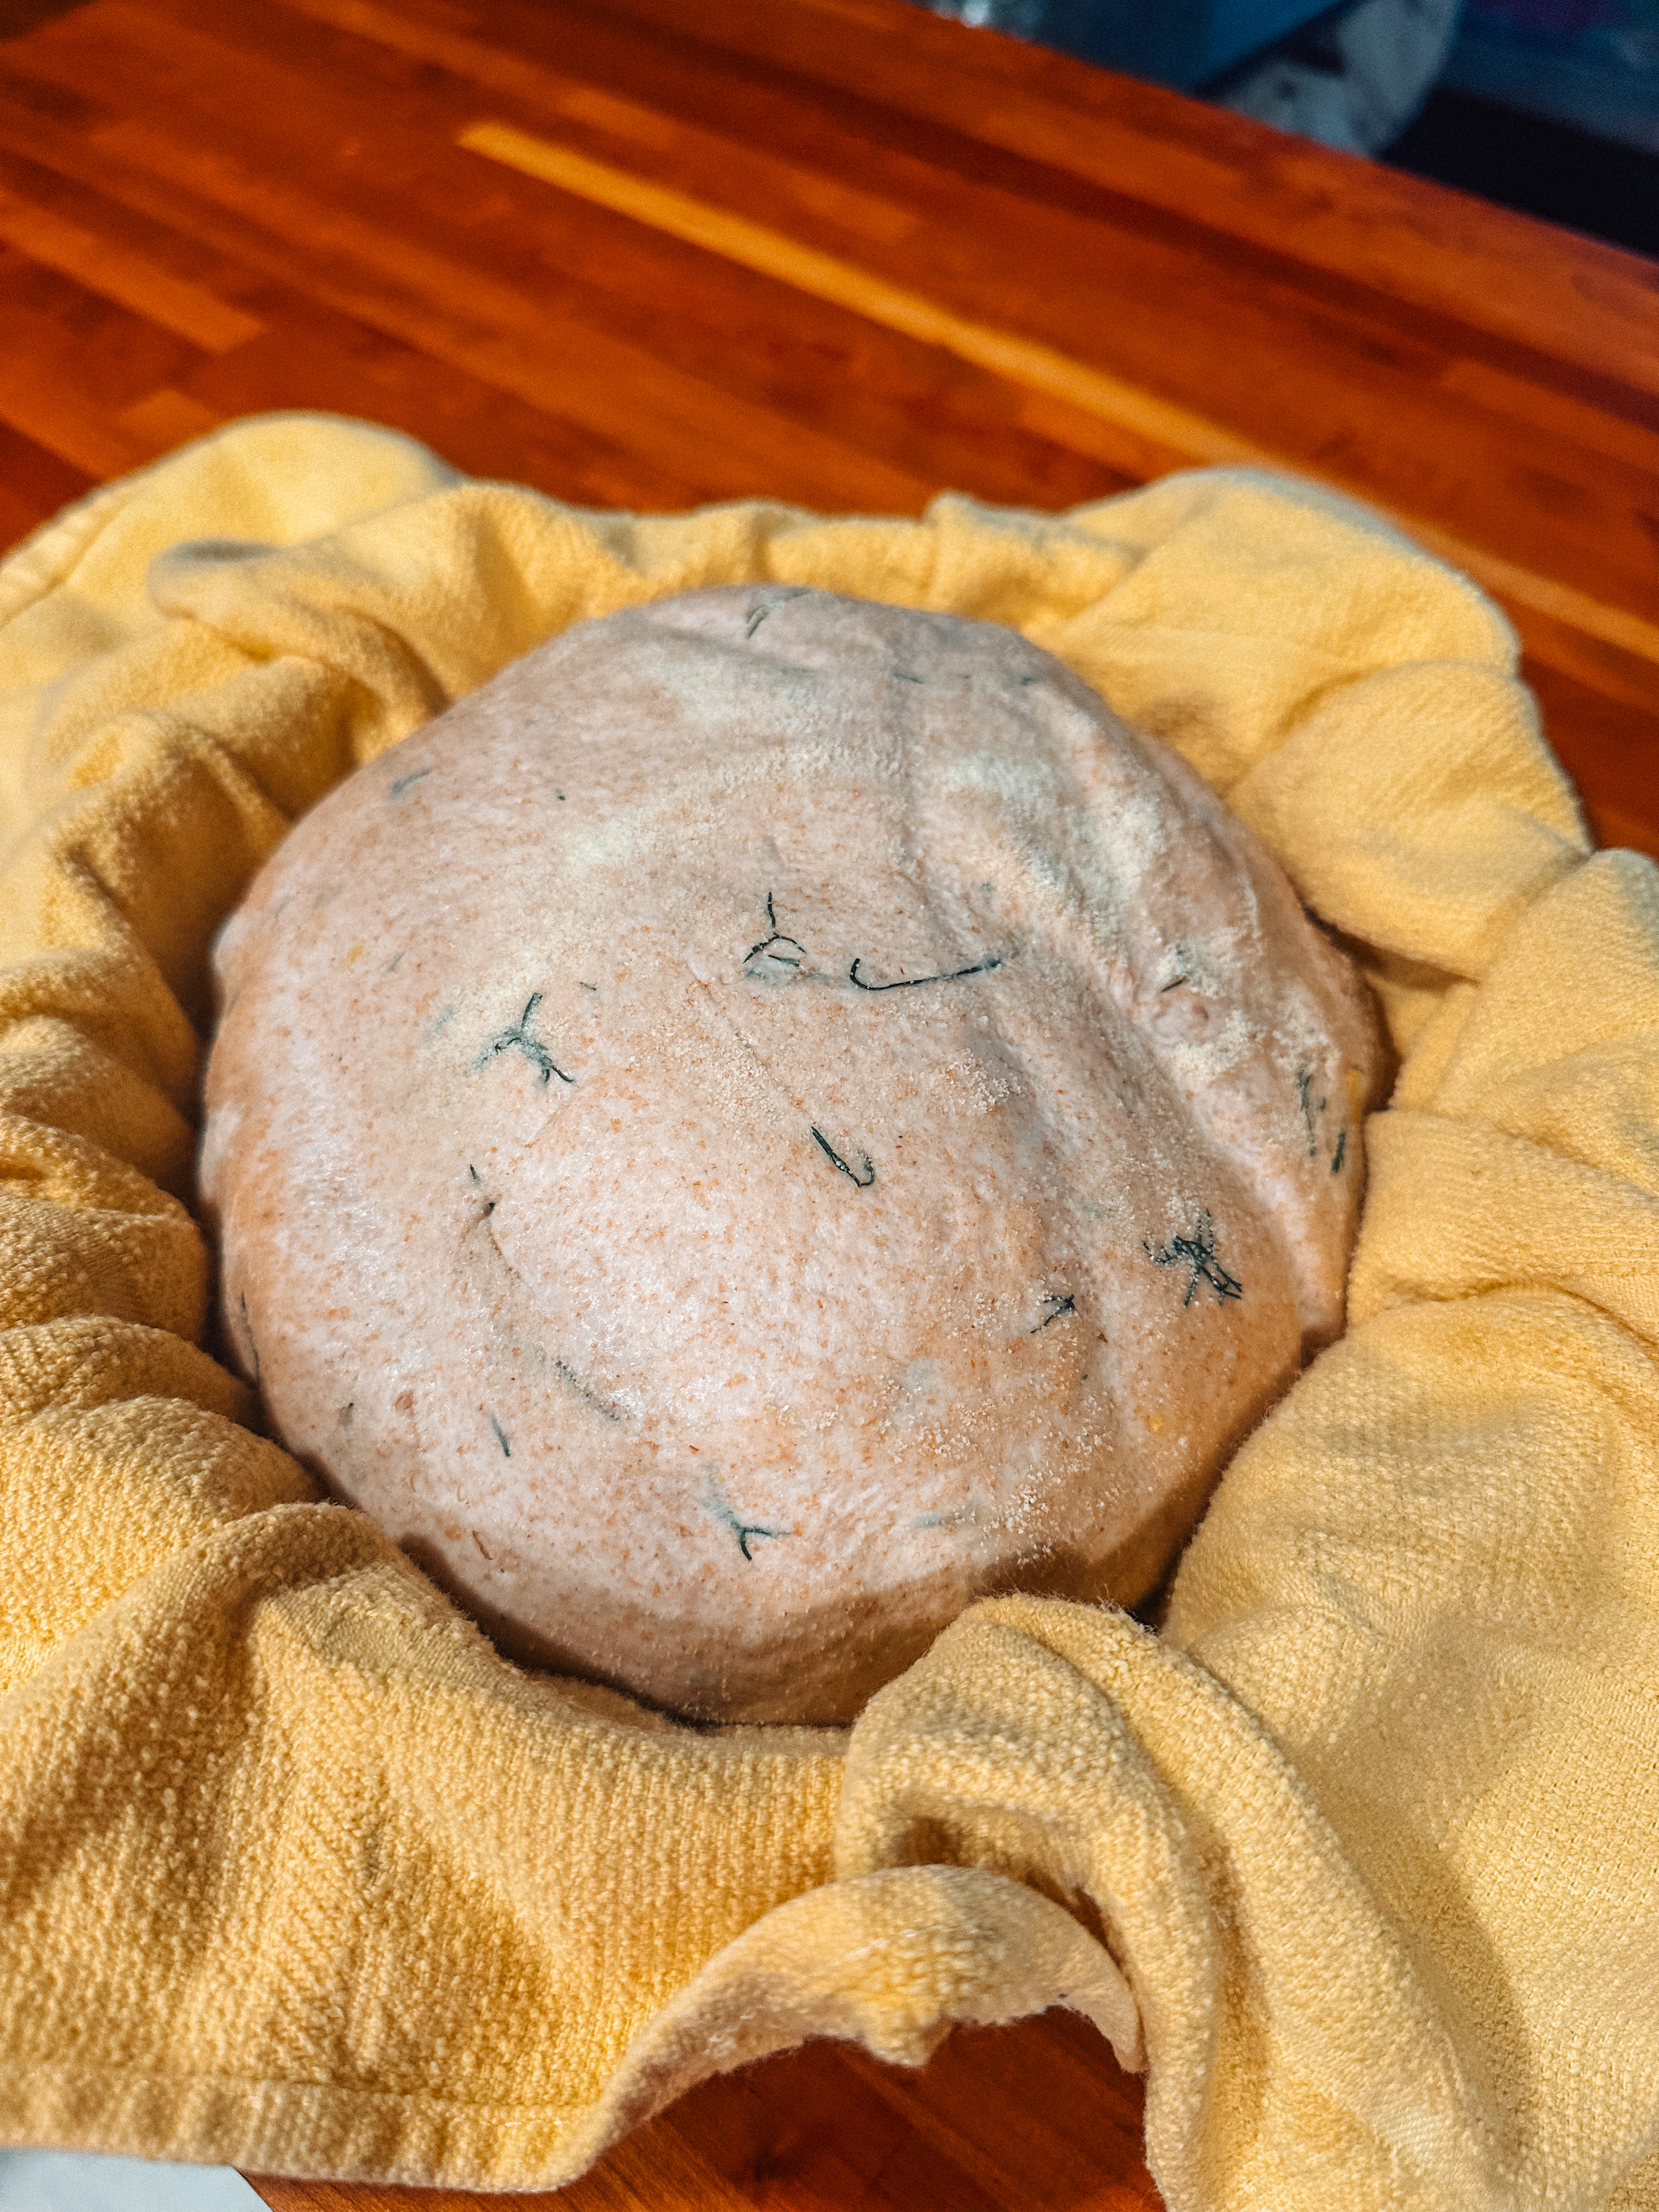
Time to shape! Turn out your dough on a lightly floured surface. Pull out the edges of the dough to create a rectangle. Add in the remaining walnuts + blue cheese. Fold one side halfway into the rectangle and fold the other side over that. Roll the dough away from you, creating a log. Place your hands on the sides of the dough and begin pulling towards yourself to get rid of the seams and create a tighter ball. Prepare a bowl by placing a towel in the bowl and sprinkling flour on the towel. Place the dough ball upside down [or seam side up] into the prepared bowl. Cover with the towel and let it proof for one hour on the counter before moving it into the fridge overnight.
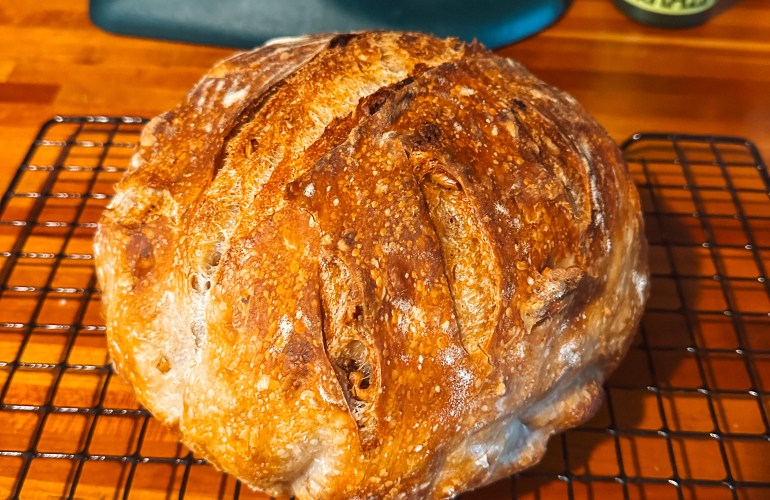
Preheat the oven to 500°F and put your Dutch oven in the oven while it preheats. Place your dough on a piece of parchment paper and score the bread to release the steam. Carefully remove your Dutch oven once the oven has preheated and place your dough inside. Cover with the lid and bake at 500F for 20 minutes. After the initial 20 minutes, reduce the heat to 475°F and bake for another 25 minutes.
Allow to fully cool before cutting into the dough – this is the hardest part! Then enjoy!
What will you serve this bread with?
Made with Love,
Hannah