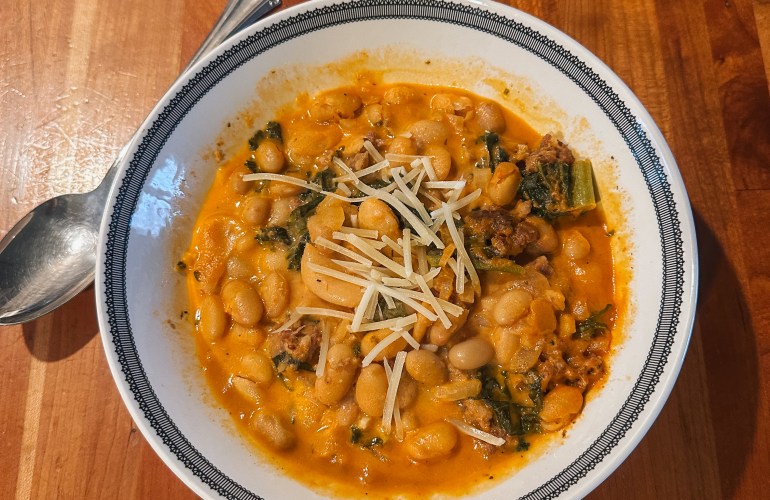
After repeatedly making the same soup, it’s exciting to switch things up. I had found this recipe for creamy bean soup, and I figured now was the ideal time to give it a try. My mom had an extra roll of sausage, I had some cans of beans, and I picked up some kale to add some veggies. This soup was so delicious, and I looked forward to eating it every day for lunch. The only thing it was missing was some crispy bread to dip it in. This will be a repeat recipe for me for sure.
Ingredients
- 1 lb Sausage, mild or spicy, remove casing
- 1 Bunch of Kale, chopped
- 2 TBSP Olive Oil
- 2 Garlic Cloves, minced
- 1 Small Yellow Onion, finely diced
- 3 Cups Chicken Broth
- 1/2 Cup Pureed Tomatoes
- 3 oz tomato paste
- 3 Cans Cannellini Beans, [I did one can great northern & two cannellini], drained and rinsed
- 3/4 Heavy Cream
- 1.5 oz Grated Parmesan
- 1 TSP Salt
- 1 TSP Black Pepper
- 1TSP Dried Thyme
- 1 TSP Dried Oregano
- 1 TSP Chili Flakes
Let’s Get Cooking
Heat the olive oil in a large pot over MED heat. Add in the sausage, break up the meat, and cook until browned. Add in the garlic + onion and cook until fragrant. Add in the Salt + pepper + thyme + oregano + chili flakes. Stir and allow to cook for one more minute.
Add in the chicken broth + pureed tomatoes + tomato paste. Bring to a boil. Add in the cannellini beans. Lower the heat, cover, and allow to cook for 15 minutes. Stir occasionally.
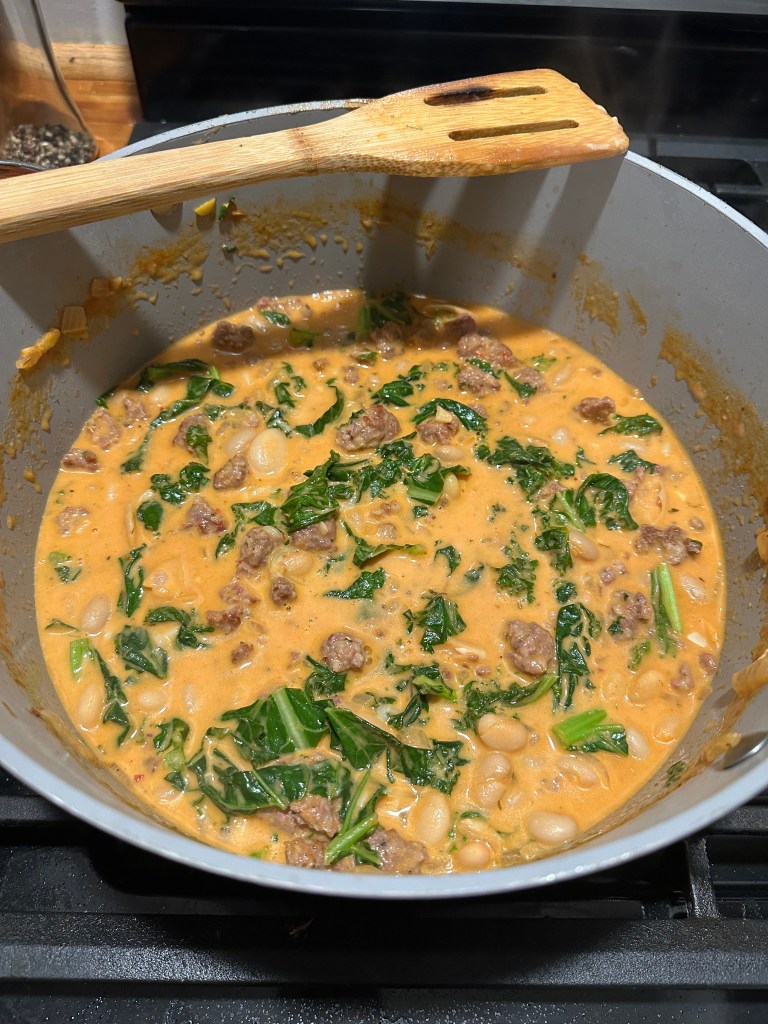
After the 15 minutes, add in the cream + kale and stir to combine. Turn off the heat and stir in the Parmesan cheese.
This made a perfect amount of lunches for the week for me, or share immediately with family & friends!
Made with Love,
Hannah