


Stuffed peppers are the perfect weeknight dinner. They are easy to make, they make a lot, and they are filling and satisfying. We are in that weird time with March weather, is it warm, is it cold, we really don’t know. So having warm stuffed peppers can revive that weather confusion. This recipe is from the Kitchen Prep.
Ingredients
- 4 Cubanelle Peppers, tops removed and seeded [or any pepper of your choice]
- 1 Small onion, diced
- 1 LB bulk Hot Italian Sausage, removed from casing
- 4 Garlic Cloves, mashed and minced
- 1 14oz Crushed Tomatoes
- 6 oz Chicken Stock
- 1/4 Cup Chopped Basil OR 1 TBSP Dried Basil
- 1 Cup Pre-cooked Rice
- 1/4 Cup Mozzarella Cheese, shredded
- 1/4 TSP Cayenne
- Salt + Pepper
Let’s Get Cooking
Heat the oven to 400F
Cook the rice per box/bag instructions
Remove the casing from the sausage, do this by slicing with a knife the casing and pulling it off.
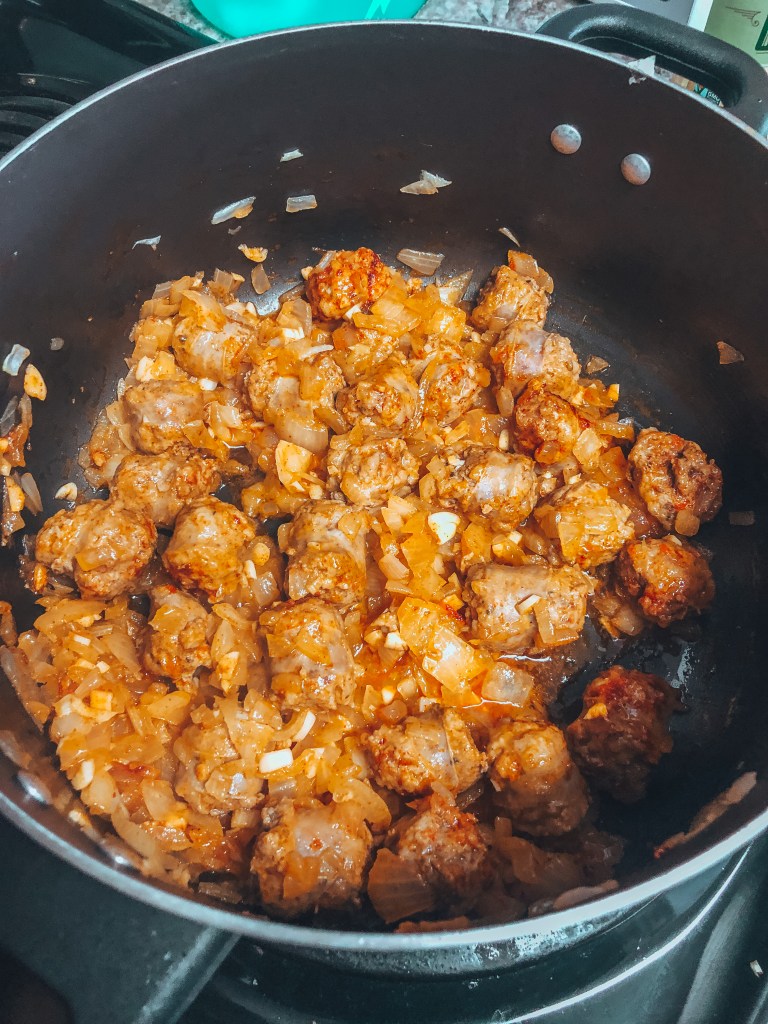
Saute the onions + sausage on high for about 5 minutes in a large pan. Once the meat is browned, add in the garlic and saute until fragrant.


Add to the pan crushed tomatoes + chicken stock + fresh/dried basil. Let cook down until thickened.
Pour mixture into a large bowl with rice + cayenne + mozzarella cheese. Stir to combine and add salt + pepper.
Stuff the peppers and place left over filling into the casserole dish. Place stuffed peppers on top of the extra filling and cover with foil. Bake for 40-50 minutes.


Enjoy warm!
Always Hungry,
Hannah